
Sometimes, a small siding repair is all you need. But how do you know when you're looking at a full-blown replacement? The line can seem blurry, but once you see widespread issues like extensive cracking, warping, or soft, rotten spots, it’s a clear signal that a patch job just won't cut it.
These aren't just cosmetic flaws; they're symptoms of a bigger problem. Often, they mean moisture has already slipped past your home's first line of defense, putting the structure underneath at risk. At that point, a complete overhaul isn't just an option—it's the smartest long-term investment you can make, protecting your home’s value and integrity.
Knowing When Siding Replacement Is a Must
Deciding to pull the trigger on new siding is a big deal, but it's one of the most transformative upgrades for both protecting your home and boosting its curb appeal. A full replacement isn't just about aesthetics; it’s a crucial investment in your home's structural health, boosting energy efficiency, and significantly increasing its resale value.
This decision is more about your home's health than its looks. There's a reason the global siding market was valued at a whopping USD 126.25 billion in 2023—homeowners get it. Quality siding is critical. You can get a deeper dive into global siding market trends to see just how big this is.
Telltale Signs of Siding Failure
Pick a clear day—or one of our classic overcast Seattle days—and do a slow walk around your house. Get up close and personal with the panels, seams, and corners. Don't just give it a passing glance.
Here are the dead giveaways that your siding is past its prime:
- Widespread Cracking or Warping: A couple of hairline cracks? You can probably fix that. But if you’re seeing long, deep cracks across multiple boards, or panels that are pulling away from the wall, the material has failed. Here in the Puget Sound region, our constant rain-sun-rain cycle can make old wood siding delaminate, while the intense summer sun can turn aging vinyl so brittle it shatters with a light tap.
- Soft Spots and Rot: This one is non-negotiable and the biggest red flag. Grab a screwdriver and use the handle to gently poke at any spots that look suspicious—pay extra attention to areas near the ground, around windows, and at corner seams. If it feels spongy, soft, or just crumbles, you’ve got rot. That means water has already gotten through and is likely damaging the sheathing and framing of your house.
- Excessive Fading and Peeling: All siding fades, but if you’re seeing severe, patchy discoloration or the paint is peeling off in sheets, the protective finish has failed, leaving the core material exposed. If more than a third of your home has that chalky, faded look or is peeling badly, a full replacement is far more cost-effective than getting stuck in a cycle of endless repainting.
Pro Tip: Keep an eye on your energy bills. A sudden, unexplained jump in your heating or cooling costs can be a sneaky sign that your siding and the insulation behind it are no longer pulling their weight, allowing drafts and heat loss.
Choosing Your Siding Material Wisely
This is the biggest decision you'll make. The material you choose sets the stage for everything—your home’s look, its durability, how much time you'll spend on upkeep, and its resale value. The goal is finding the sweet spot between your budget, your style, and what the Pacific Northwest climate will throw at it.
And this isn't a small corner of the home improvement world. Siding is big business. North America makes up a massive 76% of the global siding market, with homeowners constantly looking to upgrade and protect their investment. In the US alone, the market was worth an estimated USD 28.5 billion in 2024.
A huge slice of that pie—about 54%—is vinyl siding, mostly because it's affordable and doesn't ask for much in return. You can dig into more of these siding market trends from industry analysis if you're curious, but the takeaway is clear: you have a lot of proven options.
The Four Main Contenders
Let's get practical and break down the most common materials for our region. Each one has its pros and cons, especially when facing nine months of drizzle.
Vinyl Siding: This is the champion of budget-friendly, low-maintenance living. Modern vinyl is surprisingly tough and comes in a ton of colors and wood-grain textures. The trade-off? It can get brittle and crack in severe cold and might fade after years of relentless sun, but it's a solid, cost-effective choice.
Fiber Cement Siding: If you want a fortress, this is it. Made from cement, sand, and cellulose fibers, it’s practically immune to fire, rot, and pests. It’s our go-to recommendation for homes in the Pacific Northwest due to its phenomenal moisture resistance. It costs more than vinyl, but you get what you pay for—a lifespan that can push 50 years with minimal upkeep.
Wood Siding: You can't beat the timeless, natural beauty of real wood like cedar. It looks incredible and has natural resistance to decay. But here's the catch: maintenance. You must be ready to stain or paint it every 3-5 years to keep rot and insects at bay in our damp climate.
Engineered Wood: This is the "best of both worlds" option. It gives you that warm, authentic look of real wood, but it’s been treated with waxes and resins to fight off moisture and pests. It’s a smart way to get the classic curb appeal without signing up for the constant upkeep that traditional wood demands.
Siding Material Comparison
To make things easier, here’s a quick-glance table comparing the top contenders. Think about what matters most—upfront cost, long-term durability, or minimal maintenance?
| Material | Average Cost (per sq. ft.) | Typical Lifespan | Maintenance Level | Best For |
|---|---|---|---|---|
| Vinyl | $5 – $11 | 20-40 years | Low | Budget-conscious homeowners needing a low-maintenance option. |
| Fiber Cement | $8 – $15 | 50+ years | Low | Homeowners in harsh, wet climates wanting maximum durability and longevity. |
| Wood | $10 – $18 | 20-40 years (with care) | High | Those prioritizing natural aesthetics and willing to perform regular upkeep. |
| Engineered Wood | $7 – $14 | 25-50 years | Low to Medium | Getting the look of real wood without the high maintenance in a damp climate. |
This table should give you a solid starting point for weighing the initial investment against the long-term value and effort required.
Making The Right Call For Your Climate
I can't stress this enough: let your local weather guide your decision. For a home in the damp Pacific Northwest, the moisture-fighting power of fiber cement or engineered wood is a game-changer. In that same environment, traditional wood siding is a constant battle against rot and moss.
Your siding isn't just a pretty face for your house; it's a complete building envelope. Picking a material that can stand up to your local weather is the single most important thing you can do to ensure it lasts.
In the end, the "best" siding is the one that fits your life—your budget, your aesthetic, and your tolerance for future maintenance. A full siding replacement offers a remarkable return on investment, often recouping a significant portion of its cost at resale, all while you enjoy a better-protected, more beautiful home.
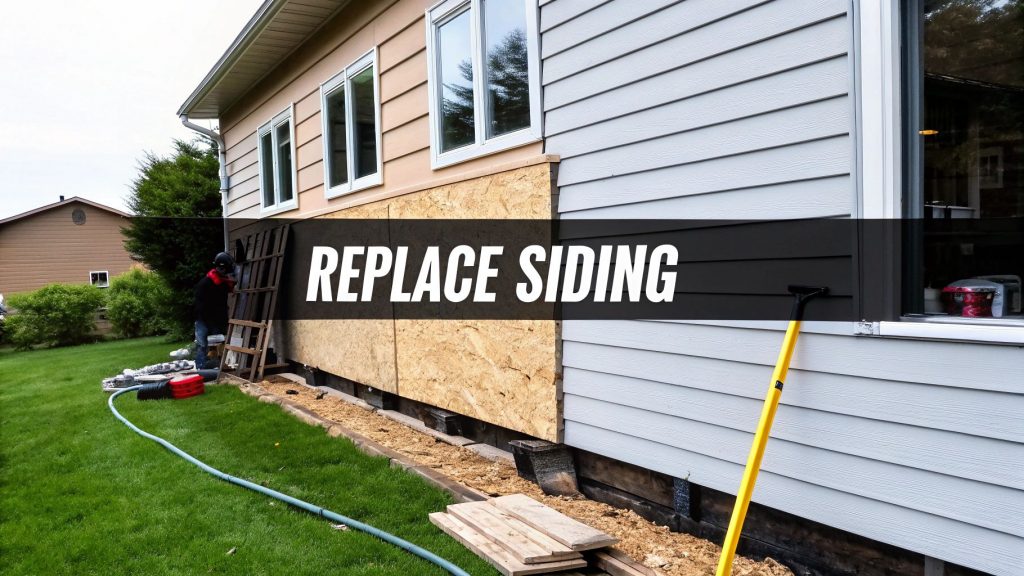
Preparing Your Home for New Siding
Think of your new siding like a fresh coat of paint on a classic car—the final shine is only as good as the bodywork underneath. Before hanging the first new panel, the prep work is what makes or breaks the job. This is where you set the stage for a watertight, professional-looking finish that will last for decades.
Rushing this stage is the #1 mistake homeowners and sloppy contractors make, and it always leads to expensive problems. This isn’t just about tearing off the old stuff. It's a careful process of demolition, deep inspection, and fortifying your home against the elements.
Gearing Up for Demolition
Having the right gear makes the removal process smoother and safer. You’ll be far less likely to accidentally damage your home's structure if you're properly equipped.
- Pry Bars & Claw Hammers: Your workhorses for prying off old siding and pulling what feels like a million nails.
- Zip Tool: If you’re dealing with vinyl siding, don't even start without one. It's a small, inexpensive tool designed to safely unlock and separate panels without cracking them.
- Circular Saw with a Demo Blade: Essential for cutting out sections of rotted sheathing or making clean cuts around windows and doors.
- Safety Gear: Please, don't skip this. Goggles, a good pair of heavy-duty gloves, and a dust mask are non-negotiable, especially with older homes that could have lead paint or hidden mold.
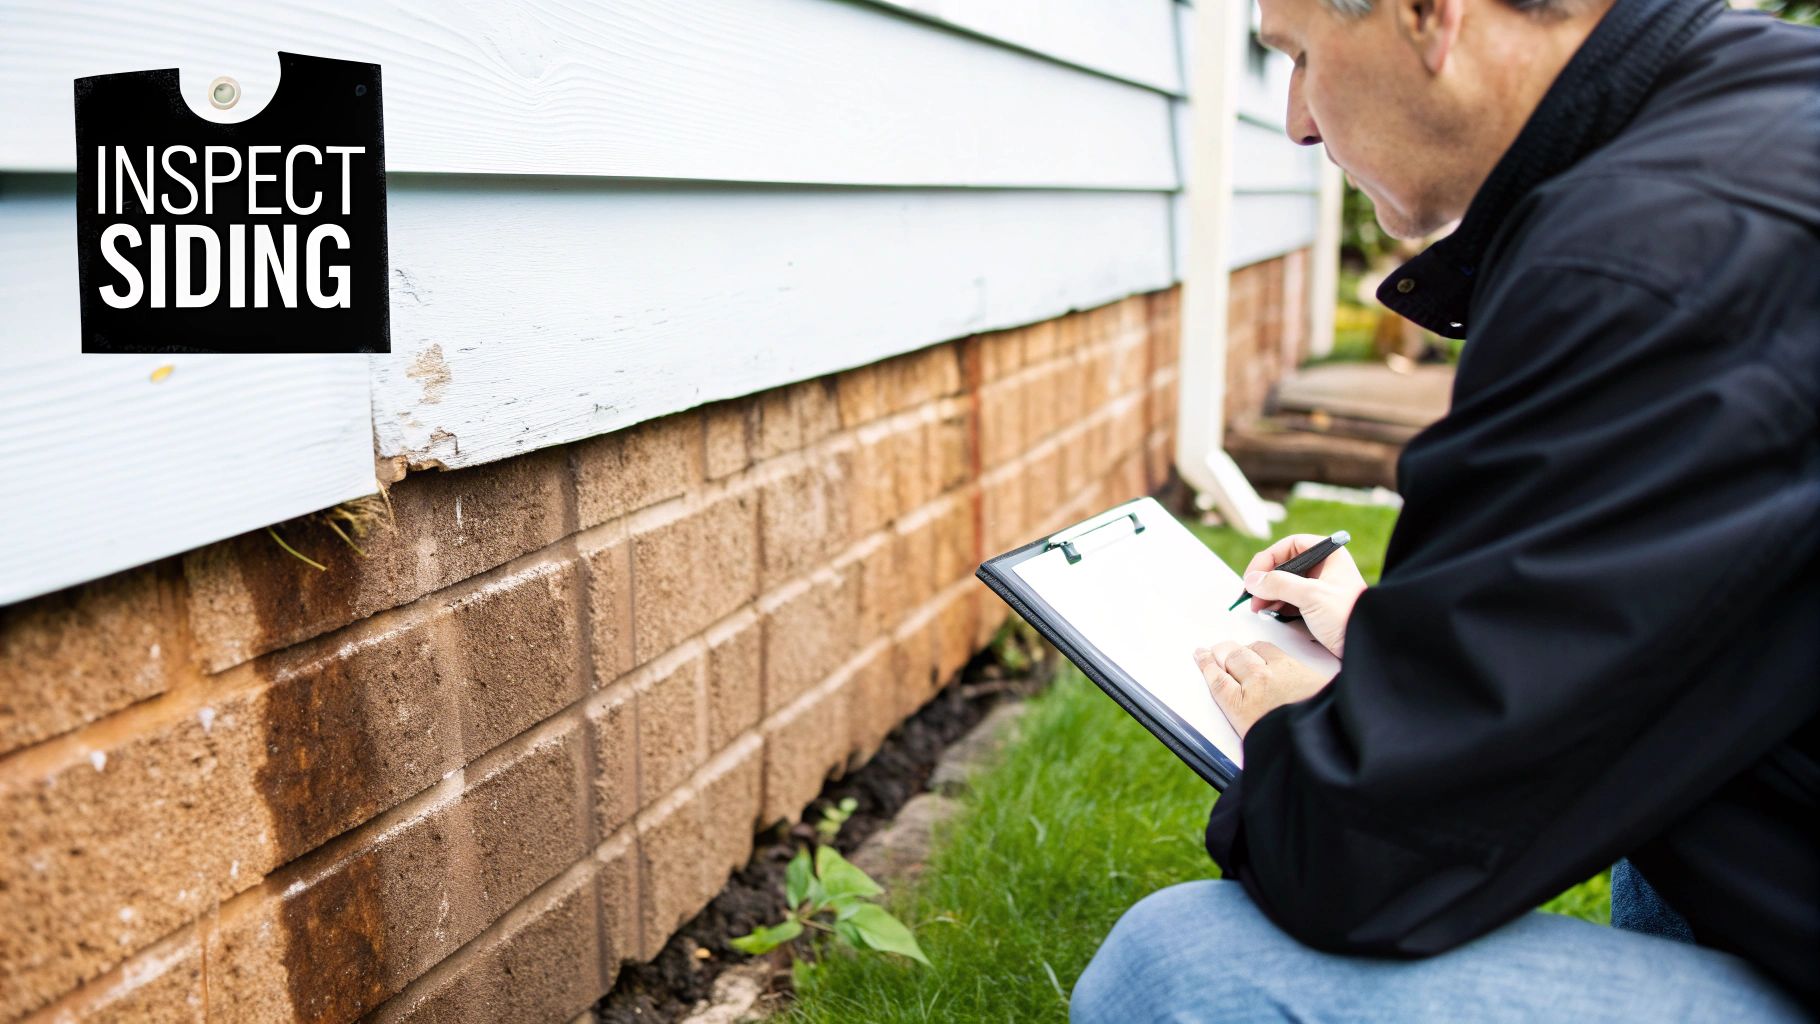
The Removal and Inspection Process
With your tools ready, it's time to get methodical. Start at the top of a wall and work your way down, carefully removing each course of siding and pulling the old nails as you go. The goal is to expose the wall sheathing underneath completely.
Once the walls are bare, the real work begins. This is your one and only shot to find and fix hidden damage. Be a detective. Look for dark stains from water intrusion, soft or spongy wood, or tiny holes that could signal insect damage.
I always tell my crew to use the handle of a screwdriver to poke any area that looks remotely suspicious. If the wood gives way, you've found rot, and it must be repaired before you go any further. Covering it up is like putting a brand-new roof on a house with a crumbling foundation—it just hides a much bigger problem.
Here’s a trade secret we live by: have extra sheets of plywood or OSB sheathing on-site before you start demolition. That way, if you find significant rot, you’re not making a frantic run to the hardware store while your home's structure sits exposed to the weather.
Creating a Weatherproof Envelope
After all sheathing repairs are done, the next critical step is installing the weather-resistant barrier (WRB), or "house wrap." This is your home's rain jacket. It’s the final line of defense against any moisture that might find its way behind the siding. In a climate like ours in the Seattle area, this step is absolutely non-negotiable.
Proper installation is everything.
- Overlap Your Seams: Always start at the bottom and work up. Overlap each horizontal seam by at least six inches. This creates a shingling effect that forces water to run down and out.
- Tape Every Seam: Use the manufacturer’s approved seam tape to seal every joint and any openings for pipes or vents. You’re aiming for a completely sealed envelope.
- Flash Windows and Doors Correctly: This is huge. A key trade method is installing new flashing around windows and doors over the house wrap, not under it. This ensures any water that gets behind the siding is channeled away from these vulnerable spots, preventing future leaks and rot.
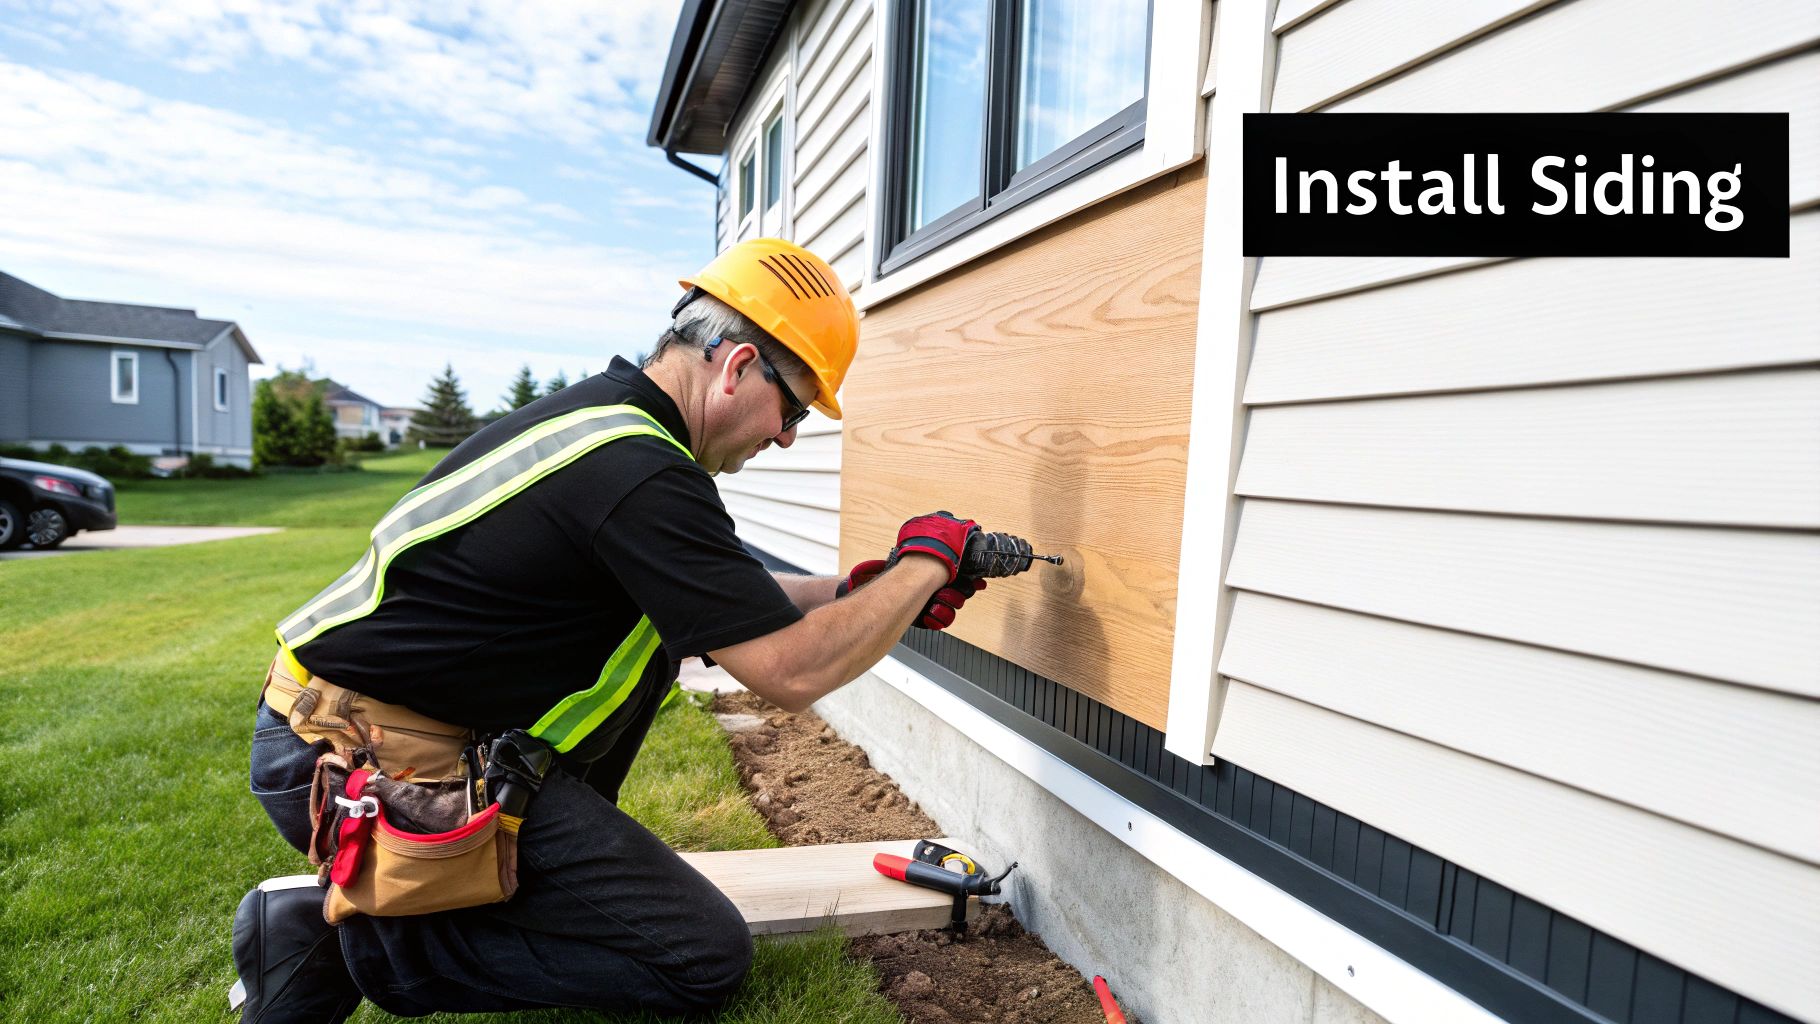
Mastering the Siding Installation Process
With your home prepped and protected, this is where planning pays off. The installation phase turns all that groundwork into a stunning, durable exterior. We'll focus on professional techniques that make the difference between a DIY look and a flawless, long-lasting finish.
The whole process is built on precision, starting with the starter strip. This unassuming trim is the foundation for your entire siding job. If it isn't perfectly level, every course stacked on top will be crooked, creating a visual nightmare that's impossible to fix later. Use a level and a chalk line to make sure it’s dead straight before driving a single nail.
Proper Nailing Techniques for Durability
Once your starter strip is set, how you fasten the siding is critical. This isn't just about hammering nails; it's a specific method that allows the siding to breathe. Siding, especially vinyl, expands and contracts a surprising amount with temperature changes. Nailing it down too tightly restricts this movement, leading to ugly buckling and warping.
Here’s the right way to do it:
- Center Your Nails: Always place the nail in the middle of the nailing slot, never at the ends.
- Leave a Gap: Drive the nail until it's almost snug, but then back it off just a tiny bit. You should leave about a 1/16-inch gap—roughly the thickness of a dime—between the nail head and the siding. This tiny space is essential for movement.
- Don't Overdrive: The panel should be able to slide back and forth slightly in the slot after you've nailed it.
Getting the nailing pressure right is a skill that makes a massive difference. Too loose, and panels might rattle in the wind. Too tight, and they’ll buckle under the summer sun. Practice on a scrap piece first to get the feel for it.
The image below shows the first steps of a siding replacement job, starting with tearing off the old panels—a crucial step before anything new goes up.
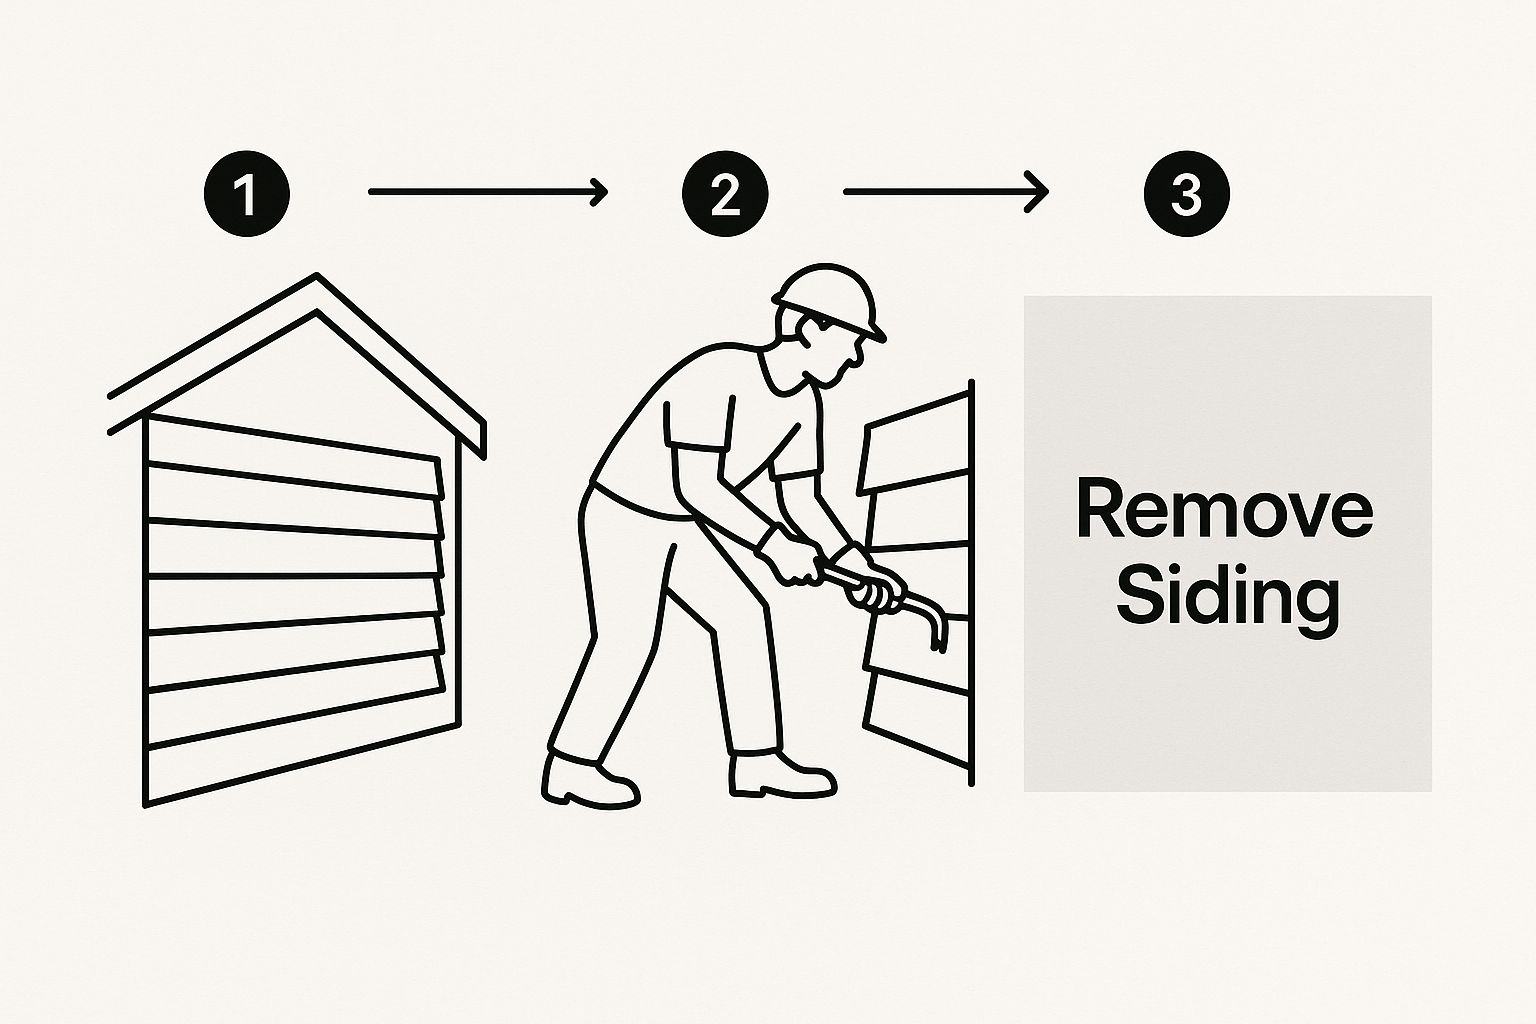
This just goes to show that proper prep, including the complete and careful removal of the old stuff, is the real foundation for a successful new siding installation.
Handling Tricky Areas Like a Pro
A house isn't just flat walls. The real test of skill comes when navigating corners, windows, and gable ends. These are the spots where a professional installation stands out.
For instance, when your siding meets a window, you'll need to install J-channel around the frame first. This trim piece creates a clean, finished edge and gives you a channel to tuck the siding panels into neatly.
Remember to leave a 1/4-inch expansion gap between the end of the siding panel and the inside of that J-channel. This prevents the panels from binding up as they expand. The same idea applies to inside and outside corner posts—they give you a clean transition and hide the cut ends of the siding panels.
For gable ends, that triangular area at the peak of your roof, you'll need to make precise angled cuts. Here's a trade secret: create a simple template from a piece of cardboard. Just hold the cardboard up to the roofline, trace the angle, and then use that template to mark your siding panels for a perfect cut every single time.
Replacing house siding is a key part of the larger building exterior renovation market, which is constantly evolving. Discover more insights about the future of siding technology on Research and Markets. This reinforces the value of learning how to replace house siding correctly, as these advanced materials will demand precise installation.
Perfecting the Finishing Touches
You can always tell the difference between a DIY job and a pro finish. It’s all in the details. Once the main siding panels are up, the final steps are what really button up your home against the weather and give it that sharp, polished look. This is where we get into trim, soffit, fascia—and the all-important weatherproof seal.
Don't mistake these for just decorative pieces. They're critical parts of the whole system. Trim around windows and doors neatly covers the cut ends of your siding, creating a clean visual line while also acting as a key barrier against moisture. Soffit panels handle the underside of your roof's eaves, crucial for proper attic airflow. The fascia board is that finished edge running along the roofline where your gutters attach.
Sealing the Deal with Caulk and Trim
Getting the trim installed and sealed correctly is one of the most critical parts of any siding replacement. I’ve seen it time and time again—someone does a great job on the siding itself but then skimps on the caulk. Using cheap sealant or applying it poorly is a recipe for drafts and water intrusion in just a year or two.
Here’s what really makes a difference:
- Get the Right Caulk: You need a high-quality, paintable elastomeric or polyurethane caulk. These are flexible enough to handle the expansion and contraction that comes with a climate like Seattle's.
- Apply a Clean Bead: Use a good caulking gun for a continuous, smooth bead where the trim meets the siding. You want a consistent bead around 1/4-inch—enough to do the job without looking messy.
- Tool the Joint: This is a step amateurs often skip. Right after you apply the caulk, run a wet finger or a caulk-smoothing tool over the bead. It pushes the sealant deep into the joint for a watertight seal and leaves a clean, professional concave finish.
Want a trade secret for a perfectly straight caulk line? Run painter's tape along both sides of the joint before you start. Apply the caulk, tool the bead smooth, and then peel the tape off while the caulk is still wet. You’ll get a crisp, perfect edge every time.
Avoiding Costly Finishing Mistakes
Getting these final touches right is all about sidestepping a few common but disastrous errors. Cutting corners here can completely undermine all your hard work, leading to rust, rot, and leaks down the road.
For starters, always use galvanized or stainless steel nails for your trim and final pieces. Regular nails will rust in no time and leave ugly black streaks running down your beautiful new siding.
Another huge mistake is messing up the flashing. All your new trim, especially over windows and doors, needs to have flashing installed correctly over it. This is what directs water away from the structure. Just caulking the top of a window trim without proper flashing is basically asking for water damage.
Take your time with these final details. It’s what ensures your siding project will not only look great but also protect your home for decades.
Common Questions About Siding Replacement
Even after mapping out a project, a few questions always pop up. When it comes to something as big as replacing your home's siding, you want to have all the answers before you start. Let's tackle some of the most common questions we hear from homeowners.
How Much Does It Cost to Replace House Siding?
This is the big one, and the honest answer is: it really depends. The final bill is shaped by the material you pick, the size of your home, and local labor rates.
You can generally expect to pay somewhere between $5 to $25 per square foot for a professional job.
- Vinyl Siding: This is your most budget-friendly route.
- Fiber Cement or Wood: As premium materials, these will land on the higher end of that price range.
Remember to factor in the extras. Tearing off and disposing of the old siding isn't free, and if we uncover any rot or damage underneath, those repairs will add to the final cost.
Can I Install New Siding Directly Over Old Siding?
It's a tempting shortcut, I get it. The idea of saving time and money by just layering new siding on top of the old stuff seems great, but it's almost always a bad move. Most reputable contractors will tell you to steer clear of this practice, especially in a damp climate like ours in the Pacific Northwest.
The biggest problem with layering siding is that you're hiding whatever is going on underneath. You lose the single most important opportunity to inspect the wall sheathing for rot or water damage, which can quietly turn into a massive structural nightmare.
Plus, you're trying to install a flat, new product over a surface that is likely warped or uneven. The result is often a wavy, unprofessional look that just doesn't perform well. The right way to do it is always to tear off the old material for a clean slate.
What Is the Best Time of Year to Replace Siding?
Believe it or not, the season you choose for your siding project can make a real difference. For most places, mild and dry weather is the sweet spot, which usually points to spring or fall.
Extreme temperatures can cause headaches for both the materials and the sealants.
- In the Cold: Vinyl siding gets brittle in freezing temperatures, making it much more likely to crack when it's being cut and nailed.
- In the Heat: Siding panels expand in the summer sun. If they're installed too tight during a heatwave, they'll have no room to contract when it gets cold, which leads to ugly buckling and warping.
Working in moderate temperatures also helps the caulk and sealants cure properly, creating that tough, weatherproof barrier that will protect your home for years to come.
Planning a siding replacement is a major undertaking, but with the right info and a solid team, you can completely transform your home's exterior. For homeowners in the Seattle area, Breeze Siding offers expert installation and a commitment to quality that ensures your investment is protected for decades.
Ready to get a professional, no-obligation quote for your project? Contact the licensed and insured team at Breeze Siding to schedule your free on-site estimate today.