
That sinking feeling when you spot a water stain creeping down the wall from a window frame is all too familiar for homeowners around Seattle. It's not just an ugly mark; it's a red flag that your home's first line of defense against the relentless Pacific Northwest rain has been breached.
If you ignore it, that tiny leak can mushroom into a full-blown nightmare of wood rot, mold, and soggy insulation.
The good news? A lot of window leaks are perfectly manageable without calling in the pros, as long as you catch them early and know what you're looking for. The first step is to play detective and figure out what’s going on.
Spotting the Initial Warning Signs
Long before you see a steady drip, your house will usually give you a few subtle hints that trouble is brewing. Learning to spot these early clues means you can jump on the problem before it gets serious.
Keep an eye out for these telltale signs:
- Visible Water Stains: This is the most obvious one. Any discoloration on the wall, windowsill, or even the floor right below the window is a dead giveaway.
- Peeling or Bubbling Paint: Moisture seeping in from behind will cause paint to lose its grip, leading to those ugly bubbles and flakes.
- A Persistent Musty Odor: If you notice a damp, mildewy smell that won't go away, it often points to hidden moisture trapped in the wall.
- Warped Wood or Drywall: Run your hand over the window trim or the wall next to it. If it feels soft, swollen, or just looks distorted, water damage is a likely culprit.
Finding the Real Culprit Behind the Leak
Once you've confirmed you have a leak, you need to pinpoint its source. Most window leaks boil down to two main issues: either the exterior seal has failed, or something is wrong with the window frame itself. Knowing the difference is critical because it determines how you'll tackle the repair.
A failed seal is the most common problem, especially here in the Puget Sound region. This usually means the caulk around the outside of your window frame has dried out, cracked, or pulled away from the siding. All that rain and the constant temperature swings really do a number on sealants.
Here's a little trade secret: The best time to inspect your window seals is on a cool, overcast day. Sealants shrink in the cold, which makes tiny cracks and gaps much more obvious. On a warm day, the material expands and can actually hide the problem you're looking for.
Frame-related issues can be a bit trickier. Sometimes the weep holes—those little drainage channels at the bottom of the frame—get clogged with gunk and can't do their job. Other times, it's a problem with the window's structure.
And for homeowners in our rainy climate, you always have to consider the siding. If the siding around your window is damaged or wasn't installed correctly, it can act like a funnel, directing water right behind the window frame. No amount of new caulk is going to fix that. A healthy siding system is your home's armor, and understanding how it works with your windows is the key to a permanent fix.
To help you get started, here's a quick look at the most common issues we see.
Common Window Leak Sources and Quick Fixes
This table breaks down the usual suspects and gives you a starting point for your repair.
| Leak Source | Telltale Sign | Recommended Quick Fix |
|---|---|---|
| Failed Exterior Caulk | Visible cracks or gaps in the sealant around the window's outer edge. | Scrape out the old caulk and apply a fresh bead of exterior-grade silicone sealant. |
| Worn Weatherstripping | You can feel a draft or see daylight between the window sash and the frame. | Pull out the old weatherstripping and press a new, matching strip into the channel. |
| Clogged Weep Holes | Water pools on the windowsill instead of draining out. | Use a thin wire or compressed air to clear debris from the small holes on the bottom of the exterior frame. |
| Cracked Window Glass | An obvious crack or chip in the glass pane, often with condensation between panes. | This usually requires professional glass replacement to ensure a proper seal. |
Remember, these quick fixes are great for common, minor leaks. If the problem seems more complex or involves damage to the wall or siding, it might be time to bring in an expert.
Pinpointing the True Source of the Leak

Alright, before you can fix a leaking window, you have to play detective. Water is a sneaky thing. It can find a tiny gap on the outside, travel down a hidden frame stud, and then pop up as a drip several feet away from where it actually got in. That stain you see? That’s just the exit wound.
To find the real entry point, you need to be methodical. Just slapping some caulk where you see a drip indoors is a band-aid solution that won’t last. A real, permanent fix starts with a thorough look at the outside of your house.
This step is more important than you might think. The global glass repair market is worth about USD 59.9 billion in 2024, and a big chunk of that comes from fixing problems that started with a shoddy initial installation. It's estimated that poorly installed windows are to blame for around 30% of all window leaks. This just goes to show how critical a proper diagnosis is. You can learn more about the growth of the glass repair industry if you're curious.
Conducting a Controlled Water Test
One of the best tricks of the trade for finding a stubborn leak is a simple water test with a garden hose. This isn't about power-washing your window. It's about carefully isolating different areas to pinpoint the failure. You'll need a partner for this—one person outside with the hose, one person inside on lookout duty.
Set your hose to a gentle spray. You're going to start at the very bottom and slowly work your way up.
Spray Below the Sill: First, aim the water at the siding right under the window. If your spotter inside sees a leak, the window isn't the problem at all. The culprit is likely the siding or the flashing beneath it.
Isolate the Window Frame: Next, move the spray up to the vertical sides of the window frame, hitting one side at a time. After that, spray along the top edge of the frame. The second your helper inside sees a drop of water, they need to yell.
Test the Glass and Glazing: Lastly, give the glass itself a gentle spray. This will tell you if the seal between the glass and the window sash has failed.
This methodical approach stops you from chasing your tail. I’ve seen it a hundred times: a homeowner re-caulks a window over and over, only to finally figure out the water was getting in through a cracked piece of siding a foot above the window the whole time.
Inspecting Key Failure Points
While you’re running the water test, or even during a dry inspection, keep a sharp eye on these common culprits. These are the first places the pros look.
- Exterior Caulk Integrity: Look for any caulk that’s cracking, pulling away from the frame, or has visible gaps. This is your window’s first line of defense.
- Glazing Putty/Bead: Check the seal that holds the glass in place. On older wood windows, this putty gets brittle and can literally fall out. On vinyl or metal windows, the rubber glazing bead can shrink or pop out of its channel.
- Clogged Weep Holes: See those little slots on the bottom of the exterior window frame? Those are weep holes, and they’re designed to let water escape. If they’re clogged with dirt and gunk, water backs up and flows right into your wall. Use a thin wire or a paperclip to gently clean them out.
- Siding Condition: Pay close attention to the siding right next to the window frame. Any siding that is warped, cracked, or loose is a perfect pathway for water. For those of us in the Pacific Northwest, this is a huge one. Our constant rain will exploit any tiny flaw in the siding and guide water right where you don't want it.
Choosing the Right Tools and Materials
Half the battle of fixing a leaky window is won before you even start the repair. It’s all about showing up with the right gear. Walking into a hardware store unprepared is a recipe for confusion, but a solid shopping list means you get everything you need for a lasting, pro-quality fix in one go.
Of all the decisions you'll make, picking the right sealant is by far the most critical.
Too many well-intentioned DIYers just grab the first tube of caulk they see, and that’s often where the whole project starts to go wrong. The difference between silicone, polyurethane, and a basic latex sealant isn’t just about price—it’s about whether your repair will survive its first rainy winter.
Selecting the Perfect Sealant
Getting this part right is crucial for a fix that actually lasts. If you use the wrong product, you’ll be doing this all over again next season. I’ve seen it happen time and time again.
Silicone Sealant: This is your best friend for sealing the glass directly to the window frame. It's 100% waterproof, stays flexible, and sticks like glue to non-porous surfaces like glass and vinyl. Just remember, most silicone isn't paintable, so try to match the color from the start.
Polyurethane Sealant: Now, for sealing the larger gap between the window frame and your home's exterior siding, polyurethane is the heavy hitter. It’s incredibly durable and flexible, built to handle brutal UV rays and temperature swings. Plus, it’s paintable, so you can blend it in for a seamless finish.
Latex Caulk (Painter's Caulk): This stuff is easy to work with and cleans up with water, which is great. But it belongs inside your house, period. It has none of the weather resistance needed for an exterior job and will crack and fail the moment it faces real rain and sun.
Selecting the right materials isn't just a best practice; it's a direct investment in your home's health. The global glass repair market, valued at around USD 15 billion in 2025, is always pushing for better materials. That’s because the pros know that quality in equals quality out. You can discover more insights about the glass repair market and its growth.
Essential Tools for Surface Preparation
Listen, you can buy the most expensive sealant on the shelf, but it will fail if you apply it to a dirty, crumbly surface. This is the step most people rush, but it’s the absolute foundation of a solid repair.
Make sure your toolkit includes these non-negotiables:
- A sturdy putty knife or a dedicated caulk removal tool to get every last bit of that old, failed sealant out of there.
- A sharp utility knife is perfect for slicing through stubborn old caulk and trimming new weatherstripping to size.
- Mineral spirits or denatured alcohol and a few clean rags. You need to wipe down the frame until it's spotless so the new sealant can grab on and form a watertight bond.
- A quality caulking gun. Don't cheap out here—a good one with a smooth trigger will help you lay down a much cleaner, more consistent bead.
Getting the New Seal Just Right
Alright, you've figured out where the leak is coming from and you have your materials. Now it's time for the real work. This is where patience pays off and a steady hand creates a seal that can actually handle the non-stop drizzle. Rushing this part is the #1 mistake I see people make, and it's why DIY repairs often fail.
Think of it like this: a clean, bone-dry surface is everything. You could have the best sealant on the market, but if you slather it over old, cracked caulk and grime, it's not going to stick. It's the same reason you wouldn't just paint over peeling paint—it just won't work.
This visual guide lays out the basic steps professionals follow to get a perfect seal every time.
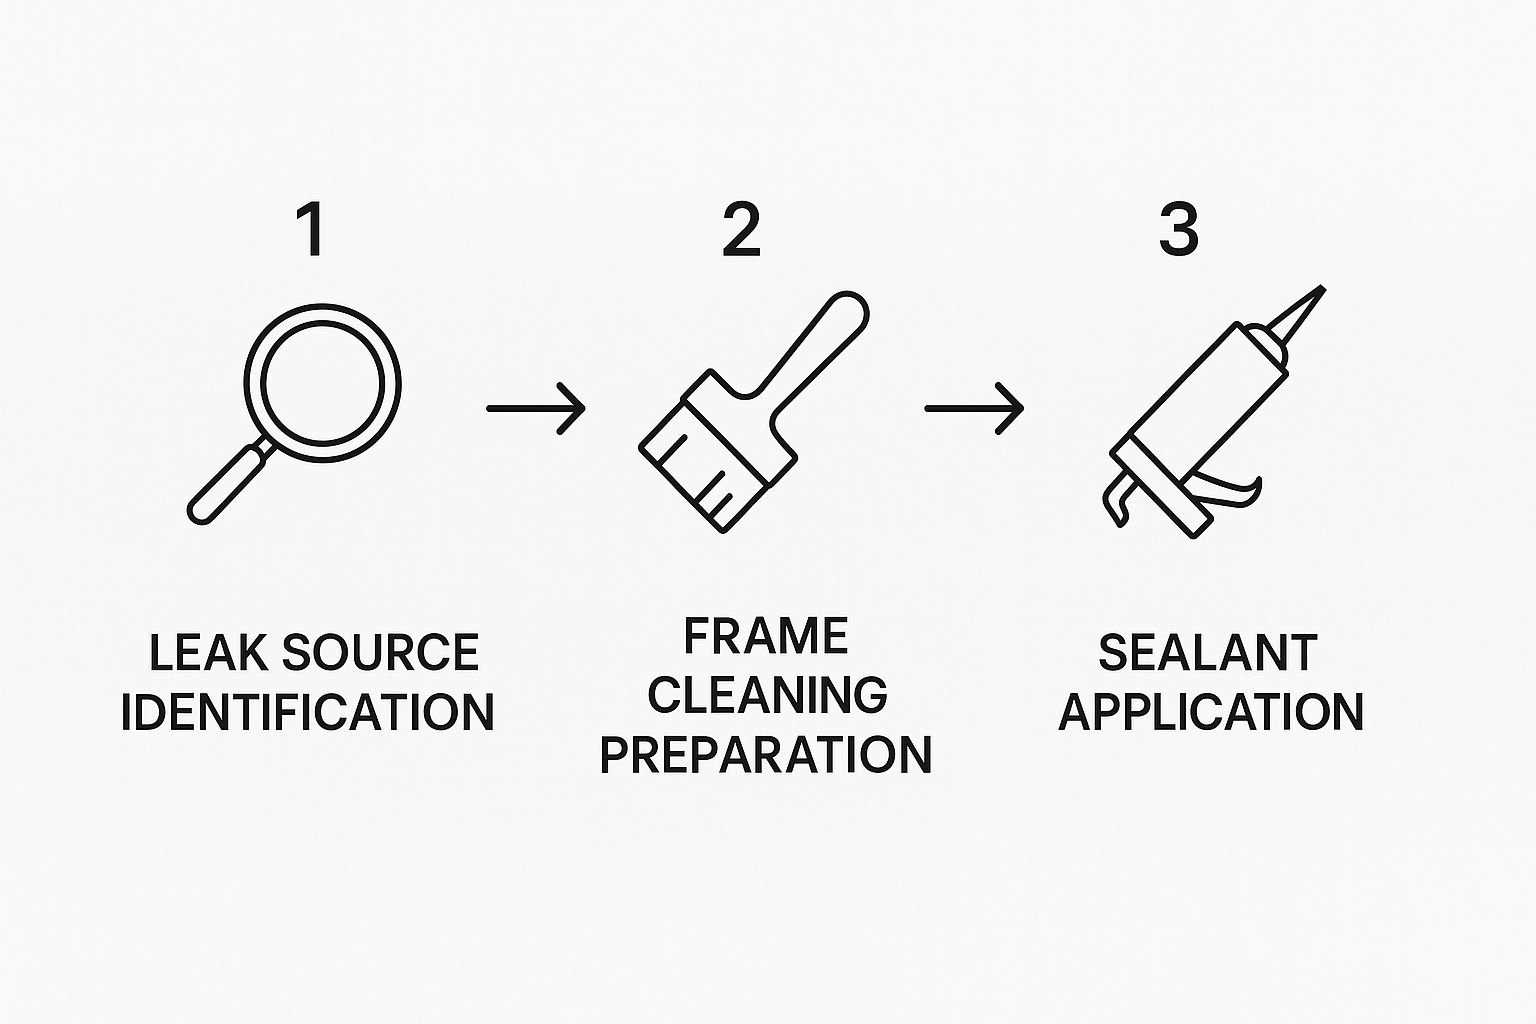
As you can see, it’s a simple process: find the problem, prep the area, and apply the new seal. Following this sequence is key to a repair that lasts.
First, Get Rid of the Old, Failed Caulk
Your first hands-on task is getting every last bit of that old, failed sealant out of there. Grab a sharp utility knife and carefully slice along both sides of the caulk bead. This breaks its grip on the window frame and the siding, which makes it way easier to remove.
Once you've scored it, switch to a caulk removal tool or a stiff putty knife to dig and scrape the old stuff out of the joint. Take your time with this. Even tiny pieces left behind can create weak spots in your new seal.
After the old caulk is gone, give the joint a final clean. Just wipe the area down with a rag and some mineral spirits or denatured alcohol to get rid of any leftover gunk, dust, or oils. Let it dry completely before you do anything else.
Pro Tip: If you want a perfectly clean finish, use painter's tape to mask off both sides of the joint before you start caulking. It guarantees crisp, straight lines and makes cleanup practically nonexistent. Just remember to pull the tape off while the caulk is still wet.
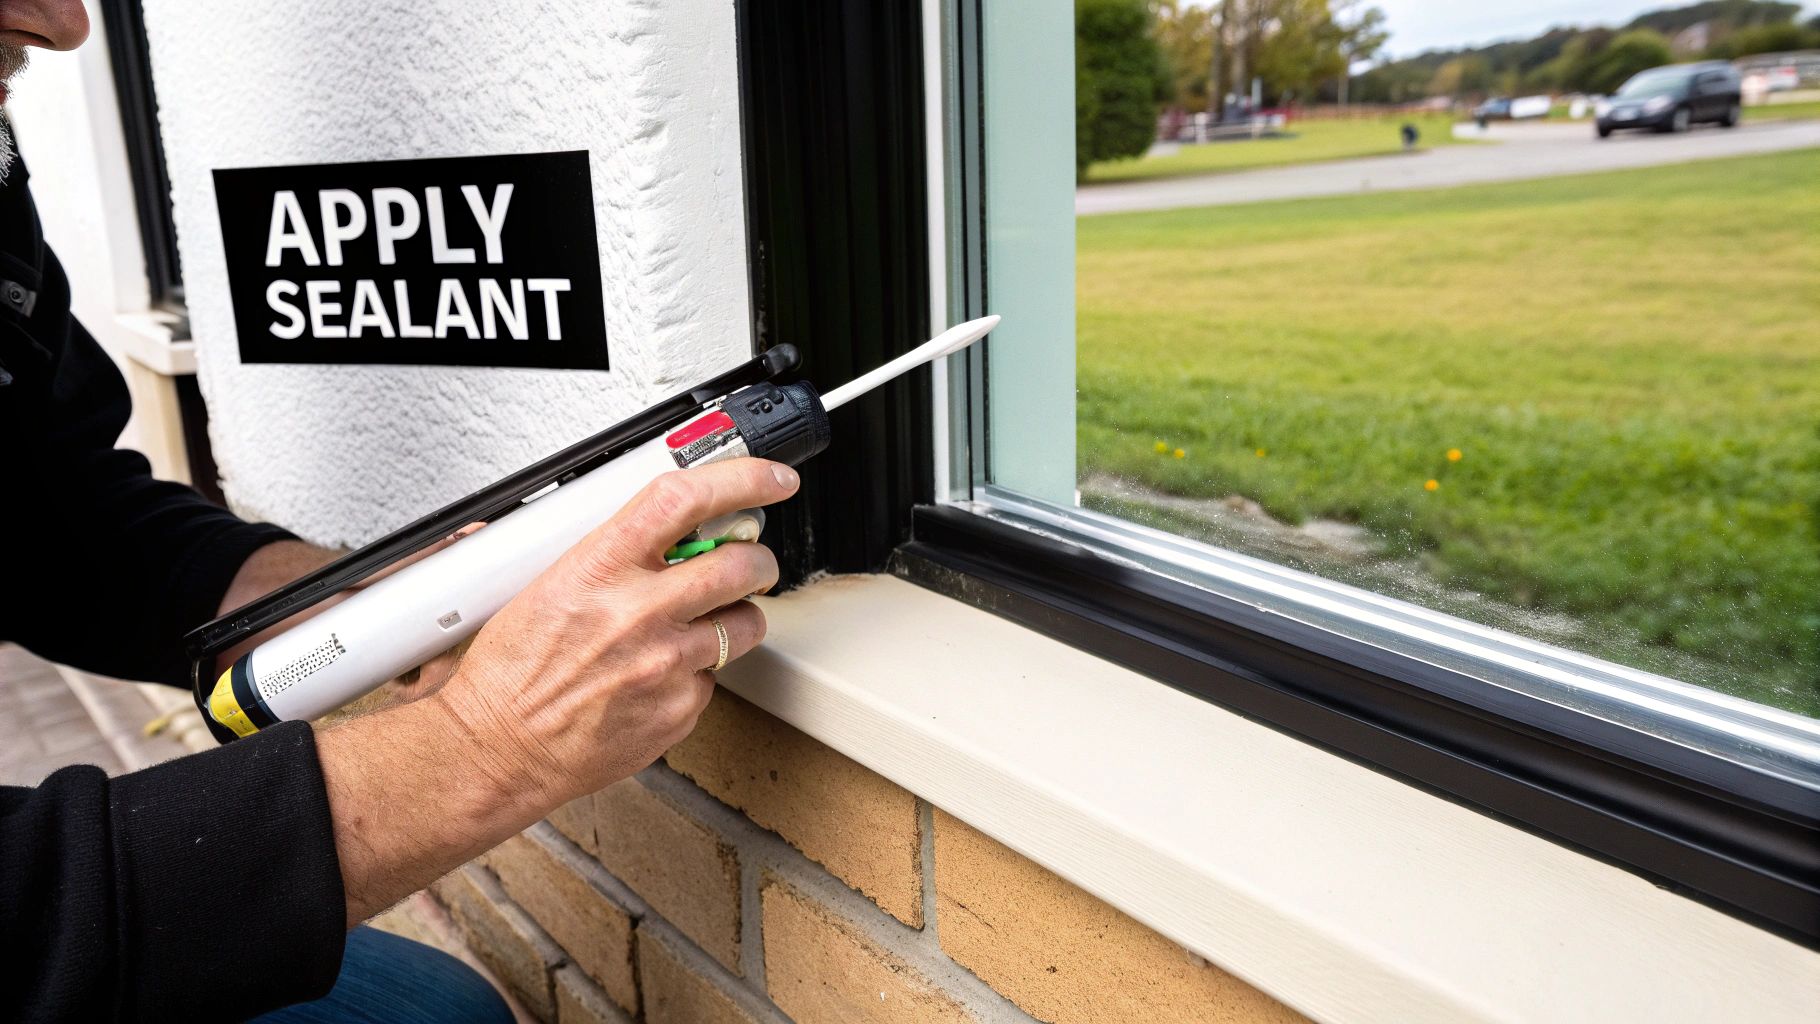
Next, Apply a New Bead of Caulk
This is the main event. Start by cutting the tip of your new caulk tube at a 45-degree angle. You want the opening to be just a little smaller than the gap you're filling. Don't forget to puncture the inner foil seal with a long nail or the wire on your caulking gun.
Load the tube into the caulking gun and apply smooth, steady pressure on the trigger. As you move the gun along the joint, focus on pushing the caulk into the gap, not just laying it on top. This is crucial for filling the entire void and creating a solid bond.
Once the bead is applied, smooth it out with a caulk finishing tool or even just a wet fingertip. This is called "tooling," and it does two things: it presses the sealant firmly against both surfaces and creates a clean, concave finish that helps water run right off.
What About Worn Weatherstripping?
If you found that your leak was caused by old, flattened weatherstripping, the fix is pretty simple but requires a bit of care. Gently pull the old stripping out of the channel it sits in on the window frame or sash.
Use a brush and a damp cloth to clean the channel out completely. Get rid of any dirt or old adhesive. Then, measure and cut your new weatherstripping to the perfect length.
When you press the new strip into the channel, make sure it’s snug, but do not stretch it. If you stretch it, it will eventually shrink back, leaving gaps in the corners and making your repair useless.
Doing this right is a valuable skill. The window repair services market was valued at around USD 3.2 billion in 2024 and is expected to grow by about 6.5% each year through 2033. That growth shows just how important proper window maintenance is for keeping a home energy-efficient and protecting its value. You can dig into the numbers in the full report on the window repair services market.
When Your Window Leak Is a Job for a Pro
Slapping on a fresh bead of caulk to fix a minor drip can feel like a major win for a weekend warrior. It’s satisfying. But let's be real—not every window leak is a simple DIY fix. Knowing when to put the caulk gun down and call in a professional can be the difference between a small repair and a costly structural nightmare.
Some problems are giant, waving red flags. Go ahead and push on the window frame or the wall around it. If it feels soft, spongy, or gives way, you're looking at wood rot. That’s a clear sign water has been getting in for a long, long time, and sealing the outside won't do a thing to fix the compromised wood underneath.
Spotting Signs of a Deeper Problem
Beyond obvious rot, there are a few other tell-tale signs that a leak is more complicated than it looks. These symptoms often point to issues that require a pro's tools and expertise to sort out for good, especially around a damp climate like Seattle's.
Keep an eye out for these warning signs:
- Fogging Between Panes: See that hazy condensation trapped between the layers of your double-pane windows? That means the insulated glass unit (IGU) seal has failed. This isn’t just a leak; it's a failure of the window's core function, and its insulating properties are gone. The only fix is to replace the glass unit, which is definitely a job for a professional.
- Leaks Tied to Siding: If water seems to be coming from above the window, or the leak only shows up after a long, driving rain, the window itself might not be the culprit. The problem could be your home’s siding or, more specifically, the window flashing hidden underneath. I see this all the time after a shoddy siding replacement job.
- Suspected Installation Errors: Is the window relatively new but has leaked from day one? It was probably installed improperly. A window that isn't perfectly square, plumb, and level is practically begging to leak. Fixing a bad installation usually means taking the entire window out and starting over from scratch.
When your home's exterior is compromised, siding replacement becomes the best long-term solution. Modern siding materials, like fiber cement, offer superior moisture resistance, eliminating the cracks and gaps where water can penetrate. A full replacement also allows a professional crew to install a new, state-of-the-art weather-resistant barrier and proper flashing around windows and doors, creating a virtually impenetrable shield against the elements. This not only solves persistent leaks but also boosts curb appeal and increases your home's value.
Ultimately, if your detective work points to anything more serious than old caulk or worn-out weatherstripping, calling an expert is the smartest move you can make. They can properly diagnose the full extent of the damage—from the window to the siding and the wall structure itself—and ensure the repair is done right, once and for all.
Got Questions About Window Leaks? We've Got Answers
Even with a good guide, fixing a leaking window can bring up some tricky questions. We get calls about these all the time from homeowners around the Puget Sound, so let's clear up a few of the most common ones.
Can I Just Slap Some Clear Silicone on Any Window Leak?
Tempting, but not a great idea. While clear silicone is a fantastic waterproof sealant, it's not the right tool for every job.
Its real strength is sealing the glass directly to the window frame. It bonds like crazy and stays flexible. The downside? You can't paint over it, which can leave a sloppy-looking finish on your trim.
For that critical gap between your window frame and the siding, you need something tougher. A high-quality polyurethane or elastomeric sealant is what the pros use. These are built to handle the sun and endless rain we get in the Pacific Northwest and can be painted to blend in perfectly.
Why Does My Window Only Leak When It's Raining Hard?
This is a classic sign of a problem on the exterior. When the wind is howling and driving rain against your house, that pressure is strong enough to force water into tiny cracks you'd never see otherwise.
It could be a hairline fracture in the caulk around the window frame or water getting pushed past old, compressed weatherstripping.
Your first move should be to get outside and inspect the sealant around the entire window. Nine times out of ten, that’s where you'll find the culprit for leaks that only show up during a storm.
How Do I Stop My Windows from Leaking in the Future?
A little proactive maintenance goes a long way. Seriously, an annual check-up can save you thousands in the long run.
Here’s a quick yearly checklist:
- Check the Caulk: Look for any sealant that’s cracking, shrinking, or pulling away from the frame or siding.
- Inspect the Weatherstripping: Make sure the rubber or foam seals are still soft and create a tight seal when the window is shut. If they're brittle, they're not doing their job.
- Clear the Weep Holes: Those little slots on the bottom of the outside frame aren't just for show—they let water drain out. Use a paperclip to gently clear any gunk so water can escape.
The best defense is a good offense. Taking an hour to touch up some cracked caulk is a simple Saturday task. Ignoring it can lead to rotted siding and structural damage that's anything but simple to fix.
Plus, regularly cleaning your windows and frames is a perfect excuse to get up close and spot these little issues before they become big headaches.
If you've found a bigger problem, or if the leak seems to be coming from the siding itself, it’s best to get a professional eye on it. The crew at Breeze Siding has been protecting homes in the Seattle area from the weather since 2007 by making sure siding and windows work together perfectly. Get your free on-site estimate today!