
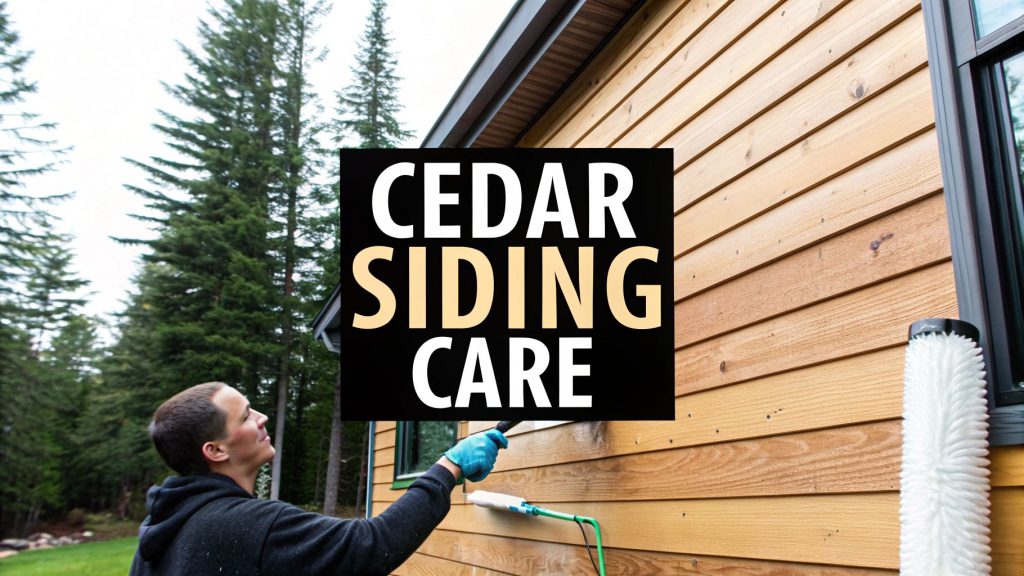
Proper cedar siding care really comes down to a consistent routine of inspection, cleaning, and sealing. This isn't just about keeping up appearances; it's about actively protecting the wood from moisture, mildew, and UV damage. In our demanding Pacific Northwest climate, this proactive approach is non-negotiable if you want to prevent rot, preserve the wood's natural beauty, and sidestep a massive siding replacement bill down the road.
Why Cedar Siding Needs Special Care in the PNW
Here in the Seattle area, our famous damp climate is part of life, but it’s also the biggest enemy of your home’s cedar siding. The constant moisture isn't just a cosmetic problem that leaves green streaks—it's a direct threat to the wood’s structural integrity. When cedar stays wet for too long, it becomes the perfect breeding ground for all sorts of issues that can compromise your entire home.
This relentless dampness creates the ideal environment for:
- Mildew and Algae Growth: These organisms literally feed on the wood, leaving behind those ugly black, green, or gray stains that slowly degrade the surface.
- Moss Infestations: Moss is like a sponge. It traps even more moisture right up against the siding, which speeds up decay and can even start lifting the shingles.
- Wood Rot: This is the most serious threat. Rot is what happens when fungi break down the wood fibers, turning strong, beautiful planks into a soft, spongy mess.
The True Cost of Neglect
I've seen it time and time again with homeowners across the Puget Sound region. A small, dark spot on the siding is ignored, only to be revealed later as a sign of deep-seated rot. What starts as a minor issue can quickly spiral into water intrusion, pest infestations, and even damage to the home's framing. This is why proactive cedar siding care isn't just about aesthetics—it's about protecting your investment.
A little money and effort spent on a regular maintenance routine will save you from enormous repair bills later on. Think of it this way: an annual cleaning and periodic sealing is a drop in the bucket compared to a full siding replacement, which can easily cost tens of thousands of dollars.
A consistent maintenance schedule is the single most effective strategy for maximizing the lifespan of your cedar siding. Addressing minor issues early prevents them from becoming major, costly repairs.
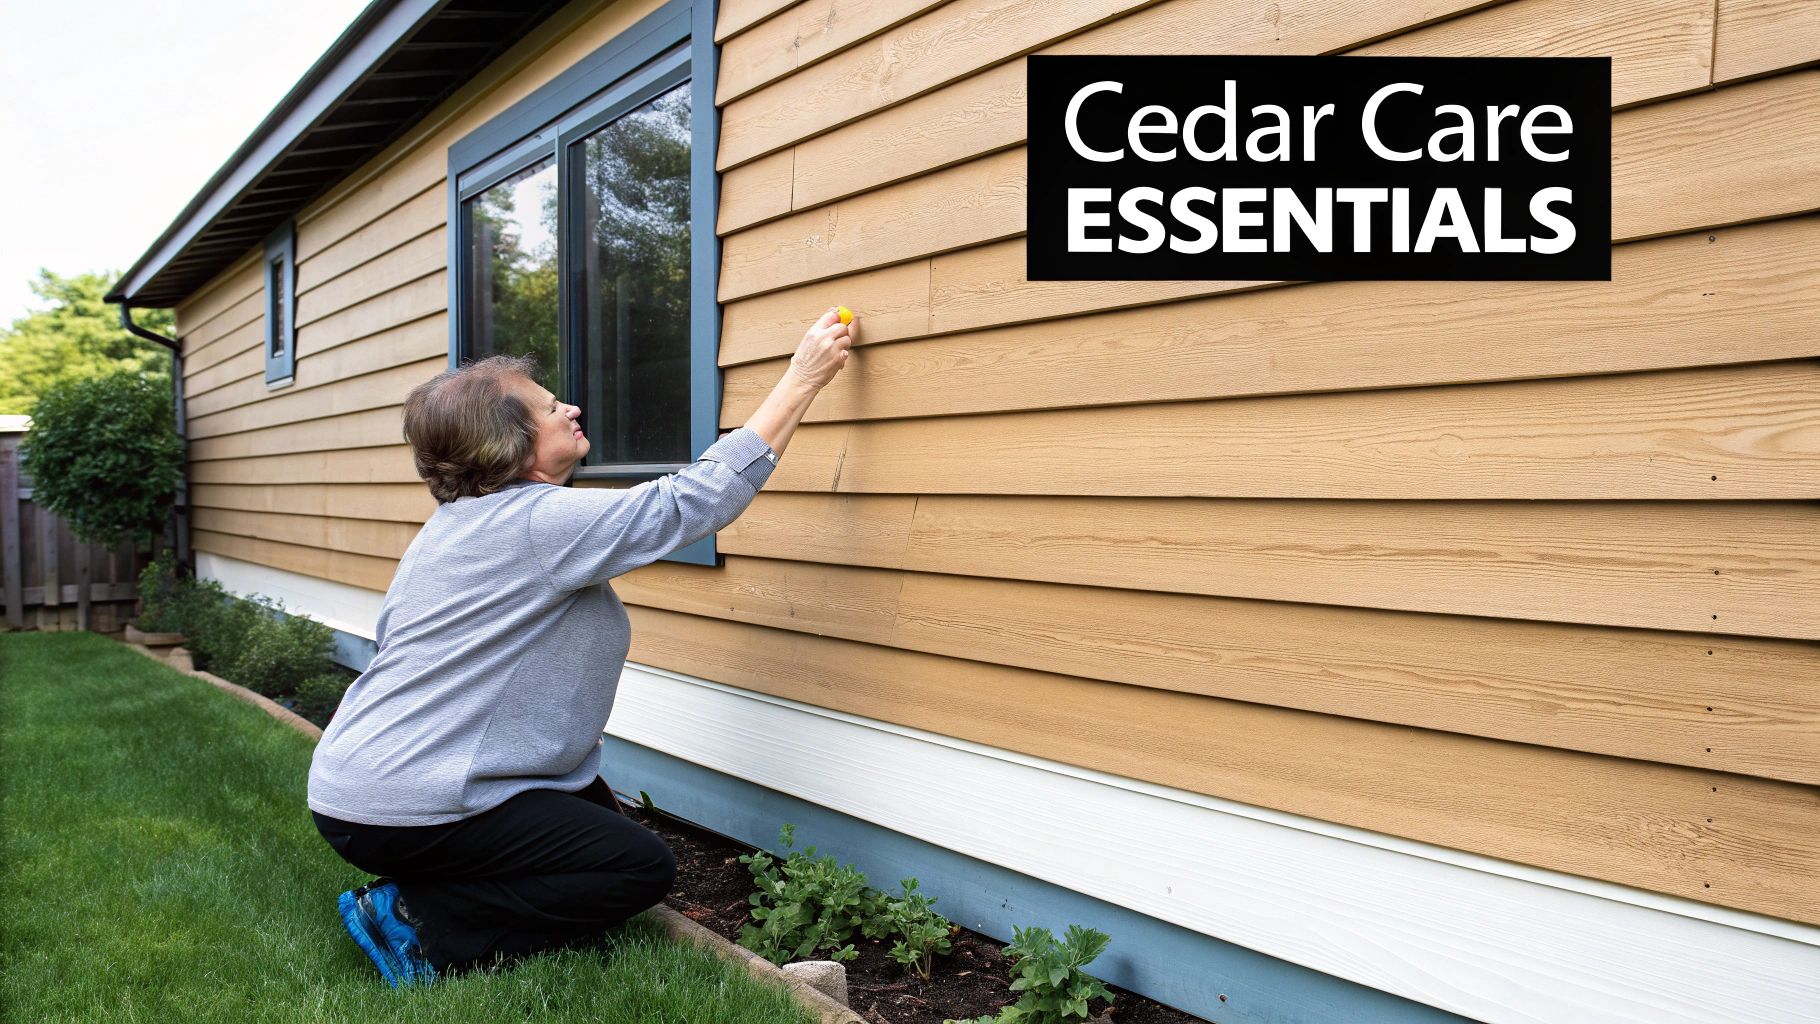
The Foundation of Effective Maintenance
For homeowners from Tacoma to Bellevue, a successful cedar siding care plan boils down to three core principles. It all starts with smart, regular inspection to catch issues before they get out of hand. Next comes proper cleaning to get rid of all the grime and organic growth. Finally, applying a protective seal shields the wood from our relentless PNW rain and sun.
Mastering these basics will not only preserve your home's value but also maintain the stunning natural beauty that makes cedar such a premier choice for Northwest homes.
Here’s a simple checklist to keep you on track throughout the year. Staying on top of these small tasks season after season is the secret to long-lasting, beautiful cedar siding.
Annual Cedar Siding Maintenance Checklist for the PNW
| Season | Key Task | Why It's Critical in Our Climate |
|---|---|---|
| Spring | Gentle Cleaning | Washes away winter's accumulation of dirt, algae, and pollen, preventing them from feeding mildew growth as temperatures rise. |
| Summer | Detailed Inspection & Sealing | The dry season is the best time to check for cracks or gaps and apply a fresh coat of sealant to protect against UV rays and prepare for fall rains. |
| Fall | Gutter & Debris Check | Clogged gutters overflow, soaking the siding. Clearing them prevents constant water exposure that leads to rot. |
| Winter | Visual Spot-Check | After major storms, walk around your home. Look for any new stains, loose boards, or signs of moisture to catch problems early. |
Following this simple schedule turns a potentially huge project into a series of small, manageable steps. It’s the easiest way to ensure your cedar siding stays healthy and looks great for decades to come.
A Practical Guide to Cleaning Cedar Siding
Giving your cedar siding a proper clean is way more than just a quick spray-down—it’s the single most important thing you can do to protect it. For those of us in the Seattle area, an annual wash gets rid of the dirt, pollen, and mildew that just loves our damp climate.
Getting this step right makes your home look fantastic and preps the wood so that protective sealants can actually sink in and do their job.
First thing's first: you need to know what you're dealing with. Is it just surface-level grime, or is something more stubborn clinging to your home?
- Mildew: Look for dark, powdery splotches, usually black or gray.
- Algae: This often shows up as green or black streaks, especially on the shaded, north-facing side of a house here in the Puget Sound.
- Grime: This is the general layer of dust and dirt that usually comes off without too much of a fight.
Telling them apart is crucial because it determines your whole cleaning strategy and helps you avoid reaching for harsh chemicals you don't actually need.
Choosing the Right Cleaning Solution
When you're caring for cedar siding, less is almost always more. It can be tempting to grab aggressive chemicals like chlorine bleach for a quick fix, but that's a huge mistake.
Chlorine bleach is incredibly corrosive. It will strip the natural, protective oils right out of the cedar and make the wood fibers brittle and weak, aging them prematurely.
A much safer—and just as effective—alternative is a good oxygen bleach solution. Oxygen bleach (its main ingredient is sodium percarbonate) works by releasing tiny oxygen bubbles that gently lift away dirt and stains without harming the wood. It’s a trick the pros use to bring back cedar’s natural warmth and color.
Pro Tip: Mix up your own powerful but gentle cleaning solution. Combine one cup of powdered oxygen bleach with one gallon of warm water. Add a quick squirt of eco-friendly dish soap—this helps the mixture stick to the siding instead of just running off. Let it sit for 10-15 minutes before you start scrubbing.
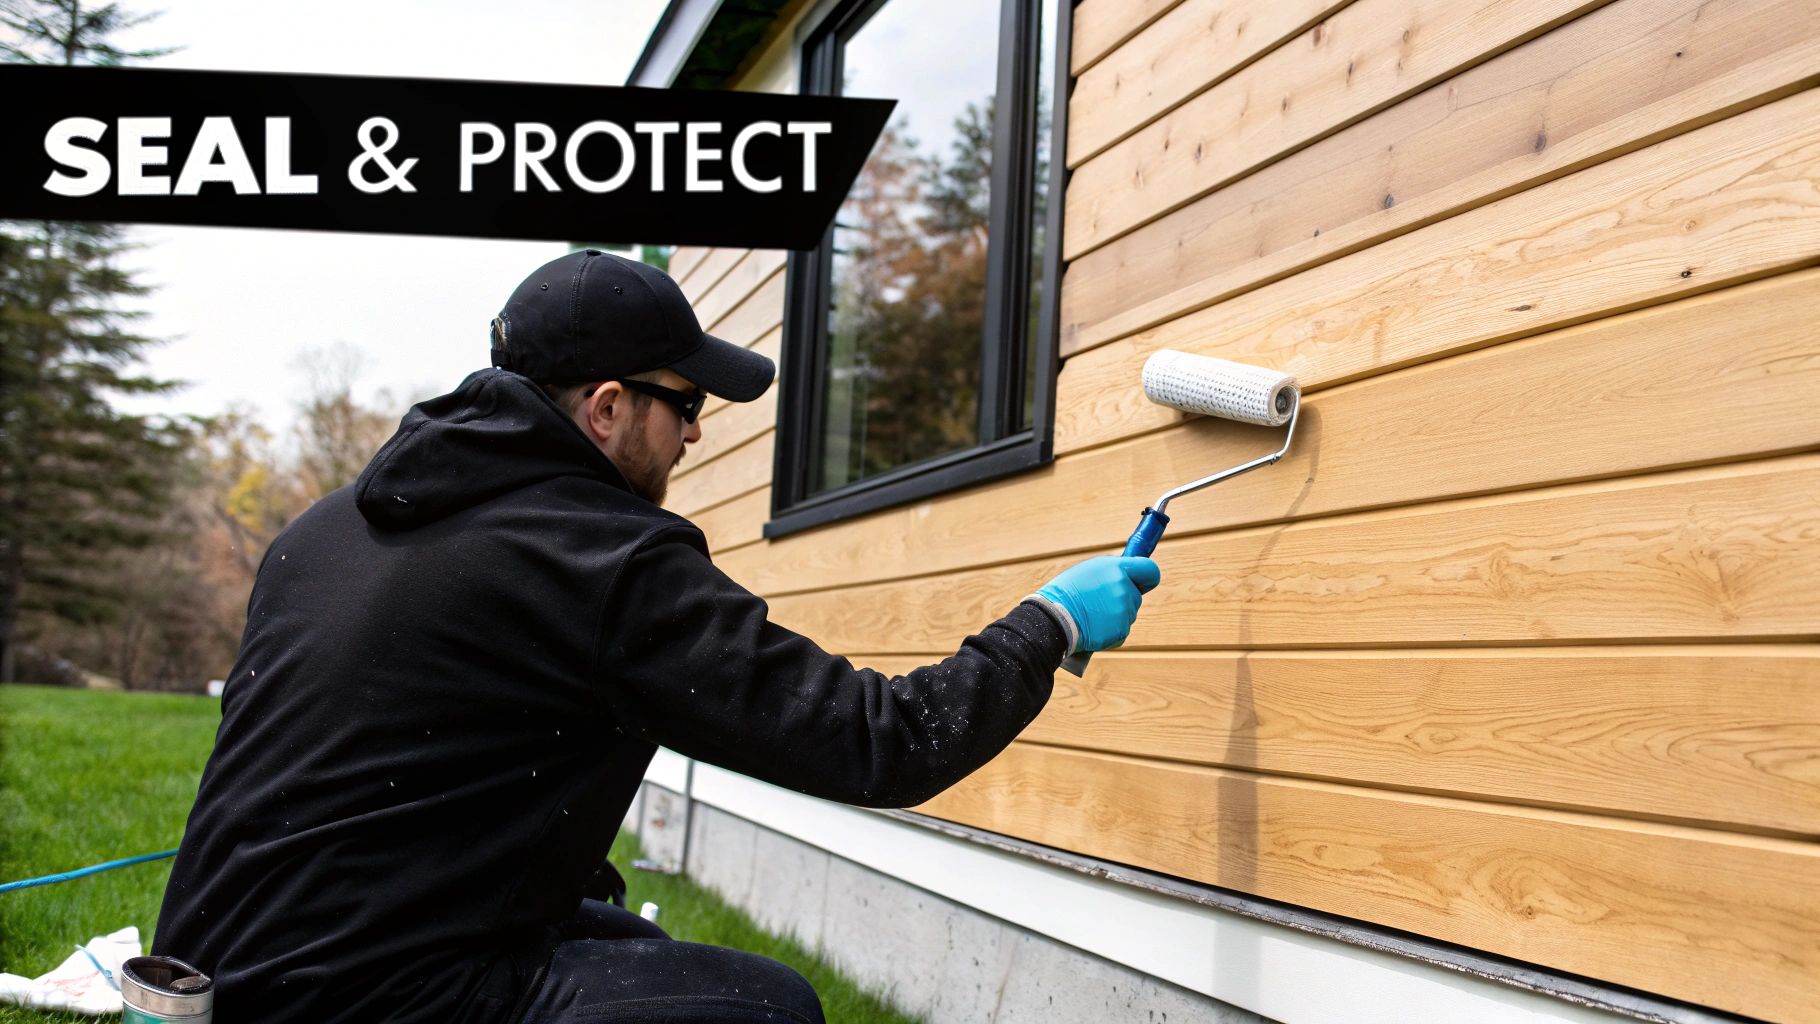
This simple maintenance cycle is the key to healthy siding.
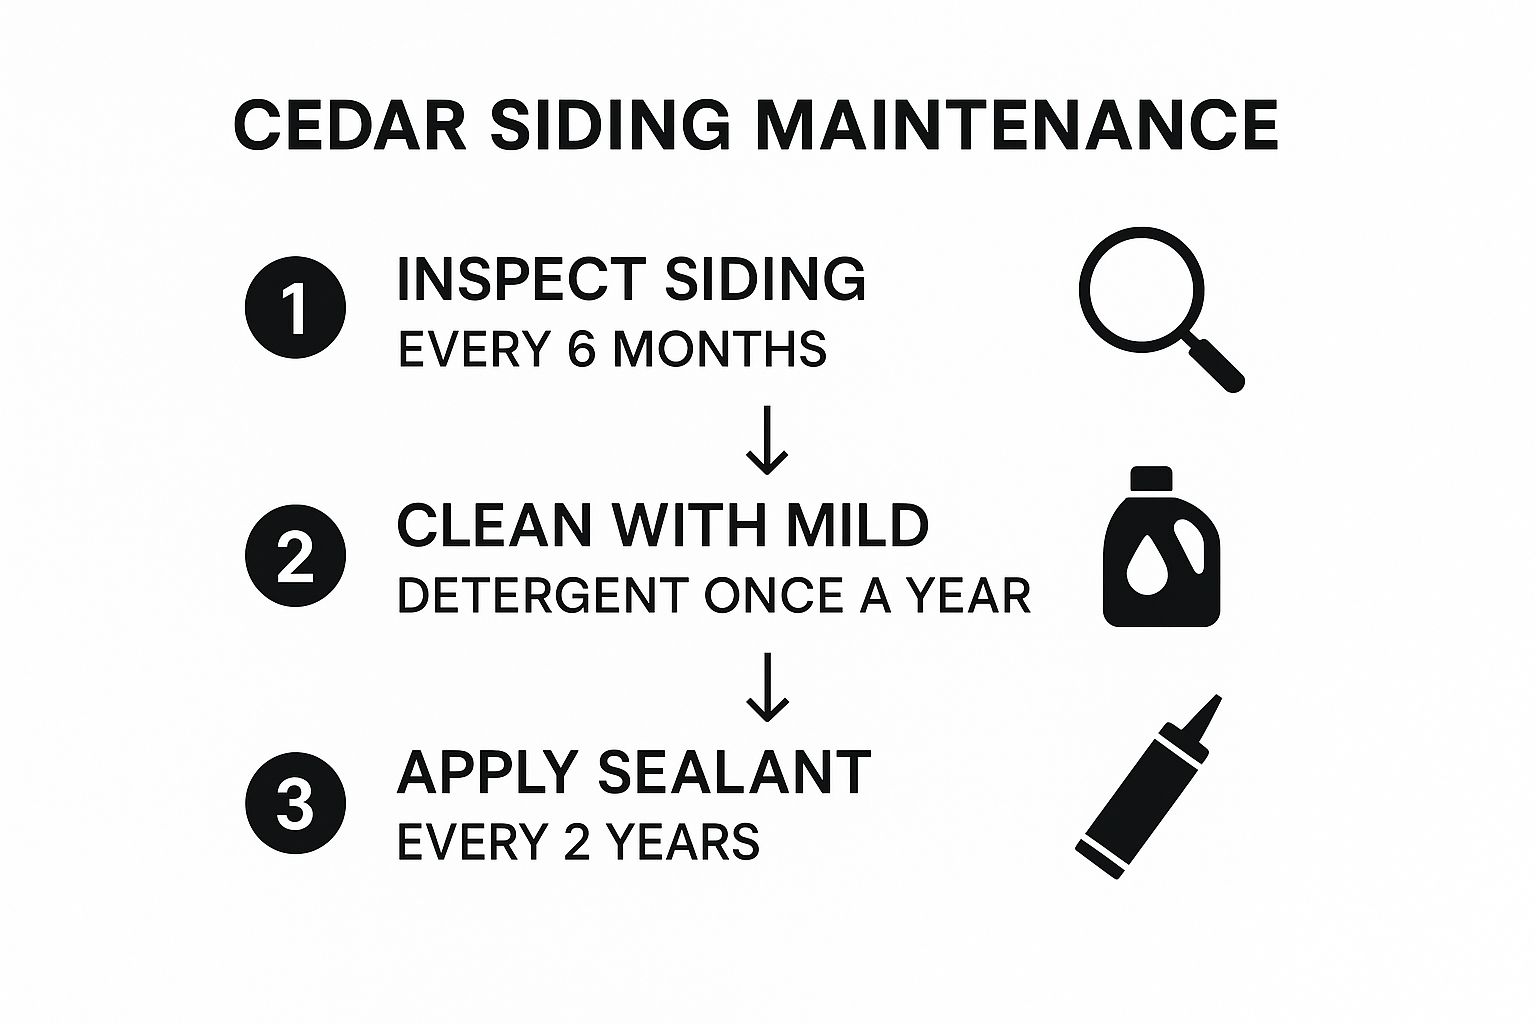
As the infographic shows, a consistent routine of inspecting, cleaning, and sealing is what creates a complete protective shield for your home’s exterior.
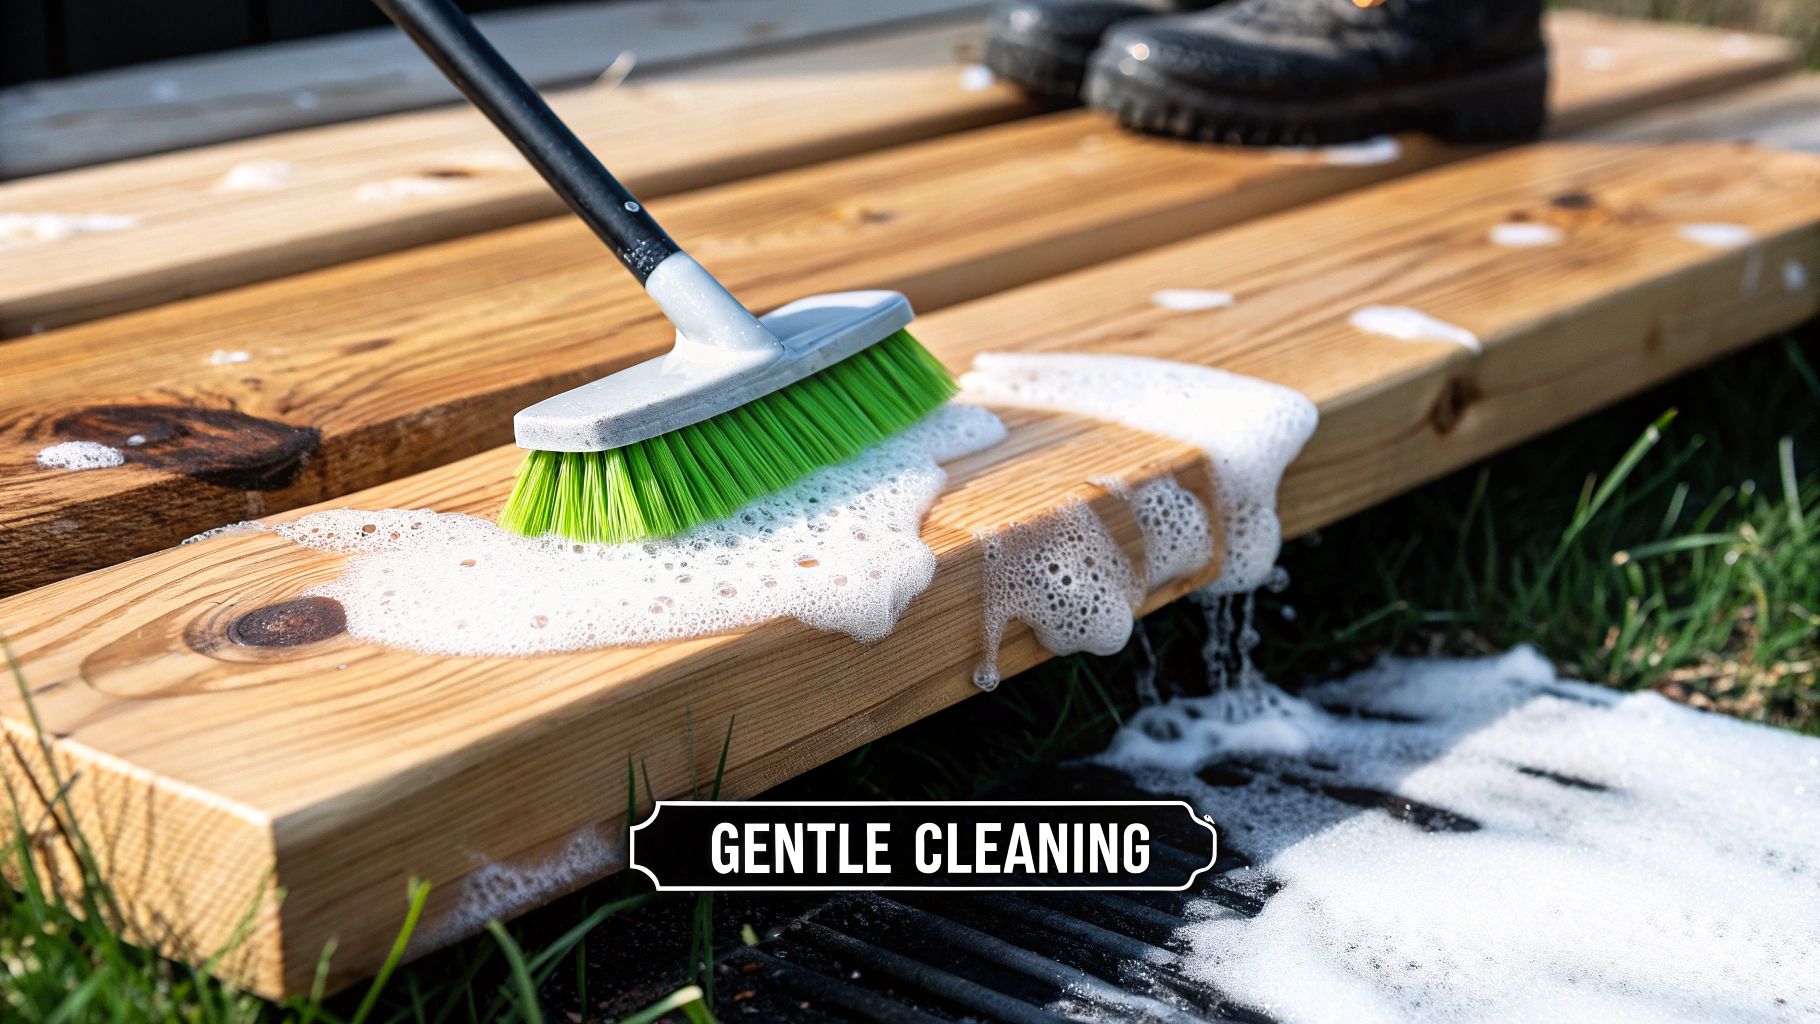
Soft Brushes vs Power Washing
The debate over power washing cedar gets pretty heated, but among professionals, the answer is clear: high pressure is a recipe for disaster.
Cedar is a soft wood. Blasting it with a high-PSI stream can easily gouge the surface, cause splinters, and force water deep between the boards. That trapped moisture is a perfect invitation for rot.
The best method, by far, is a gentle scrub using a soft-bristle brush on an extension pole. This lets you work the oxygen bleach solution into the wood grain to lift stains without causing permanent damage.
If you absolutely must use a pressure washer, use it only for rinsing on its lowest pressure setting (around 500-600 PSI). Make sure you use a wide-angle tip and keep the nozzle at least 18 inches away from the wood at all times.
Finally, always protect your yard. Before you start mixing solutions, give any plants, shrubs, or garden beds near the house a good soaking with the hose. Covering them with plastic sheeting is even better, giving them an extra layer of defense against any runoff. This ensures your landscaping stays just as beautiful as your freshly cleaned siding.
Spotting Siding Trouble Before It Starts
Catching issues on your cedar siding early is the difference between a quick weekend fix and a massive, wallet-draining replacement project. In our constantly damp Puget Sound climate, inspecting your siding twice a year is the single best thing you can do to stop moisture damage dead in its tracks.
This isn't just a casual glance from the driveway. It's a hands-on, up-close walkaround to find the subtle clues cedar gives you when something’s wrong.
Grab a simple tool—a flathead screwdriver—and walk the perimeter of your home. Pay extra attention to the spots that get the most rain or stay in the shade, especially those north-facing walls.
Gently press the tip of the screwdriver into the wood in these vulnerable areas. If the wood feels soft, a bit spongy, or flakes away without much effort, you’ve just found dry rot. That's a five-alarm fire for your siding and needs to be addressed immediately.
Learn to Read the Subtle Signs
Beyond outright rot, you need to train your eye to spot the less obvious signs of stress. These are the early warnings that tell you it's time for a little maintenance before things get out of hand.
Keep an eye out for these specific cues:
- Cupping: This is when boards are no longer flat and start to curl up at the edges, creating a "cup" shape. It’s a classic sign of uneven drying—the outside of the board dries faster than the wood behind it. Happens all the time with our unpredictable PNW weather.
- Splitting or Checking: You'll see these as cracks running with the grain of the wood. A few small, hairline surface checks are just part of cedar's character as it ages. But deep splits that go clear through the board? Those are basically tiny highways for water to get in.
- Failing Caulk: Get a good look at the seals around your windows, doors, and corner trim. If that caulk is cracked, peeling away, or has visible gaps, it’s no longer doing its job. It’s creating a direct pipeline for rainwater to sneak in behind the siding.
It's easy to dismiss a single cracked board or a small gap in the caulk, but don't. Think of them as open invitations for moisture to seep in, where it can cause serious, hidden structural damage over months or even years.
Protecting Your Home for the Long Haul
Finding these issues early isn't just about maintenance; it's about protecting your home's value. Properly cared-for Western Red Cedar bevel siding has an incredible lifespan—we're talking around 50 years. But you only get that longevity with proactive care.
A good professional finish right out of the gate can last 15 to 20 years. Down the road, you'll probably need a repaint around year 45 to keep the wood sealed and protected. The Western Red Cedar Lumber Association has some great resources on just how durable this wood can be when treated right.
Making these detailed walkarounds a regular habit is the smartest thing you can do. It prevents small, fixable problems from snowballing into catastrophic failures. Honestly, it’s a simple routine that can save you thousands by extending the life of your siding and helping you avoid a costly, premature replacement project.
Choosing the Right Stain for PNW Weather
The finish you choose for your cedar siding is its first and last line of defense against our relentless Seattle rain. It's more than just a color—think of it as a high-performance jacket for your entire home. Proper cedar siding care means picking a finish that can stand up to constant moisture, persistent mildew, and the surprisingly strong UV rays we get.
Making the right choice can feel overwhelming, but it doesn't have to be. For our climate, the options really boil down to a few key categories, each with its own set of pros and cons.
Comparing Stain Options for Cedar
For most PNW homeowners, the decision comes down to a simple trade-off: how much natural wood grain do you want to see versus how much protection do you need?
Here’s a quick rundown of how the common types stack up:
- Solid Stains: These act a lot like paint, creating an opaque finish that completely covers the wood grain. They offer the highest level of UV protection and are fantastic for hiding imperfections or achieving a perfectly uniform color. The downside? They can peel over time if the surface prep isn't absolutely perfect.
- Semi-Transparent Stains: This is an incredibly popular choice around here, and for good reason. It adds a beautiful hint of color while letting the cedar's natural grain shine through. It soaks into the wood fibers instead of just sitting on top, which gives it excellent moisture repellency. You get good UV protection, but plan on reapplying it more often than a solid stain.
- Clear Sealants: If you love the natural look of cedar, this is your go-to. Clear sealants protect the wood from moisture while leaving its color completely untouched. The major trade-off is they offer minimal UV protection, which means the sun will eventually turn the wood a silvery gray. It’s the best option for people who want that classic weathered look but still need to prevent water damage.
For homeowners in the Puget Sound region, a high-quality, oil-based semi-transparent stain often provides the best balance. It delivers crucial mildew resistance and UV blockers while still celebrating the natural beauty of the wood.
The Most Important Step: Surface Preparation
Here’s a hard truth: you can buy the most expensive, top-rated stain on the market, but it will fail if you apply it over a dirty, unprepared surface. Proper surface preparation is non-negotiable. This is the step where most DIY projects go completely sideways.
If your siding has an old finish that's peeling or flaking, it has to come off. All of it. Applying new stain over a failing layer is like building a house on a crumbling foundation—it’s just a matter of time before it all comes down. Stripping that old finish gives the new coat a clean slate, allowing it to penetrate the wood fibers and form a strong, lasting bond.
This is especially critical for premium woods like Western Red Cedar, which is the go-to siding material in our market for its natural durability. To protect that investment, you have to give the new stain a perfectly clean surface to grab onto. The industry is always innovating, pairing sustainable sourcing with more diverse, long-lasting finishes. You can learn more about the growth of the cedar siding market to see where things are headed.
Ultimately, a flawlessly prepped surface is the real secret to a professional-grade finish that not only looks amazing but provides years of solid protection against whatever the PNW throws at it.
Knowing When to Repair or Replace Your Siding
Every homeowner with cedar siding eventually hits this crossroads: can I get away with a repair, or is it time for a full-on replacement? Getting this right is a big deal for your wallet and the long-term health of your home.
The good news is that cedar is tough stuff. More often than not, a targeted repair is all you need.
If you’re dealing with a single cracked board, a few splintered edges, or a small patch of rot, a good contractor can surgically replace just the damaged pieces. It’s the most cost-effective route and keeps most of your beautiful, original siding right where it belongs.
But there comes a tipping point. A moment when patching things up is like putting a band-aid on a broken leg.
Unmistakable Signs It’s Time for Replacement
You need to switch from a "repair" mindset to a "replace" one when you start seeing systemic, widespread problems. These are the red flags telling you the siding is no longer doing its primary job of protecting your home.
Keep a sharp eye out for these critical warning signs:
- Widespread Rot: Finding soft, spongy wood in multiple spots across different walls is a major problem. It’s no longer an isolated issue.
- Siding Pulling Away: Are boards warping, cupping, or literally coming off the wall? That’s a clear sign of failure.
- Spiking Energy Bills: If your siding is compromised, drafts get in. This forces your HVAC system to work overtime just to keep your home comfortable.
- Moisture Inside: Seeing peeling paint or water stains on your interior walls is a huge alarm bell. It likely means the moisture barrier has failed.
When you see these symptoms, your siding has reached the end of its useful life. Trying to stick with small repairs at this stage is just throwing good money after bad.
Think of it this way: a consistent cedar siding care schedule is your best defense against premature replacement. It’s the small, proactive steps that prevent minor damage from escalating into a full-blown siding failure.
The Powerful Benefits of Siding Replacement
I get it—the thought of a full replacement can feel overwhelming. But it’s also a massive opportunity to upgrade your home in some significant ways. This isn't just a repair; it's a major improvement that pays off for years.
The number one benefit is creating a weather-resistant barrier that protects your home's structure for the long haul. A modern siding replacement isn't just about nailing up new boards; it's a chance to install a complete system with an integrated house wrap and proper flashing. This dramatically improves your home’s energy efficiency, and you’ll see a real difference in your heating and cooling bills.
New siding also offers an unmatched return on investment. It completely transforms your home's curb appeal, making it one of the smartest renovations for boosting resale value. To protect that huge investment, all it takes is consistent maintenance—typically a light rinse annually and recoating the surfaces every few years. As experts often point out, this simple schedule is the key to keeping the wood looking incredible for decades. You can find more great insights about maintaining cedar siding on Timbertech.co.nz.
We Get Asked This A Lot…
After years of working with homeowners across the Seattle area, we’ve heard just about every question you can imagine when it comes to taking care of cedar siding. It can feel a little tricky, so we've put the most common ones right here to give you some straight, practical answers.
Can I Just Pressure Wash My Cedar Siding?
This is the big one, and the short answer is: be careful. It's tempting to blast away years of grime, but high-pressure washing is a recipe for disaster on a soft wood like cedar. You can easily gouge the surface, cause ugly splintering, and force water deep behind the boards—creating a perfect little haven for rot.
That said, a pressure washer isn't totally off-limits. You can use it for a gentle rinse, but the key is to keep the pressure dialed way down.
- Stick to a very low setting, around 500-600 PSI.
- Use a wide-angle tip (a 40-degree one is perfect).
- Always keep the nozzle at least 18 inches away from the wood.
Never, ever use it to try and strip old paint or blast off mildew. That’s a job for gentle cleaners and a soft-bristle brush.
What Are These Dark Streaks Bleeding Through the Paint?
If you're seeing dark, almost tea-like stains seeping through your paint or a light-colored stain, you're looking at tannin stains. Tannins are natural compounds inside the cedar, and they're water-soluble. When moisture finds its way into the wood, it pulls those tannins right to the surface.
To fix it for good, you first have to find and seal whatever is letting moisture in. Once that's handled, you can treat the stains themselves with an oxalic acid-based wood brightener. But the most critical step comes before you paint: you must use a high-quality, stain-blocking oil-based primer. This creates a barrier that stops tannins from bleeding through your fresh topcoat.
When Is the Best Time of Year to Stain Siding in the PNW?
In our wonderfully unpredictable Puget Sound climate, timing is everything. The absolute best window for staining your cedar siding is during our driest summer months, which is usually from mid-July through early September.
You really need a few consecutive days of dry, mild weather for the stain to cure properly. Think of it like this:
- Day 1: Give the siding a thorough cleaning.
- Day 2: Let it dry. Completely. This is non-negotiable for proper stain absorption.
- Day 3 & 4: Apply the stain when temps are between 50°F and 90°F with no rain in the forecast for at least 24-48 hours.
Trying to stain in the damp, cool weather of fall or spring often leads to the stain not sticking correctly, and you'll find yourself redoing the job way sooner than you should.
The most effective and safest cleaning solutions are often the simplest. An oxygen bleach-based cleaner is excellent for removing organic growth without damaging the wood's delicate fibers or harming your surrounding landscape.
Are There Any Good Eco-Friendly Cleaning Options?
Absolutely. You don't need to resort to harsh chemicals to get your siding looking great again. An oxygen bleach (sodium percarbonate) solution is a fantastic, environmentally friendly choice that knocks out dirt, mildew, and algae. It works by releasing little oxygen bubbles that gently lift all that gunk off the wood's surface.
For an easy DIY mix, just combine one cup of powdered oxygen bleach with one gallon of warm water. A little pro tip: add a small squirt of biodegradable dish soap. It helps the solution cling to the vertical siding a bit longer so it can do its job.
Ready to ensure your cedar siding is protected by the best in the business? The team at Breeze Siding has been helping homeowners across the Seattle area maintain, repair, and replace their siding since 2007. We bring the expertise needed to handle any challenge the PNW climate throws your way. Schedule your free, on-site estimate by visiting us at https://breezesiding.com.