
That constant Pacific Northwest drizzle does a lot more than just keep our gardens green. It’s also putting your home's siding to the test, day in and day out. Learning to spot the subtle, PNW-specific signs of siding failure is key to knowing whether you need to start looking for a contractor now or if it's a project for down the road.
Knowing When Your Pacific Northwest Home Needs New Siding
Here in the Pacific Northwest, siding isn’t just about curb appeal; it’s your home’s essential rain jacket against our notoriously wet weather. While the obvious stuff like big cracks or holes is easy to spot, Seattle-area homeowners need to develop a sharper eye for the unique ways our climate attacks a home's exterior.
Your house is always telling you a story. You just have to know how to read it. For instance, have you noticed any siding that looks wavy or warped? Pay special attention to the shaded, north-facing side of your house where moisture lingers. That kind of distortion is a huge red flag that water has gotten behind the siding and is soaking the sheathing underneath, causing it to swell up.
Telltale Signs of Moisture Damage
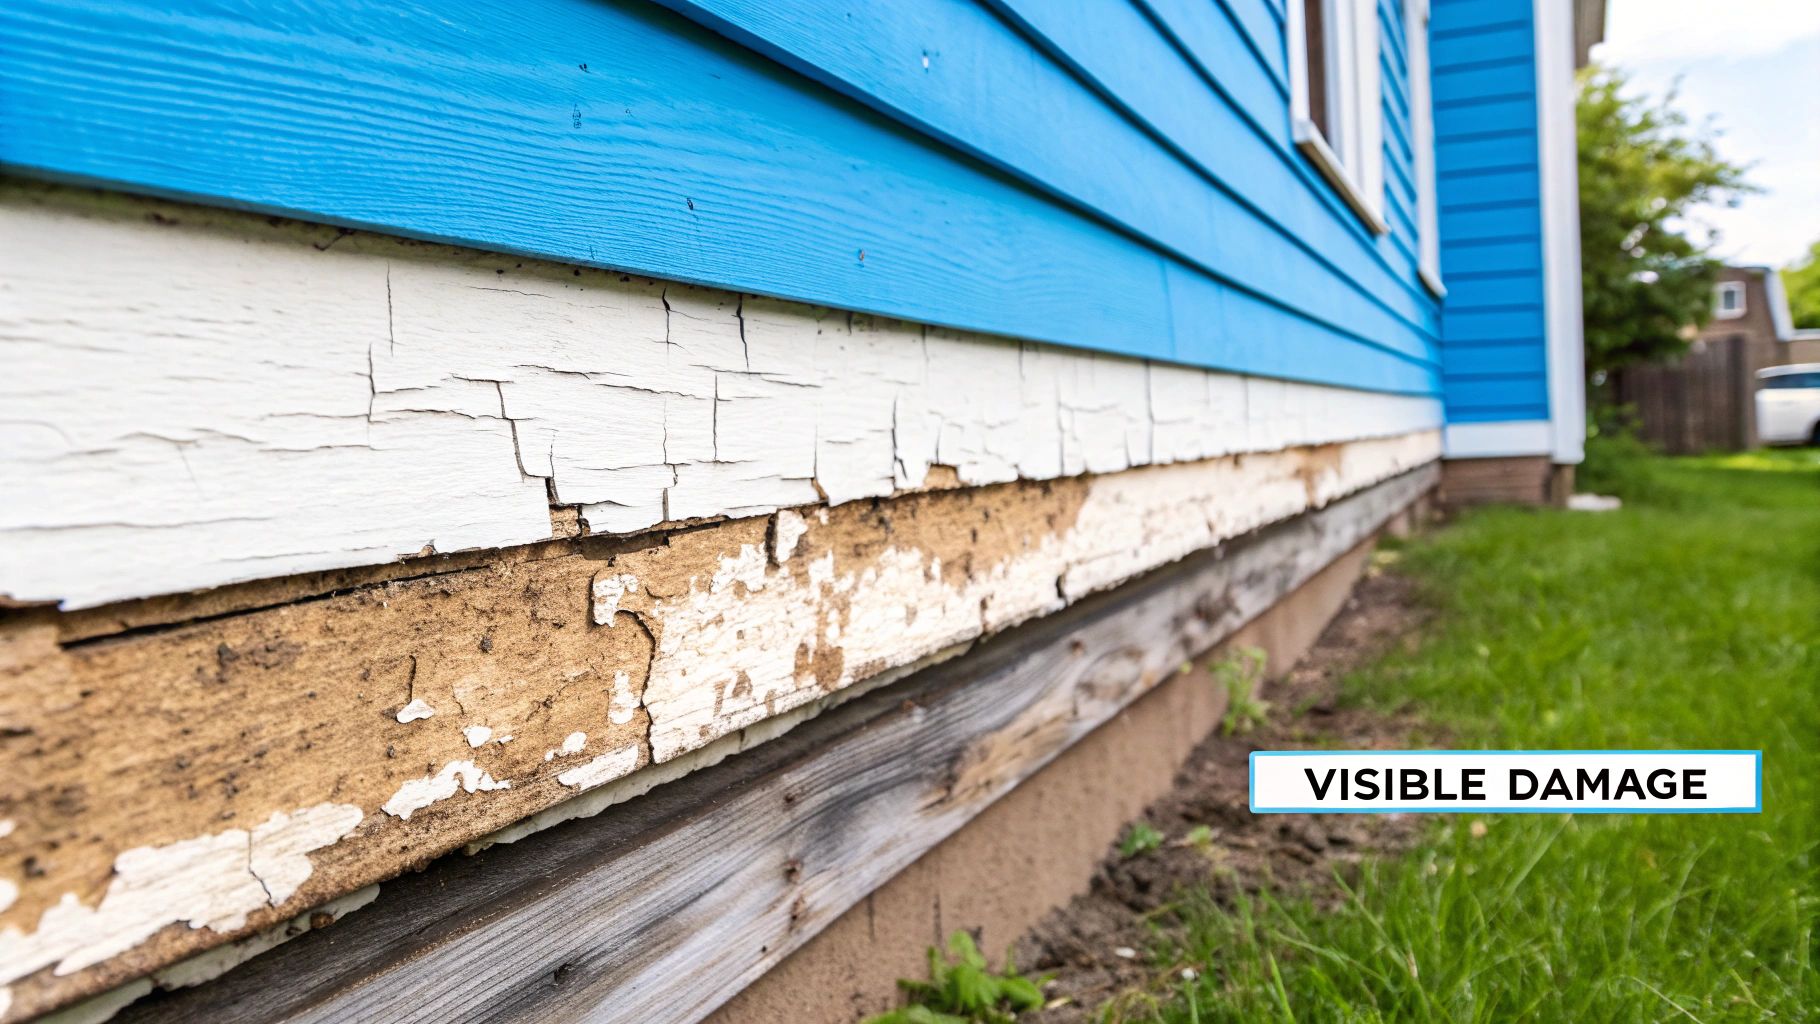
You really don't want to wait until there's a leak dripping into your living room to realize there's a problem. A little proactive inspection goes a long way. Here are a few things I always tell homeowners to look for:
- Soft Spots: Walk around your house and gently press on the siding with a screwdriver handle, especially right below the windows and under the eaves. If it feels even a little bit spongy or soft, that's a classic sign of rot happening from the inside out. This is a big one for older wood or composite siding.
- Stubborn Mildew or Moss: A little bit of green is just part of living in the PNW. But if you've got moss, mold, or mildew that comes right back after you've cleaned it, your siding is likely holding onto too much moisture. That dampness creates the perfect breeding ground for decay.
- Faded and Chalky Finish: Siding that's severely faded isn't just an aesthetic issue. It means the original protective finish has worn off, leaving the material exposed and porous. Run your hand across a plank—if a chalky powder comes off, its ability to repel water is long gone.
A lot of people miss this, but peeling paint or bubbling wallpaper inside your house can be the first clue that your siding is failing. It often means moisture is getting all the way through your wall cavity.
Catching these problems early puts you in the driver's seat. It means you can plan a siding replacement on your timeline, instead of scrambling to fix major water damage that has already started to compromise your home’s structure.
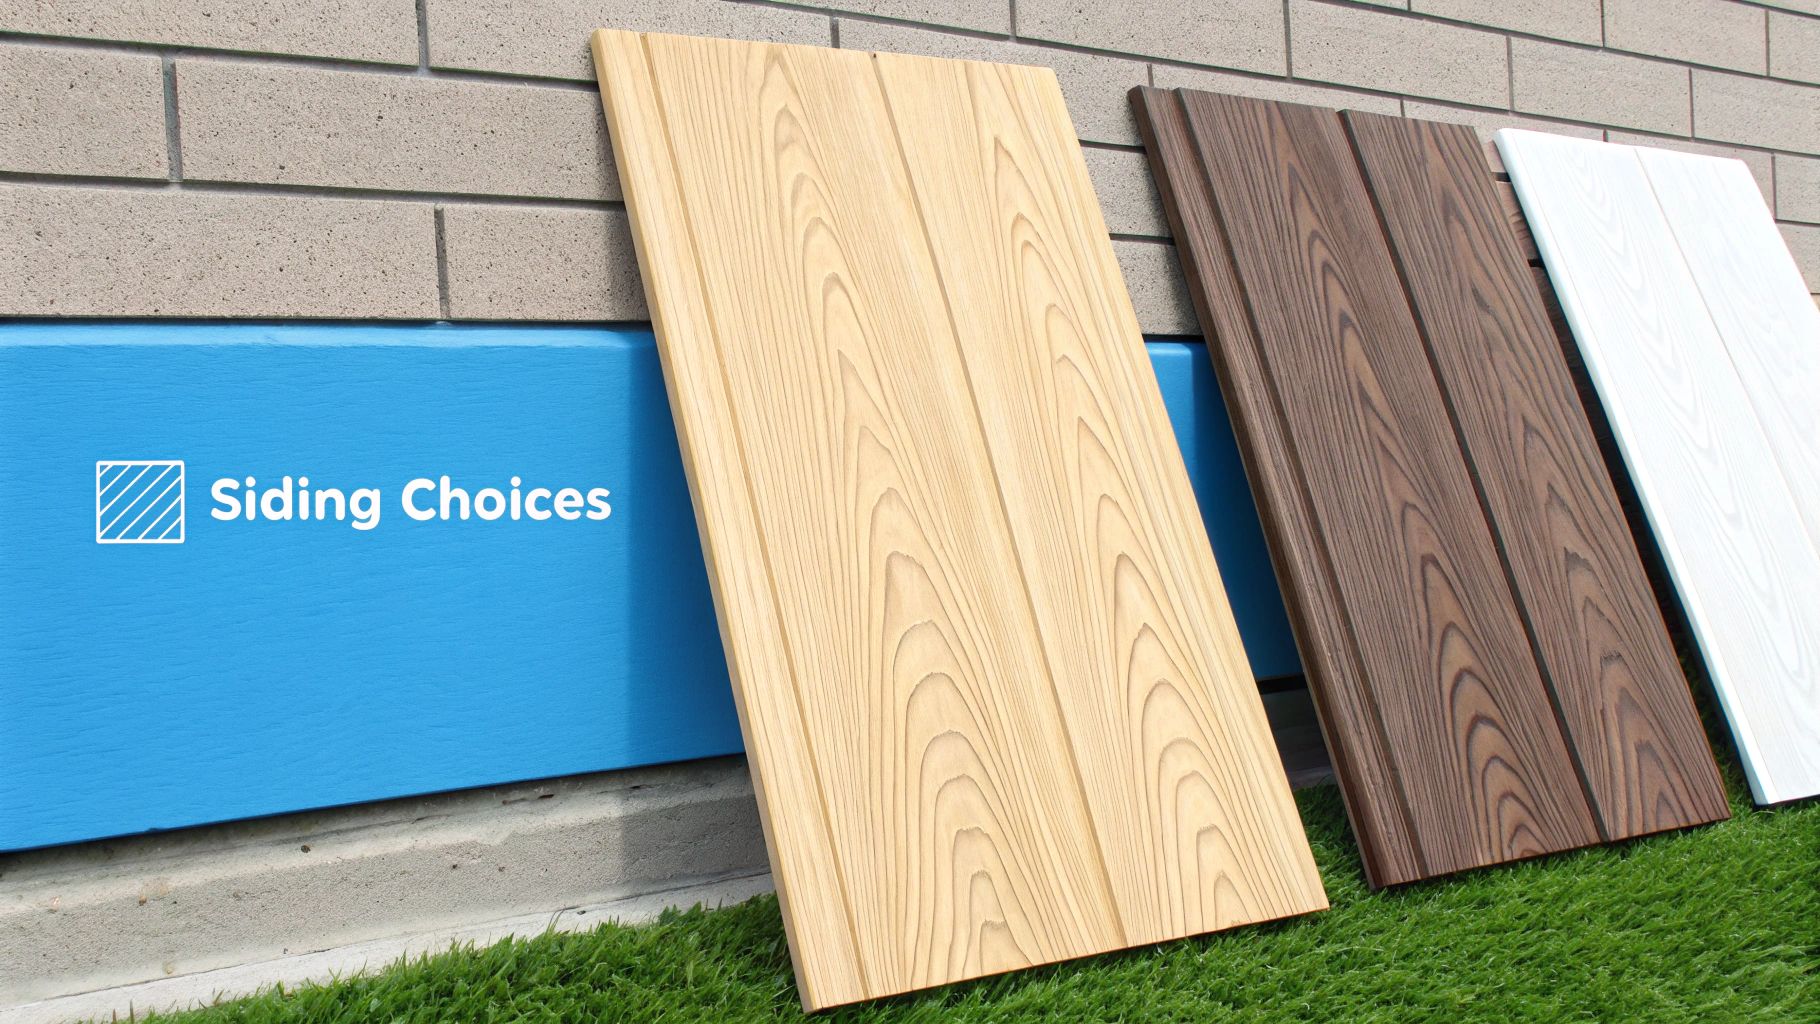
Choosing Siding Materials Built for the Pacific Northwest
Your home's siding is its first and most important line of defense against the relentless rain and shifting seasons we get here in the PNW. This isn't just about curb appeal; choosing the right material is a serious investment in your home's long-term health. In a place known for its drizzle, your siding has to be a fortress.
So, let's skip the generic pros and cons lists you find everywhere else. We're going to focus on what really works in the Puget Sound region. When you're searching for "siding replacement near me," the materials that consistently come up are the ones engineered to fight moisture, resist rot, and stand up to our unique weather.
The Local Champion: Fiber Cement
There's a reason you see so much fiber cement siding, especially from a brand like James Hardie, on homes around Seattle, Bellevue, and Tacoma. It’s a composite of sand, cement, and cellulose fibers, making it practically purpose-built for the challenges we face.
Unlike wood, it simply doesn’t rot when exposed to our near-constant dampness. It’s also completely unappealing to pests like termites and carpenter ants. Best of all, it’s dimensionally stable, meaning it won’t swell, shrink, or warp with the temperature and humidity swings from summer to winter. It's a true workhorse material that holds paint beautifully, which means less maintenance for you down the road.
Modern Vinyl: A Cost-Effective Performer
Forget the flimsy, chalky panels you might remember from decades ago. Today’s insulated vinyl siding is a whole different ballgame—a practical and popular choice for homeowners who want a low-maintenance, budget-friendly solution. Modern innovations have made it a powerhouse; in fact, vinyl currently holds a 41.5% share of the global siding market, mostly thanks to residential projects just like yours.
The newer insulated versions even add a layer of thermal efficiency, which can help chip away at your energy bills. Plus, since the color is baked right in, you can officially say goodbye to the headache of scraping and painting. Take a look at these examples of different siding installations to see how clean and modern it can look.
The key with vinyl in the PNW is proper installation. A skilled crew ensures that the weather barrier and flashing are done flawlessly, preventing any chance of water getting trapped behind the panels—a critical step in our rainy climate.
The Timeless Appeal of Cedar
Nothing captures that quintessential Pacific Northwest aesthetic quite like natural wood. Cedar is the classic choice for a reason—it’s stunning. Its natural oils give it an inherent resistance to rot and insects, and its beauty is just undeniable.
However, that classic look demands a commitment. To keep cedar looking its best and performing well in our damp environment, it needs a diligent maintenance schedule. We’re talking regular cleaning to keep moss and mildew at bay, plus periodic staining or sealing to shield it from moisture and UV damage. If you love the look and are prepared for the upkeep, cedar provides a timeless beauty that few other materials can touch.
PNW Siding Material Comparison
To make the choice a little easier, here’s a quick-glance table comparing the top contenders for Seattle-area homes. We've focused on the factors that matter most in our climate.
| Material | Best For PNW Climate | Average Cost (per sq. ft.) | Maintenance Level |
|---|---|---|---|
| Fiber Cement | Excellent water & rot resistance | $8 – $15 | Low |
| Insulated Vinyl | Good moisture shedding | $5 – $12 | Very Low |
| Cedar Wood | Natural rot resistance | $9 – $18+ | High |
Ultimately, the right material for your home will balance your budget, aesthetic preferences, and how much time you're willing to spend on maintenance. Each of these options can be a fantastic choice for a Seattle home when installed correctly.
Budgeting for Siding Replacement in Seattle
Let’s talk about the number one question on every homeowner's mind: what’s this going to cost? When you start looking into a siding replacement near me in the Seattle area, it's easy to get fixated on a simple price per square foot. But that's just the tip of the iceberg—the real cost is hiding in the details of your specific home.
It's a huge market, and for good reason. Homeowners are investing more than ever to protect their properties, with global spending on siding projected to hit USD 129.79 billion by 2029. You can read the full research about siding market trends to see just how big this industry has become, but for your project, the focus needs to be on your home's unique challenges.
Beyond the Per-Square-Foot Price
Any experienced contractor will tell you that a quote is built on much more than materials. The real variable is labor, and several factors can make that number swing dramatically.
Your Home's Height: A simple, single-story rambler is worlds apart from a three-story home perched on a classic Queen Anne hill. The minute we have to bring in extensive scaffolding and extra safety gear, the labor hours—and the cost—start to climb.
Architectural Complexity: Think about your home's design. Is it made of long, flat walls, or does it have lots of corners, gables, dormers, and decorative trim? Every one of those features requires a precise cut and careful fitting, which takes significantly more time and skill.
Tear-Off and Disposal: Getting rid of the old stuff is a real part of the job. Tearing off and hauling away heavy, water-logged wood siding is a much bigger task than removing lightweight vinyl, and that will be reflected in the quote.
If there’s one piece of advice I can give homeowners in the Pacific Northwest, it's this: always budget a 10-15% contingency fund. In our damp climate, it’s not a matter of if we’ll find hidden issues, but what we’ll find.
Planning for the Unexpected PNW Rot
It's the reality of working on homes around Seattle. Once we pull off the old siding, there's a good chance we'll uncover moisture damage. Years of our famous drizzle can easily lead to rotted sheathing, compromised wall studs, or damaged window frames.
This isn't something you can just cover up. Any good contractor will immediately stop work, walk you through the problem, and provide a clear change order detailing the repair costs. Having that contingency fund ready means this discovery is a manageable step, not a budget-busting crisis. It’s the single best way to ensure your project moves forward smoothly without any last-minute financial stress.
Finding and Vetting Seattle Siding Contractors
Picking out the best siding material for your home is a big step, but it’s really only half the battle. Here in the Pacific Northwest, even the most high-tech, durable products are doomed to fail if they aren't installed with an obsessive focus on our relentlessly wet climate.
This is why finding and properly vetting a top-tier Seattle siding contractor is hands-down the most important part of your entire project.
When you search for "siding replacement near me," you'll get hit with a long list of companies. But a true partner—one who will genuinely protect your home—is more than just a slick sales pitch. The siding market in the U.S. is huge, with revenues around USD 28.5 billion, largely because so many homeowners are remodeling. That means a lot of contractors are competing for your attention, so you need a smart way to sort through the noise. You can learn more about the latest siding market insights here to see just how big the industry has become.
Start with the Non-Negotiables: Verifying Credentials
Before you even glance at a portfolio or a photo gallery, you need to check the basics. Any contractor you consider must be properly licensed, bonded, and insured in Washington State. This isn't just red tape; it's your frontline defense against liability, financial risk, and subpar work.
Thankfully, it's easy to check. Just visit the Washington State Department of Labor & Industries website to look them up. A reputable company won't hesitate to give you their license number—in fact, most have it right on their website. This simple step filters out a surprising number of unqualified players right from the start.
Asking the Questions That Really Matter in the PNW
Once you’ve confirmed their credentials, it's time to find out if they truly understand what it takes to protect a home in our climate. A general-purpose contractor might know the basics of hanging siding, but a Seattle-area specialist lives and breathes water management. They know how to build a defense against nine straight months of drizzle and downpours.
Here are the questions that will quickly separate the real pros from the rest of the pack:
- "Can you walk me through your process for the weather-resistive barrier (WRB) and flashing?" This is the most important question you can ask. A great answer will involve details about creating a "rainscreen" gap, integrating the WRB with window and door flashing, using high-quality seam tape, and ensuring they're creating a complete drainage plane behind the siding. If they give you a vague or confused answer, that's a major red flag.
- "What kind of manufacturer certifications do you have?" This is a big one. For popular materials like James Hardie fiber cement, holding a credential like James Hardie Elite Preferred Installer is a huge vote of confidence. It means the manufacturer trusts them enough to have trained and vetted them personally, which is critical for keeping your product warranty intact.
- "What’s your protocol if you find hidden rot or water damage?" As we've covered, it’s not a matter of if but when you find some hidden damage. A true professional will have a clear, transparent process. They should explain that they'll stop work, show you exactly what they found, and provide a detailed change order for the repairs. They should never, ever just cover it up.
Never, ever choose a contractor on price alone. A bid that seems too good to be true almost always is. It’s a sure sign that corners are being cut, usually on the things you can’t see, like the critical flashing and water management systems. You’re not just buying siding; you’re investing in the craftsmanship that makes it last for decades.
When you're comparing bids, you're really comparing long-term value. Look for contractors who provide detailed, itemized quotes that clearly separate the costs for labor, materials, and any potential repair work. A transparent, knowledgeable contractor who answers your tough questions with confidence is the partner you and your home deserve.
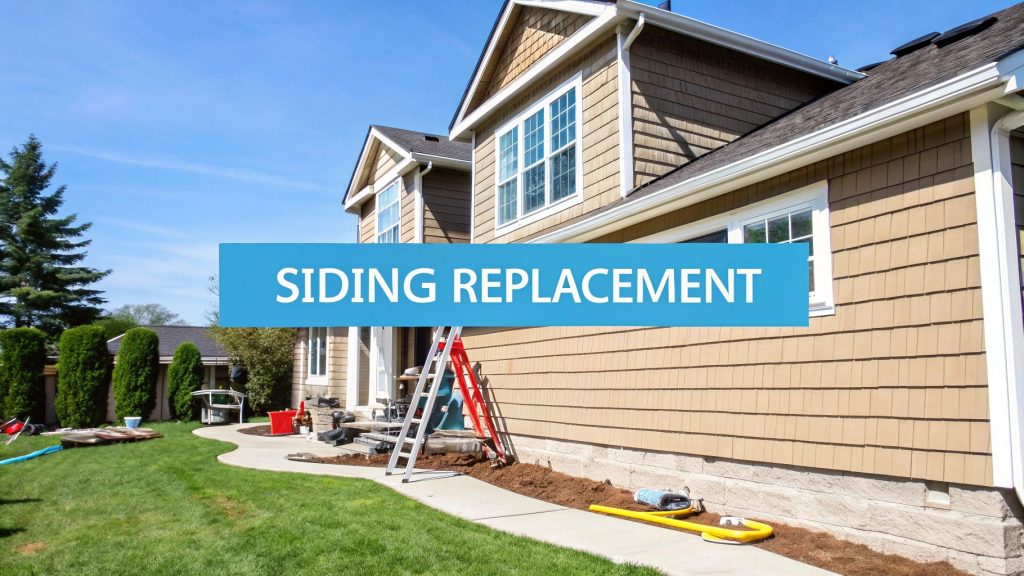
What to Expect on Installation Day: A Step-by-Step Breakdown

Knowing what happens on a job site can turn a potentially stressful project into an exciting home transformation. When you hire a professional for siding replacement, you're buying more than just new panels—you're getting a carefully managed process designed to protect and beautify your home.
Let's pull back the curtain on what you can expect, from the moment the crew arrives until the final nail is in place. It usually starts with a material drop-off a day or two before the real work begins. A good crew will neatly stage all the siding, house wrap, and other supplies out of your way, keeping your driveway and daily life as clear as possible.
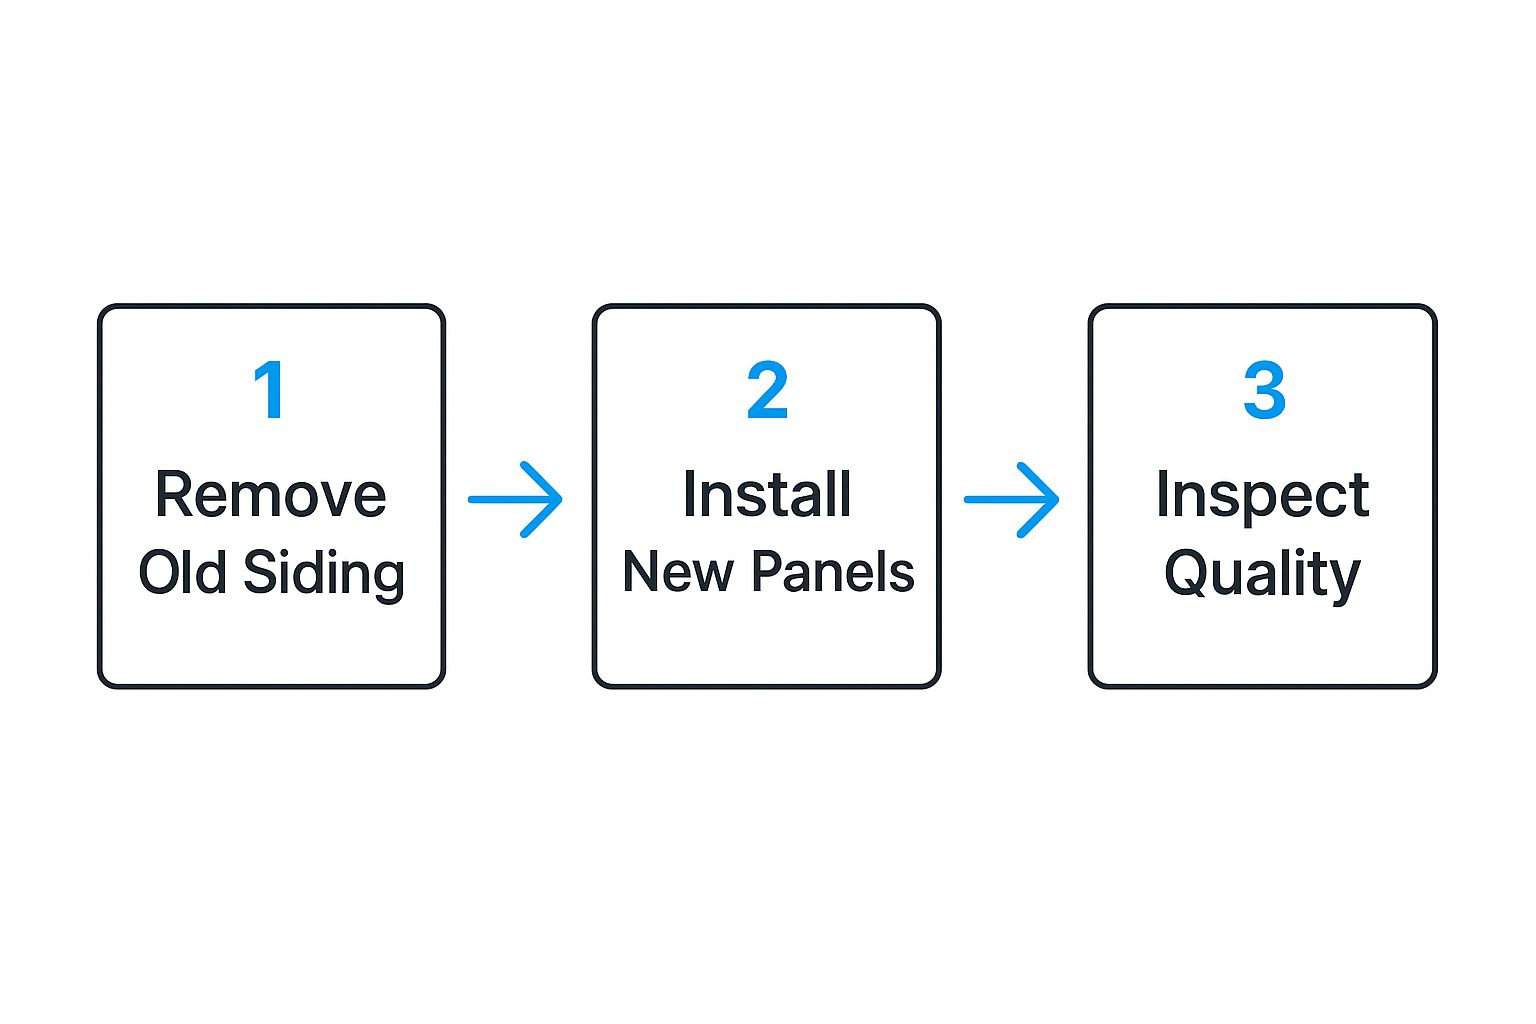
Site Prep and the Big Tear-Off
The first day is all about preparation. Your contractor’s top priority should be protecting your property. This means laying down tarps to shield your landscaping, covering A/C units, and having a solid plan for managing debris from the get-go.
Then comes the tear-off. It’s loud, it’s messy, and it’s the most crucial moment of discovery. As the old, failing siding comes off, we get to see what’s been happening underneath. This is when any hidden moisture damage or rot in the wall sheathing finally comes to light. An honest contractor will stop immediately, walk you through exactly what they’ve found, and present a clear plan for repairs before proceeding.
Here’s a little trade secret: pay attention to the flashing. The old, often corroded flashing around windows and doors gets removed. A top-tier crew will never reuse it. They’ll install brand-new, properly integrated flashing designed to work perfectly with the new siding and weather barrier system. It's a small detail that makes a huge difference.
Making Your Home Watertight and Beautiful
Once the old siding is gone, the real protective work begins. We install the weather-resistive barrier (WRB), commonly known as house wrap. Here in the PNW, this is your home’s absolute last line of defense against our relentless rain. The crew meticulously wraps the house, taping every single seam and integrating it with the new flashing to create a seamless, waterproof shield.
With the home protected, the new siding finally goes up. This is where craftsmanship really shines. Whether you chose fiber cement, vinyl, or cedar, skilled installers work with precision. They make sure every panel is perfectly level, properly gapped for expansion, and fastened exactly to the manufacturer's specifications. This isn't about speed; it's about getting it right for long-term performance and curb appeal.
The Final Cleanup and Walk-Through
As the job winds down, the crew shifts to cleanup mode. This involves a meticulous sweep of the property, often using magnetic rollers to snag any stray nails from your lawn and driveway. All construction debris is hauled away, leaving your property looking better than when they arrived.
The last step is the most important one for your peace of mind: a final walk-through with you and the project manager. This is your chance to inspect the work up close, ask any lingering questions, and point out anything that needs a final touch-up. It’s this final sign-off that ensures the project is 100% complete and you’re thrilled with the result.
Your Top Seattle Siding Questions, Answered
Even after doing all your homework, it’s completely normal to have some questions floating around before you kick off a major project like replacing your home's siding. Seattle homeowners have their own unique set of concerns, from dealing with city permits to working around our notoriously fickle weather.
Let’s tackle some of the most common questions we hear from homeowners in the area.
How Long Does a Siding Replacement Typically Take in Seattle?
For a standard-sized home around Seattle, you can generally expect the entire siding replacement process to take about 10 to 14 days.
Of course, this is just a baseline. Several classic PNW factors can shift that timeline. Sudden rain can cause delays, and it’s not uncommon to uncover hidden wood rot once the old siding comes off, which needs to be repaired properly before moving forward. The architectural style of your home matters, too—a complex design with lots of angles and gables will naturally take more time. A good contractor will give you a much more accurate schedule after they’ve inspected your home in person.
Do I Need a Permit for Siding Replacement in Seattle?
More often than not, the answer is yes. The City of Seattle and neighboring cities like Bellevue and Tacoma view siding replacement as a major change to your home's exterior. Getting a permit ensures the new installation meets all the current building codes for weather resistance and safety.
Pro Tip: Your contractor should manage the entire permitting process for you. It's a standard part of the job for any reputable company. Make sure this is clearly stated in your contract to avoid any surprises or bureaucratic headaches later.
This is one of the easiest ways to tell you're working with a true professional. They'll be familiar with the local requirements and handle all the paperwork for you.
What Is the Best Time of Year to Replace Siding in the PNW?
The sweet spot for replacing siding in the Pacific Northwest is definitely during our drier months, which usually stretch from late spring to early fall—think May through September. Planning your project for this window significantly lowers the chance of moisture creeping into your home’s structure while the walls are exposed.
It's not impossible to get the job done during the rainy season, but it requires a very experienced crew that knows how to take extra precautions to keep everything dry. Just remember that summer is prime time for all exterior work, so you'll want to book your contractor well in advance to get on their calendar.