
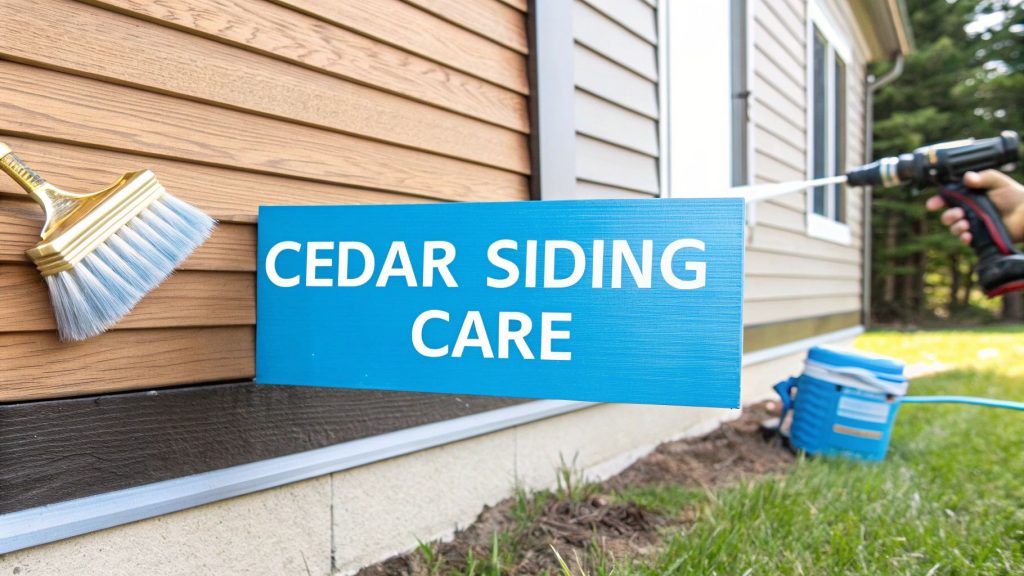
Maintaining your cedar siding isn't just another chore to check off the list—it's a critical investment in your home’s value and protection. Think of it as a cycle of cleaning, inspecting, and sealing that shields the wood from the relentless moisture, sun, and pests common in the Pacific Northwest. This routine is what keeps cedar looking incredible and prevents you from facing a massive siding replacement bill down the road.
Why Cedar Siding is a Smart Long-Term Investment
There’s a reason people still choose cedar siding, especially in areas like Seattle. It has a timeless, natural resilience that’s hard to beat. The rich tones and unique grain give a home character, whether it’s a modern build or a classic Northwest craftsman. But the real value is more than just skin deep.
Cedar's secret weapon is its natural oils and tannins. These act as a built-in defense system against rot, moisture, and bugs—making it a top choice for our damp climate. But even nature’s best defenses need a little backup to stay strong over the decades.
Protecting Your Home from the Elements
Being proactive is the key to keeping your home safe from the environment. Without a solid protective finish, even tough cedar can run into problems that hurt its look and its strength, leading to the need for siding replacement sooner than you think.
- Moisture Infiltration: When cedar is constantly pelted with rain, it can soak up water like a sponge. This leads to swelling, warping, and eventually, rot—a common issue in the Puget Sound region.
- UV Ray Damage: The sun, even when filtered through clouds, is relentless. Its UV rays break down the wood fibers, turning that beautiful cedar into a faded, gray, and weakened surface.
- Pest Activity: While cedar is naturally resistant, neglecting it can invite trouble. If moisture softens the wood, it can become an attractive target for carpenter ants or termites.
By sticking to a regular cedar siding maintenance schedule, you’re essentially creating a shield against these forces, making sure your siding can do its job protecting your home.
The Financial Benefits of Proactive Maintenance
It helps to think of maintenance not as a cost, but as preservation. Investing a small amount in upkeep now prevents the high cost of a full siding replacement later. A few hundred dollars in stain and a weekend of work can prevent tens of thousands of dollars in repairs from water damage and rot.
It's a classic story: ignoring a bit of cracked caulk or a fading stain seems harmless at first. But soon, water gets in, and what could have been a simple fix turns into a full-blown replacement project that costs thousands. Regular upkeep is always the most cost-effective path.
Ultimately, a well-cared-for exterior does more than just protect your home's structure; it seriously boosts its curb appeal and resale value. When you catch and fix common issues before they spiral out of control, you ensure your cedar siding remains a stunning feature for decades. Here at Breeze Siding, we handle these kinds of maintenance and siding replacement jobs all the time.

How to Inspect Your Siding Like a Pro
Before you ever pick up a pressure washer or a paintbrush, the most important part of cedar siding maintenance is putting your eyes—and hands—on the wood itself. A good inspection is more than just a quick walk-around. It’s about knowing what to look for so you can catch small issues before they turn into big, expensive problems.
I always tell homeowners to be methodical. Don't just wander around the house. Instead, break it down into four zones, one for each wall. This way, you can focus your attention and start to notice patterns. You’ll quickly see how the sun-baked south-facing wall has different needs than the shaded, damper north side.
Identifying Subtle Signs of Moisture Damage
Here in the damp Seattle climate, water is the number one enemy of cedar siding. The trouble is, moisture damage is sneaky and often starts small. You have to train your eye to spot the early warning signs, especially in areas where water tends to collect.
Here’s what I look for when I suspect water is getting in:
- Dark Streaks or Discoloration: Are there faint, dark lines running down from the corners of windows or along the roofline? That’s a classic sign that water is getting behind your flashing or caulking.
- Soft Spots: Get hands-on. Gently press your thumb into the siding, paying special attention to the boards closest to the ground. If the wood feels spongy or gives at all, you're looking at the beginnings of rot.
- Blistering or Bubbling Finish: Peeling paint can be caused by the sun, but if you see bubbles or blisters, it’s a red flag. That almost always means moisture is trapped underneath, trying to push its way out.
A common mistake I see people make is confusing mildew with simple dirt. In our humid Pacific Northwest weather, mildew shows up as splotchy, dark patches. Here's a quick pro tip: dab a little diluted bleach on an inconspicuous spot. If the stain lightens up, it’s mildew.
Checking for Structural and Pest-Related Issues
Once you’ve looked for moisture, it’s time to check the siding’s physical integrity and make sure no critters have moved in. These issues can seriously compromise your home’s protective shell if you ignore them.
Start by looking closely at the seams and joints where boards meet, especially at the corners and around trim. Any gaps are an open invitation for water and insects. While you're there, check the caulking around your windows and doors. It should still be soft and flexible. If it’s hard, cracked, or pulling away from the frame, it’s not doing its job.
Next, you'll want to play detective and look for pests. Damp cedar can attract carpenter ants and termites. Keep an eye out for tiny, random holes in the wood or little piles of what looks like fine sawdust on the siding or near the foundation. That "sawdust" is actually frass, and finding it early can save you from a major structural headache down the road.
Assessing the Health of Your Siding's Finish
Finally, take a hard look at the stain or paint itself. Think of it as your siding’s skin—it’s the first line of defense against sun and rain. When it starts to fail, the wood underneath becomes vulnerable.
Stand back from each wall and look at the finish from different angles. Is the color looking washed out or uneven? That’s a sure sign the UV protectants are gone, leaving the wood fibers exposed to the sun.
Then, do a simple water test. Splash a little water on the siding. If it beads up and rolls off, your sealant is still in good shape. But if the water soaks in right away, leaving a dark spot, the wood is thirsty and unprotected. It’s time for a new coat. Making these detailed notes is how you build a real cedar siding maintenance plan that actually works.
Mastering the Art of Cleaning Cedar Siding
Before you even think about staining or sealing, the first, non-negotiable step is a thorough cleaning. It's the foundation for everything that comes after. If you skip this or just give it a quick rinse, you're essentially sealing in dirt, mildew, and grime.
Think of it this way: you wouldn't wax a dirty car. The same principle applies here. Your goal is to get the wood back to a clean, neutral state so the stain can soak in evenly and grab hold. Getting this right from the start makes a world of difference in how long your finish lasts and how good it looks.
Choosing Your Cleaning Method
The right cleaning approach really depends on what you're up against. For the usual dust and dirt that builds up over a season, a gentle wash by hand is often all you need. It's the safest route and keeps the soft cedar fibers happy.
But if you're staring down stubborn green algae on the shady side of the house or those persistent dark mildew spots, you'll need to bring in some backup. That's when targeted cleaners and maybe even a carefully handled pressure washer can save the day.
This image lays out the basic idea: get the surface clean to prepare it for long-term protection.
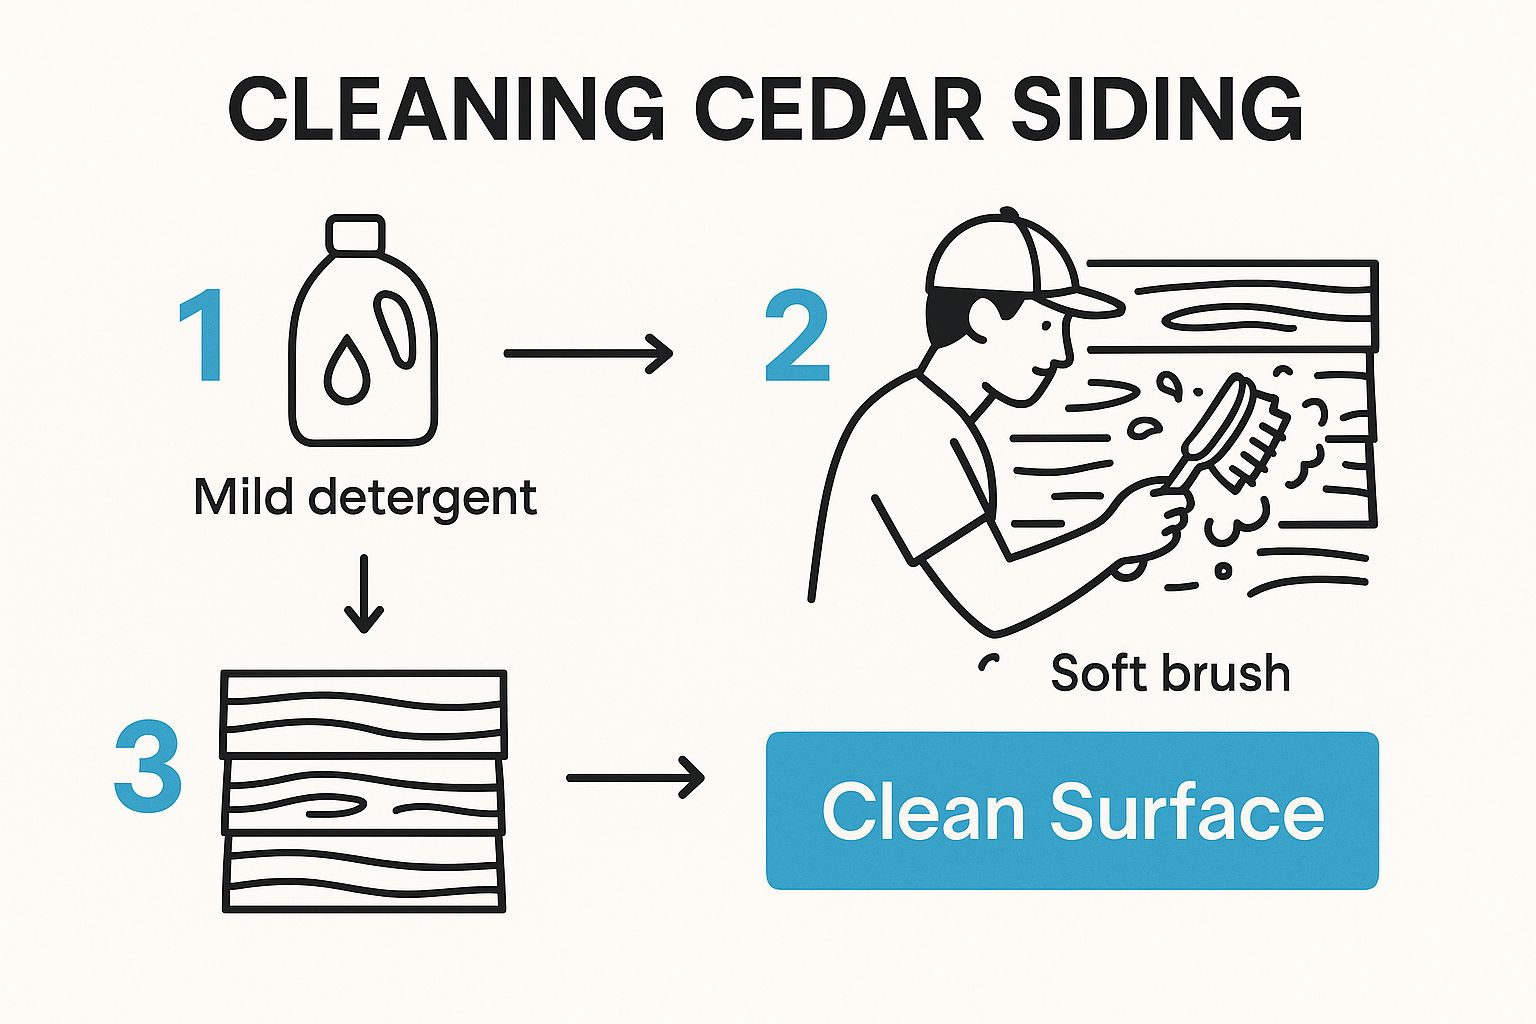
As you can see, it all starts with creating a clean slate. This is absolutely critical before any sealing or staining can happen.
Cedar Siding Cleaning Methods Comparison
Picking the right tool for the job is key to getting a great result without accidentally damaging your siding. This table breaks down the most common methods to help you decide what's best for your home's specific needs.
| Cleaning Method | Best For | Risk Level | Pro Tip |
|---|---|---|---|
| Soft Brush & Garden Hose | Light dust, loose dirt, pollen, fresh cobwebs | Low | Use a soft-bristle car wash brush. Work in small, manageable sections from the bottom up to avoid streak marks. |
| Oxygen Bleach Solution | Stubborn mildew, algae, and organic stains | Low | Mix according to the product directions and let it dwell for 10-15 minutes before scrubbing. It's much gentler on wood than chlorine bleach. |
| Low-Pressure Washer | Rinsing away cleaning solutions and loosened grime | Medium | This is a rinsing tool, not a blasting tool. Use a wide fan tip (25-40 degrees) and keep your distance. |
| Chemical Stripper | Removing old, failing stains or sealants | High | A last resort for major restoration projects. Always test in a hidden spot and wear full protective gear. |
Ultimately, the goal is to clean effectively while preserving the wood's integrity. For most annual maintenance, a simple soft brush and an oxygen bleach mix will handle almost anything you encounter.
Trade Secrets for an Effective Wash
Here’s a prep step that pros never skip: pre-saturate everything. Before a single drop of cleaner touches the wall, grab a garden hose and give the siding a good rinse. Don't stop there—soak the bushes, flower beds, and ground below, too.
This simple trick accomplishes two things. First, it stops the dry cedar from drinking up your cleaning solution, letting it work on the surface grime where it belongs. Second, it gives your landscaping a protective drink, shielding it from runoff.
A huge mistake I see homeowners make is reaching for straight bleach. It’s way too harsh. It can strip the wood of its natural protective oils and damage the fibers, not to mention what it does to your plants and the soil.
For tough mildew, especially in damp climates like we see in the Pacific Northwest, a mix of one part oxygen bleach to three parts water is my go-to recipe. Unlike chlorine bleach, it’s much kinder to the wood and the environment. Just let it sit for about 10-15 minutes so it can work its magic, then give it a light scrub.
The Professional's Guide to Pressure Washing
A pressure washer can be your best friend or your worst enemy when it comes to cedar siding maintenance. In the wrong hands, it can cause permanent damage in seconds. The key is to think rinse, not blast.
If you decide to use one, here’s how to do it safely:
- Pick the Right Tip: Stick with a wide-angle fan tip. A 25-degree (green) or 40-degree (white) tip is perfect. Never, ever use the zero-degree (red) pinpoint tip—it will literally carve gouges into the wood.
- Keep the Pressure Low: Set your machine as low as it will go, staying in the 1200 to 1500 PSI range. Cedar is a softwood; too much pressure will chew it up and cause it to splinter.
- Stand Back: Keep the nozzle at least 18-24 inches away from the siding. This distance allows the spray to widen, which cleans a larger area more gently.
- Spray at a Downward Angle: Always point the nozzle down, following the natural overlap of the siding. Spraying upwards can force water behind the boards, trapping moisture and setting you up for rot.
Follow these rules, and you'll get a deep, satisfying clean without harming your beautiful siding. With the surface now perfectly prepped, you're ready to move on to any small repairs before laying down a fresh coat of stain.
Tackling Repairs on Damaged Siding Boards
Even if you’re meticulous with your cleaning and inspections, life happens. A stray baseball from a neighborhood kid, a brutal winter, or just the natural movement of the wood can leave you with cracked, split, or warped boards. The real secret to keeping cedar siding looking great for decades is jumping on these problems right away, before they give moisture a chance to sneak in and cause real trouble.
The good news is that most of these repairs are well within the reach of a determined homeowner. You don't need a pro for every little thing. From patching a small crack to swapping out a whole board, each fix is a step toward protecting your home's exterior and keeping it as sound as the day it was installed. If you encounter extensive rot or damage, however, siding replacement might be the most effective long-term solution.
Fixing Up Minor Cracks and Splits
Small cracks and splits are probably the most common issue you'll run into. They look harmless, but don't be fooled. Even a tiny, hairline fracture is an open invitation for water, which eventually leads to rot. Luckily, this is one of the easiest fixes on the list.
The key is to use a filler that can move and flex right along with the cedar. Wood naturally expands and contracts with the seasons, and a rigid filler will just crack and pop out in no time.
- Grab the Right Stuff: Look for a high-quality, paintable elastomeric or acrylic-latex wood filler. Make sure the label says it's for exterior use, as these are designed to stay flexible.
- Prep Work Matters: The crack has to be clean and bone dry. I like to use a small utility knife to gently scrape out any loose fibers or grime.
- Apply and Smooth It Out: Use a small putty knife to press the filler deep into the crack. Overfill it just a little bit. Then, smooth the surface so it's perfectly flush with the board. Let it cure completely (check the instructions), then give it a light sanding before you prime and stain.
I can't tell you how many times I've seen homeowners use regular interior wood putty outside. It’s a classic mistake. That stuff dries hard as a rock, and the first time the cedar moves, the filler fails. You'll be doing the same repair again next year.
The Pro's Way to Replace a Single Board
Sometimes a board is just too far gone. If you're looking at widespread rot, a severe warp, or a big hole, patching it won't cut it. It’s time to replace it. This sounds like a big job, but the process is surprisingly straightforward if you're careful and patient.
The first challenge is getting the bad board out without messing up its neighbors. Here’s a trade secret: set a circular saw blade to the exact thickness of your siding. Make two vertical cuts down the middle of the damaged board, maybe an inch in from each end. This takes all the tension off the board and makes it way easier to pry the main section out.
Once the middle piece is gone, you can gently pull the nails from the ends and slide the last two small pieces out.
Measuring and Fitting the New Board
This is where you want to be precise. Measure the opening you created at both the top and the bottom—it's rarely perfectly square. Transfer those measurements to your new piece of cedar and use a miter saw to get crisp, clean cuts.
You’re aiming for a snug fit, but don't jam it in there. I always leave a tiny gap, about 1/16th of an inch, to give the wood room to expand. Always test-fit the board before nailing it. If it’s a bit too tight, just shave a sliver off one end with a block plane until it slides into place without a fight.
Once the fit is just right:
- Angle the new board in, sliding its top edge up and under the lip of the board above it.
- Let the bottom edge drop down so it properly overlaps the board below.
- Fasten it with galvanized or stainless steel siding nails. Drive the nails through the face, right above the overlap, so the next coat of stain will hide the nail heads.
Don't Forget to Recaulk Around Windows and Trim
While you’re in repair mode, take a hard look at the caulk around your windows, doors, and corner trim. This sealant is your first line of defense against water getting behind the siding. Over the years, it inevitably dries out, cracks, and pulls away from the wood.
Take a utility knife and carefully slice out the old, failing caulk. Get the joint completely clean and dry. Then, apply a fresh bead of a top-quality, paintable exterior caulk. Smooth the bead with a wet finger for that clean, professional finish. This one simple task is one of the most powerful preventative steps in any cedar siding maintenance routine. It stops rot before it even has a chance to start.
Choosing the Right Stain for Your Climate
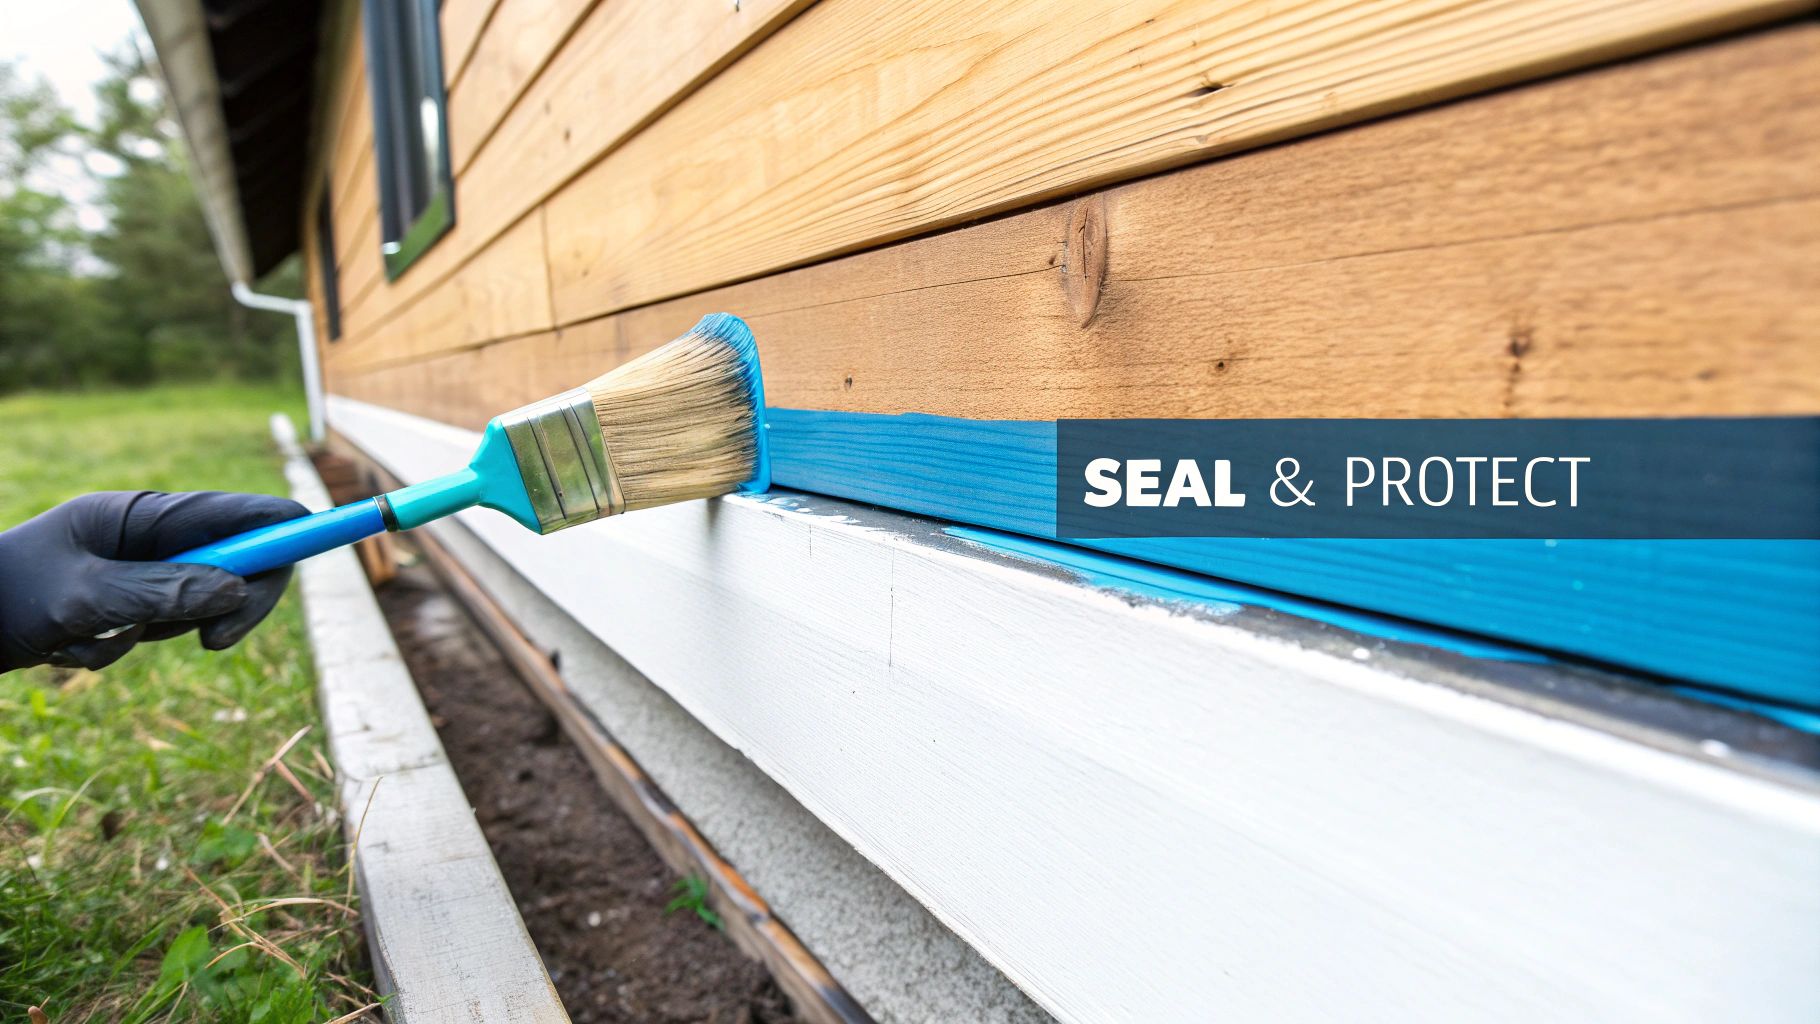
You've put in the hard work inspecting, cleaning, and repairing your cedar. Now comes the most satisfying part—and arguably the most critical. The stain you choose is far more than just a color; it's a protective shield that stands between your beautiful wood and the elements. Getting this choice right is the cornerstone of any long-term cedar siding maintenance plan.
Think of the finish as your siding's personal armor. It defends against the relentless UV rays that bleach and weaken the wood fibers, and it repels the moisture that leads to rot and mildew. The right product ensures your siding not only looks fantastic but also lasts for decades.
Decoding the Different Types of Stains
Walking into a paint store and facing a wall of stain options can be overwhelming. Let's break it down. Stains are basically categorized by their opacity—how much of the wood grain they let you see. Each type offers a different balance of natural looks versus long-term protection.
- Transparent Stains: These are for the purists who absolutely love the natural look of cedar. With almost no pigment, they let the wood's grain and character take center stage. The trade-off? They offer the least UV protection and typically need a fresh coat every 1-2 years.
- Semi-Transparent Stains: This is the sweet spot for most cedar homes. These stains have enough pigment to add rich color and provide solid UV defense, but they still allow the beautiful wood grain to show through. You can expect them to last 3-5 years.
- Solid Color Stains: Looking more like a thin coat of paint, these stains completely cover the wood grain. Because they're packed with pigment, they provide the best UV protection and durability, often lasting 5-7 years before needing attention.
Here's a pro tip from the field: look beyond opacity and consider the base. I almost always recommend an oil-based penetrating stain for cedar. These formulas soak deep into the wood fibers, nourishing them from within and creating a breathable barrier. This is a huge advantage over film-forming acrylics, which can trap moisture against the wood if the seal is ever broken.
Tailoring Your Stain to Your Local Climate
Where you live completely changes the game. A stain that performs beautifully in a dry, sunny climate might fail in a year in a damp, shady one. This is where your cedar siding maintenance strategy has to get personal.
Here in the Seattle area, our number one enemy is moisture. The damp, overcast winters are a perfect breeding ground for mildew and algae. For anyone in the Pacific Northwest, the most important ingredient to look for isn't just color—it’s a robust mildewcide. A high-quality stain formulated for our region will have additives that actively fight fungal growth, keeping those ugly green and black splotches from ever getting a foothold.
But if you live in a place like Phoenix or Denver, your primary battle is against intense, high-altitude sun. In that case, maximum UV protection is your top priority. A solid or semi-transparent stain loaded with UV-blocking pigments is non-negotiable. Without it, the sun will bake the natural oils right out of the cedar, leaving it gray, brittle, and vulnerable to damage.
The Long-Term Payoff of Choosing Wisely
Making a smart choice upfront has a massive impact on your future workload and your siding's lifespan. Spending a bit more on a high-quality stain designed for your environment means fewer weekends spent re-staining and better overall protection for your home. Ultimately, this proactive approach postpones the need for a costly full siding replacement.
This isn't just opinion; historical data on wood preservation backs it up. Research shows that poorly maintained cedar siding often needs major repairs every 3 to 5 years. Proper care can push the lifespan of cedar from just 15-20 years to 30-40 years or more.
In fact, well-maintained cedar siding can retain up to 90% of its structural integrity after 25 years. That’s a huge jump from the less than 65% seen in neglected siding. You can dig into the specifics in the full research on cedar siding longevity.
When you’re at the store, read the product details carefully. Look for phrases like "UV inhibitors," "water repellent," and "mildew resistant." Choosing a can that explicitly calls out your local climate's biggest threats is the single best investment you can make in your home's exterior.
Got Questions About Your Cedar Siding? We've Got Answers.
Even with a solid maintenance plan, you're bound to run into specific questions once you get to work. Real-world situations have a way of throwing curveballs. This is where we can step in and clear up some of the most common issues we see homeowners grapple with when caring for their cedar.
Think of this as the FAQ section you wish came with your house—just straight talk and practical advice for keeping your siding in top shape.
How Often Should I Re-Stain My Cedar Siding?
There's no magic number here, because the right timing really depends on your local climate and the exact stain you used last time. But as a general guideline, you should be inspecting your siding every year and planning your re-staining based on the product type.
- Semi-transparent stains, which are incredibly popular for cedar, usually need a fresh coat every 3-5 years.
- Solid stains offer more pigment and UV protection, often pushing that timeline to 5-7 years.
Forget the calendar, though. The best way to know is to let the wood tell you what it needs. A simple water test is your best friend here. If you splash some water on the siding and it soaks in rather than beading up, your protective barrier is gone. It's time to re-stain. Another dead giveaway is significant fading, especially on the side of your house that gets blasted by the sun all day.
Can I Paint My Cedar Siding Instead of Staining It?
You absolutely can, but it’s a big decision with long-term consequences. Painting is a totally different ballgame. It creates a thick film that completely covers the wood grain, which some people prefer. The biggest upside is durability—a top-notch paint job can easily last 7-12 years.
The trade-off is huge. Once you paint cedar, going back to that beautiful, natural stained look is a massive, labor-intensive undertaking. And when paint finally gives up, it doesn't do it gracefully. It peels, cracks, and chips. Prepping for a new coat means a ton of scraping and sanding, which is far more work than the simple wash-down needed before re-staining. Stains, on the other hand, just tend to fade away gently over time.
One of the most common mix-ups I see is homeowners trying to figure out if they're dealing with natural discoloration from the wood itself or a fungus growing on top of it. Getting this right is critical.
What Is the Difference Between Cedar Bleed and Mildew?
This is a big one, especially in damp climates like we have here in the Pacific Northwest. Knowing what you're looking at is half the battle.
Cedar bleed, or tannin staining, looks like a reddish-brown stain. It’s caused by moisture pulling the wood's natural oils (called tannins) to the surface. You'll often see it as vertical streaks running down from nails or other fasteners.
Mildew, on the other hand, is a fungus that grows on the surface. It typically shows up as black, gray, or sometimes greenish splotches, and it loves shady, damp spots.
Here's a little trick of the trade to tell them apart. Dip a cotton swab in a bit of regular household bleach and dab it onto a small, hidden spot of the discoloration.
- If the spot lightens up or vanishes in a minute or two, you've got mildew.
- If nothing changes, it's almost certainly tannin bleed.
Why does this matter so much? Because you treat them differently. You’d tackle mildew with an oxygen bleach solution during your cleaning routine. But if you have tannin bleed and plan to paint, you absolutely must use a high-quality, stain-blocking primer first. Skip that step, and those tannins will bleed right through your fresh paint job, ruining all your hard work.
Navigating cedar siding maintenance can feel like a lot, but you don't have to figure it all out on your own. If you've run into a repair that's over your head or just want a professional to make sure your home is properly protected, the team at Breeze Siding is here to help. Serving the greater Seattle area since 2007, we live and breathe siding repair and replacement. Contact us today for a free on-site estimate and let us put our experience to work for you.