
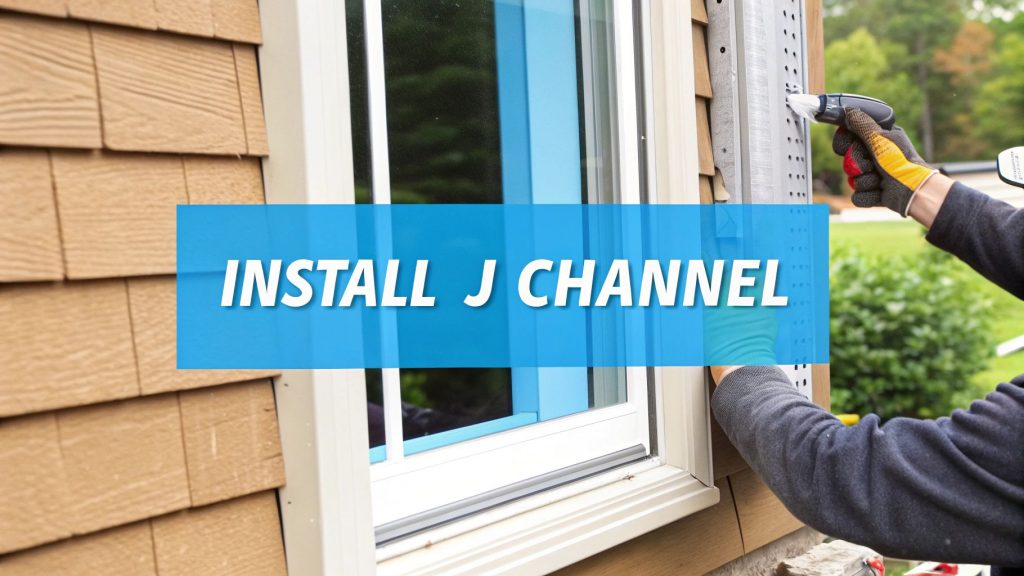
Installing J-channel around a window is more than just cosmetic trim—it's a critical defense against water infiltration, especially in the damp climate of the Pacific Northwest. You're essentially building a custom-fit, watertight frame that guides every drop of rain away from the vulnerable edges of the window. A proper installation is key to a long-lasting siding job; a poor one invites rot and costly structural damage. This guide covers the trade methods and best practices we use on siding replacement projects across the Seattle area.
The Critical Role of J-Channel in Siding Replacement
Before picking up your snips, it’s crucial to understand why this component is so important for siding replacement. J-channel isn't just a decorative border. It’s a cleverly designed piece of the siding system that serves a vital, functional purpose.
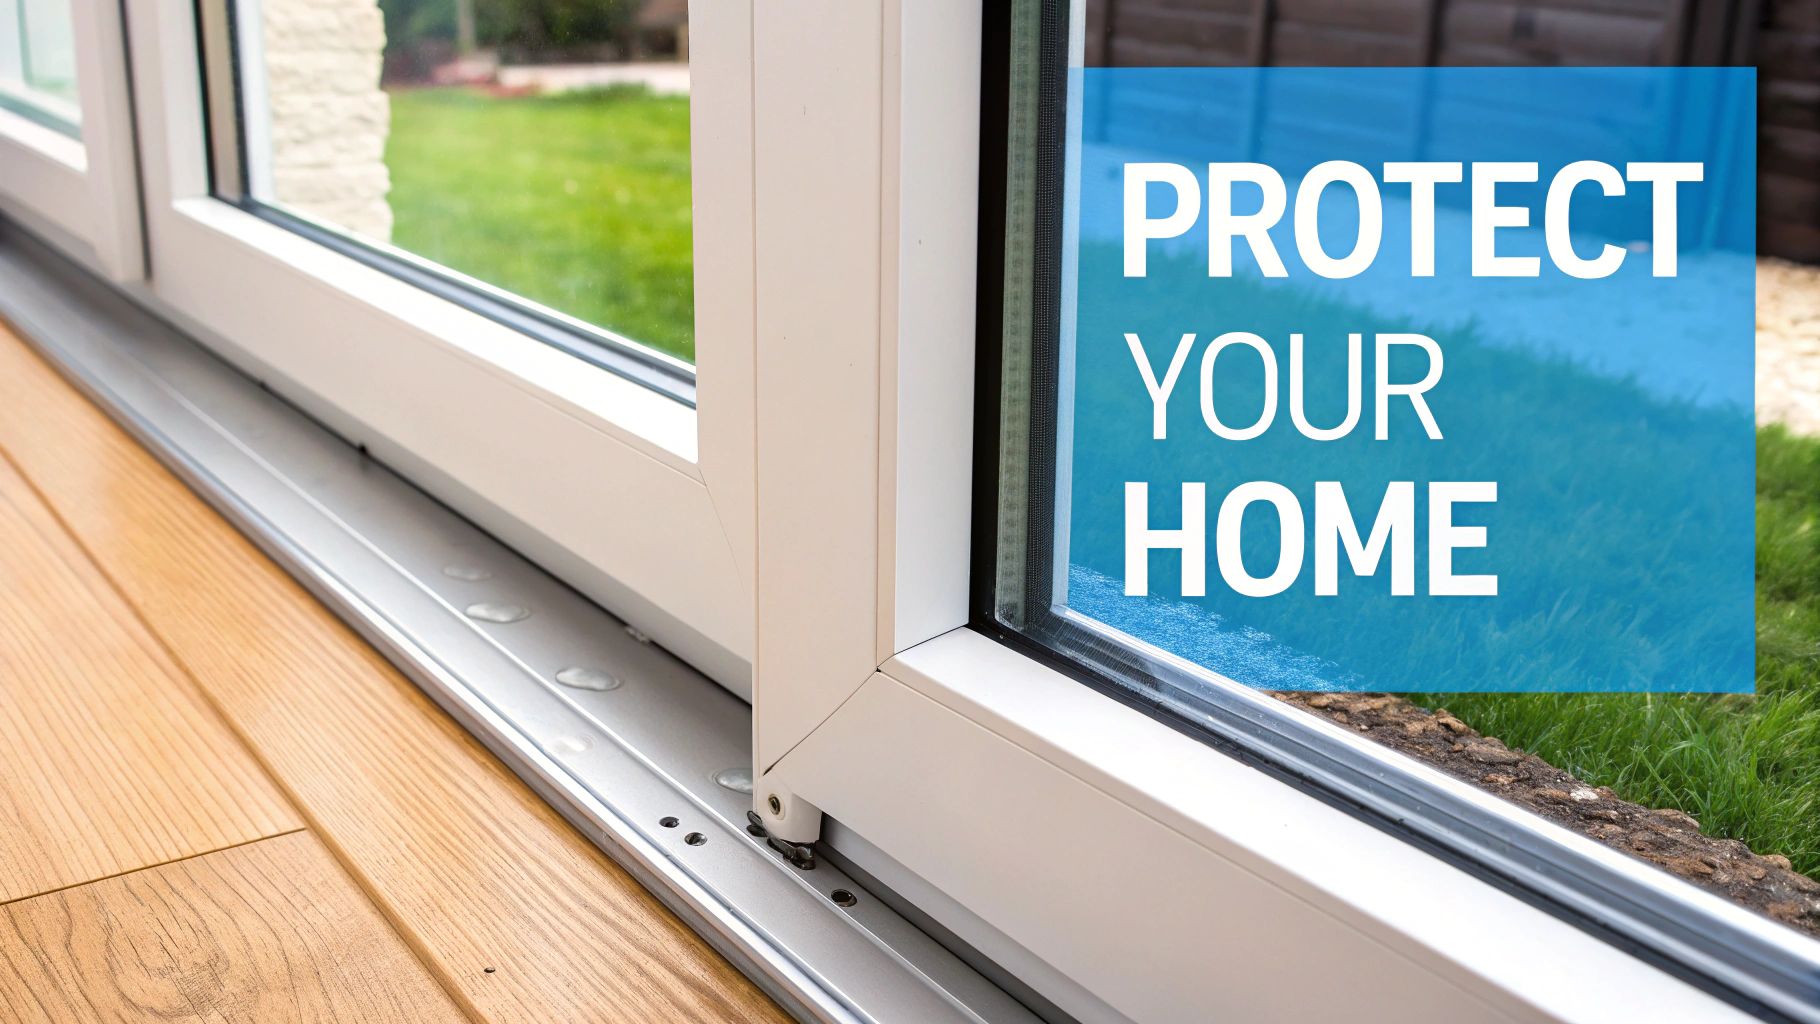
Think of it as a miniature gutter system for your window. Its job is to create a clean, weather-resistant channel where siding panels can terminate. When a storm rolls in and rain runs down your walls, the J-channel catches that water and directs it safely down and away from the window frame, preventing it from ever touching the wood sheathing behind it. This is a best practice that protects your home's structure.
Your Primary Defense Against Water Infiltration
A poorly installed J-channel is like leaving a window open in a rainstorm. Water will find its way behind the siding, creating a hidden nightmare. Trapped moisture is the perfect recipe for mold, mildew, and wood rot that can compromise the structure of your home, a common issue in our damp climate.
We've seen it countless times on Seattle-area homes. A rushed job where overlap tabs are cut too short or installed in the wrong order accidentally creates a funnel that directs rainwater straight into the wall cavity.
The tell-tale signs show up later: siding panels that start to warp and bubble, mysterious water stains appearing on the drywall inside, and eventually, a failed inspection that requires a costly and frustrating tear-out and redo.
Safeguarding Your Siding Replacement Investment
Homeowners are investing heavily in their home's exterior, and getting the details right is non-negotiable. The window installation market in the United States alone was valued at around $6.7 billion in 2025, showing how much people are putting into their properties. Proper J-channel installation protects that investment by ensuring the entire siding system functions as designed. You can learn more by checking out these window installation market insights.
Ultimately, learning the correct trade methods for cutting, overlapping, and nailing J-channel elevates a project from a simple DIY attempt to a professional-grade installation. It guarantees your new siding not only looks sharp but provides the durable, long-lasting protection your home needs against the elements. For a visual of what a finished, professional job looks like, you can see examples here: https://breezesiding.com/wp-content/uploads/2020/12/Breeze-Siding-1.png.
Gathering Your Tools and Materials
Anyone who's spent time on a job site knows that the difference between a frustrating afternoon and a project you’re proud of often comes down to having the right gear on hand. Before cutting your first piece of J-channel, getting properly set up is the most important step. This isn't just a shopping list; it’s about knowing which trade tools make the job easier and more precise.
A professional finish starts with the right tools. While you might be tempted to use a utility knife, experienced installers almost always use aviation snips (tin snips). They provide clean, controlled cuts through vinyl without slipping or leaving a jagged edge. A good set—specifically a left-cut (red handle) and a right-cut (green handle)—will make those tricky corner notches a breeze.
Another indispensable tool is a speed square. This simple triangle is your best friend for marking out perfect 45-degree angles and ensuring every corner is precise. This level of precision is a trade secret for creating watertight overlaps that keep moisture out for years to come.
This infographic lays out the must-have tools for a smooth J-channel installation.

Having these core items laid out and ready—your snips, speed square, and quality J-channel—makes the entire process more efficient.
Essential Toolkit Breakdown
You can get the job done with the basics, but a few professional-grade tools can make a world of difference in both speed and quality. Here’s a look at the essential gear versus what the pros carry.
| Tool Category | Essential Item | Professional Upgrade & Benefit |
|---|---|---|
| Cutting | Utility Knife | Aviation Snips (Tin Snips): Offers far greater control for cleaner, straighter cuts and makes intricate notches much easier without cracking the vinyl. |
| Marking | Pencil & Tape Measure | Speed Square: Guarantees perfectly square cuts and precise 45-degree angles for watertight corner overlaps. A huge time-saver. |
| Fastening | Hammer & Nails | Pneumatic Siding Nailer: Dramatically increases installation speed and helps drive nails consistently without over-tightening them. |
| Leveling | 2-Foot Level | 4-Foot or 6-Foot Level: Spanning a longer distance gives a much more accurate reading, preventing wavy lines across the entire wall. |
While you can complete the project with the essentials, investing in a couple of the professional upgrades can pay for itself in saved time and a much cleaner final product.
Choosing Your J Channel
Beyond the tools, picking the right material is critical. J-channel is sold in various sizes, usually from 1/2" to 1", designed to match the thickness of different siding profiles. You'll want to choose a channel that corresponds directly to your siding panel's depth to get that snug, professional fit.
Living in a place like the Pacific Northwest, where we see more than our fair share of rain, the quality of your materials really matters. A key benefit of a full siding replacement is the opportunity to install a modern, fully integrated water management system.
Pro Tip: When you buy your J-channel, take a scrap piece of your siding with you. Test-fit it at the store to ensure the panel sits comfortably inside the channel. It shouldn't be so tight that it might buckle in the heat, but not so loose that it looks sloppy and lets water in.
Finally, get your fasteners ready. You'll need galvanized roofing nails, typically 1 1/4" to 1 1/2" long. Remember, the idea is to hang the channel, not pin it tightly to the wall. This leaves room for the vinyl to expand and contract with the temperature swings we get here in Seattle. With your tools and materials set, you're ready to get started.
Making the Cuts That Keep Water Out
This is where real skill comes in. Getting the cuts and overlaps right is what separates a professional siding replacement from a leak-prone disaster. These aren't arbitrary steps; this is a trade method for creating channels that actively direct water away from your wall's most vulnerable points.
Before cutting your final pieces, grab a few scraps of J-channel and practice. Get a feel for how your snips move through the vinyl. Perfecting the small notches and tabs on a throwaway piece will save you from costly mistakes on a full-length one. This prep work is a hallmark of a best-practice installation.
The Bottom Piece: Your Foundation
Everything starts at the bottom. This piece is the foundation for the entire window frame and must be cut longer than the window sill. A good rule of thumb is to add twice the width of your J-channel's face to the total length.
So, if you're using a standard 3/4-inch J-channel, you’ll add 1.5 inches to your measurement. This extra length will be turned into small drainage tabs.
- Measure the entire width of your window, including any trim or brickmould that will be covered.
- Add the extra length for your tabs (e.g., 1.5 inches).
- On each end, make a 3/4-inch cut straight down the inside corner where the back of the channel meets the nailing fin.
- Now, snip away the back part of the channel, leaving just the front face and the nailing hem.
- Bend that tab outward. This creates a "kick-out" that will catch water from the side channels and direct it away from the window corner.
Skipping this tiny detail is a rookie mistake. Without these tabs, water runs straight down the sides and has a good chance of getting behind your siding right at the bottom corners.
Getting the Side Pieces Right
With your bottom channel set, it's time for the sides. Their job is to funnel water from the top down onto those drainage tabs you just made. The magic here is in a specific notch you'll cut at the bottom of each piece.
Measure the height of the window and cut your side J-channels to that exact length.
At the bottom of each side piece, you'll make a simple square notch. Just cut across the face of the channel about 3/4 of an inch up from the end. Then, cut down along the back corner to remove that little square.
This notch lets the side piece sit perfectly over the bottom channel. The front face will overlap cleanly, while the back part tucks in behind it, creating a tight, layered joint that water can't easily penetrate.
The Top Channel: Creating the "Rain Flap"
The top piece is the most critical cut. This is where you create what we call a "rain flap" or a "downspout." Its whole purpose is to guarantee that water running into the top channel gets directed into the side channels, not behind them. This is a crucial trade method for weatherproofing.
Just like the bottom piece, you’ll cut the top piece about 1.5 inches longer than the window's width.
- At each end, make a 3/4-inch cut down the inside corner, just like before.
- Here's the difference: this time, you'll snip off both the front face and the back part of the channel, leaving only the long nailing hem as a tab.
- Next, snip the front face of the channel at a 45-degree angle, removing the sharp corner.
When you install the top piece, you'll bend that newly created tab down into the side J-channel. It literally acts as a downspout, forcing water where you want it to go. This system of overlaps—top over sides, sides over bottom—is what gives you a truly professional, watertight seal that will stand up to the worst Seattle weather.
Securing and Sealing Your J-Channel
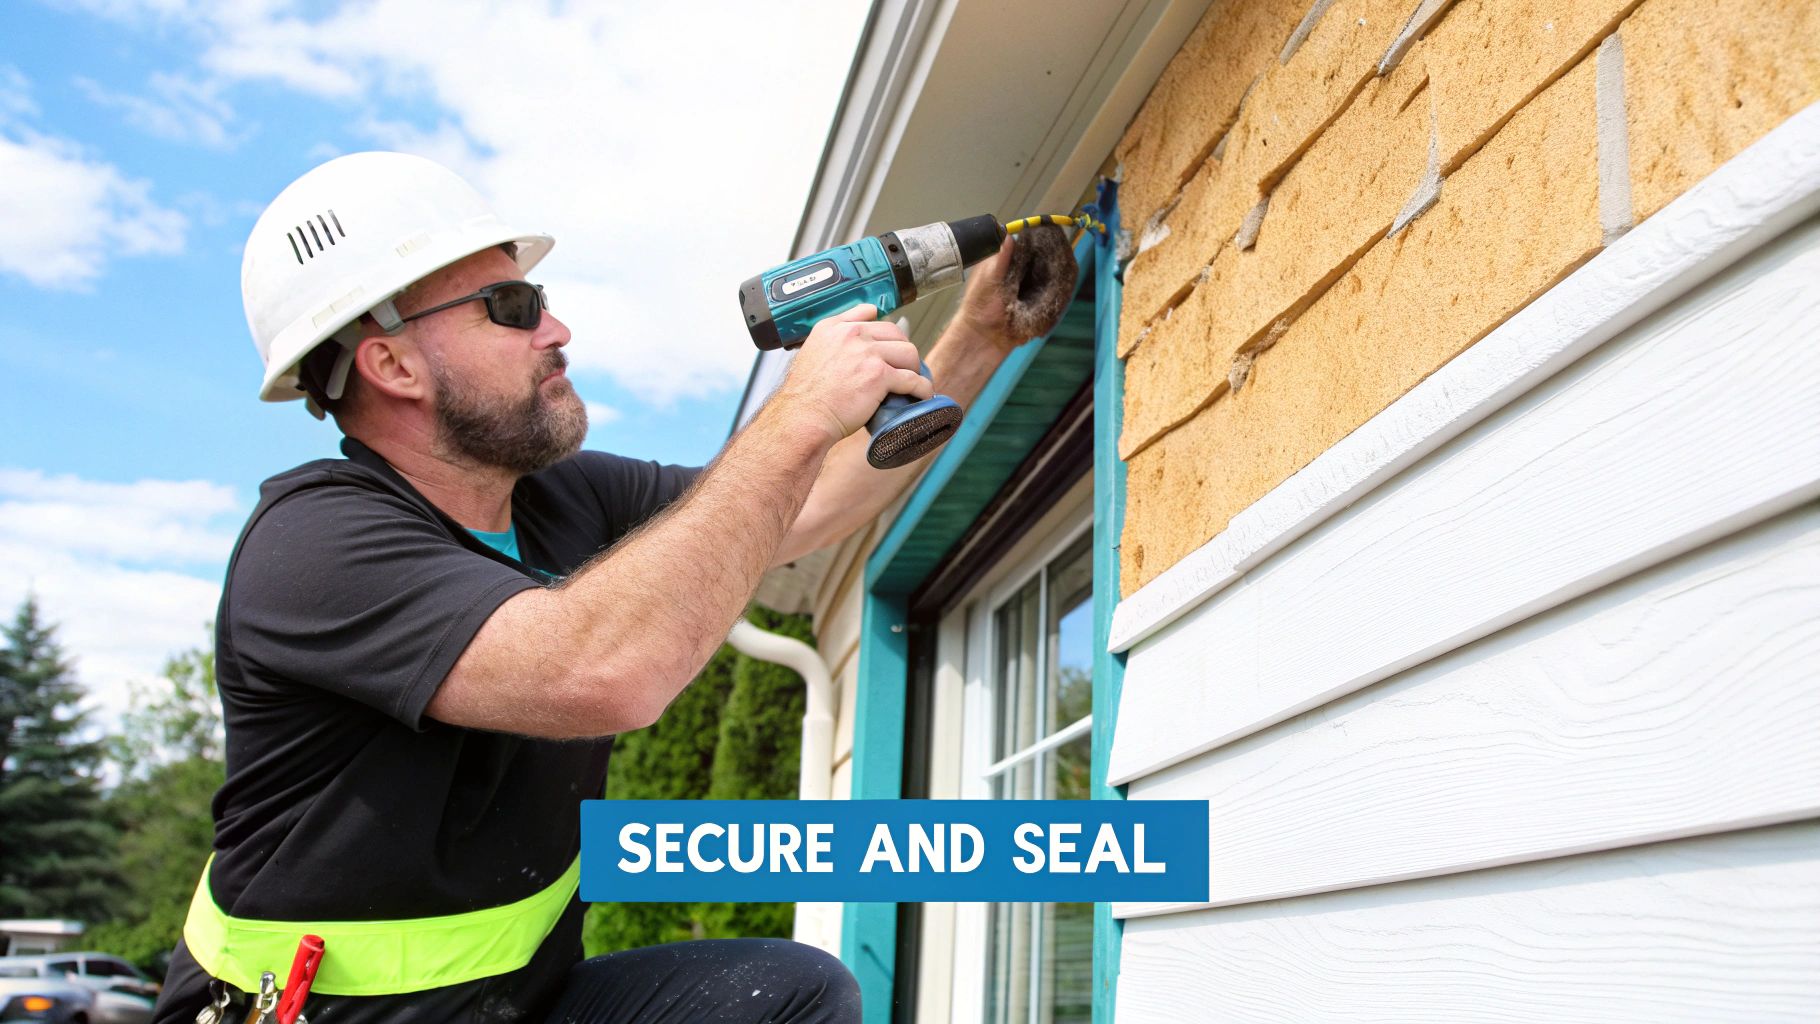
Perfect cuts are one thing, but how you fasten the J-channel is what truly separates a pro job from an amateur one. This is where you build in the "breathing room" your siding needs to handle seasonal expansion and contraction, preventing ugly problems down the road. This best practice is essential for the longevity of your siding replacement.
Many first-timers make the critical mistake of driving the nails home as hard as they can. With vinyl, that's a recipe for disaster. The material must be able to move, which brings us to a fundamental trade method.
The Art of the Loose Nail
If you learn one thing today, let it be this: nail it loose. Vinyl siding and its trim pieces expand in summer heat and shrink in the cold. Pinning the J-channel down tight fights physics, resulting in buckling, warping, or even cracks.
You’re not trying to clamp the channel to the wall; you're hanging it.
- Center the Nail: Always drive your fastener in the center of the nailing slot. This gives the channel room to slide back and forth as the temperature fluctuates.
- Leave a Gap: Don't hammer the nail all the way in. Aim for a 1/16-inch gap between the nail head and the vinyl—about the thickness of a dime. The J-channel should be snug, but you should still be able to jiggle it slightly.
Spacing fasteners correctly is just as important. Place a nail every 8 to 12 inches along the channel. This provides plenty of support without restricting that crucial movement. It’s about finding that perfect balance.
Integrating with Your Weather Barrier
Before nailing, your primary line of defense—the house wrap and flashing tape—should be perfectly installed. Proper J-channel installation isn't just about sticking it on top; it's about integrating it with this weather-resistant barrier. A key benefit of a full siding replacement is upgrading this entire system for maximum protection.
A huge mistake I see is failing to layer these components correctly. The J-channel directs bulk water away, but the house wrap and flashing tape are your actual waterproof seal. They must work together to protect the sheathing.
This focus on a tight building envelope is becoming more important. The demand for energy-efficient homes is a huge factor, with the smart window market projected to grow at a CAGR of 9.83% between 2025 and 2030. Homeowners want performance, and that starts with a flawless seal around every opening. You can learn more about these trends in the smart window market.
By mastering the loose-nail method and properly layering your defenses, you're building a complete system that not only looks sharp but will perform flawlessly for decades—a true benefit of a professional siding replacement.
Common Installation Mistakes to Avoid
I can't tell you how many siding replacement jobs we've seen in the Seattle area where small, avoidable mistakes turned into future headaches. Knowing what to watch out for from the start is what separates a clean, professional finish from a job that fails in a few years.
By far, the most common blunder is nailing the J-channel too tight. It's a natural instinct, but it’s the worst thing you can do with vinyl. It needs room to move. When that channel is pinned tight and the summer sun hits it, the vinyl expands and has nowhere to go. That’s when you get ugly waving, rippling, and warping.
Always leave about a 1/16-inch gap between the nail head and the vinyl. A great trade trick is to use a dime as a spacer.
Getting the Overlaps and Water Drainage Wrong
The next classic mistake is messing up the overlaps. This isn't just cosmetic; it's like leaving a door open for rainwater. Think like a roofer: the top piece of J-channel must overlap the side pieces. The sides must overlap the bottom. This layering creates a foolproof path for water to flow away from the window.
Just as important are the small drainage tabs on the bottom piece. We've seen people cut these tabs too short or skip them entirely. Those tabs are a best practice for a reason—they kick water out and away from the vulnerable bottom corners of the window. Without them, water runs down the side channels and seeps right into your wall sheathing.
It's not just about making it look pretty; it's about protecting the building. Getting installation details right is non-negotiable, especially with the growing demand for high-performance, energy-efficient homes.
The push for green construction is driving major growth in the windows market globally. These advanced systems only deliver on their energy-saving promises if the surrounding siding is installed perfectly. You can find more data on the global windows market on Meticulous Research.
Simple Oversights That Cause Big Problems
Beyond the technical cuts, a few basic installation errors can ruin a job. Keep an eye out for these:
- Not centering your nails. Driving a nail at the top or bottom of the nailing slot pins the vinyl and prevents movement, guaranteeing buckling. Always aim for the center.
- Cutting pieces too short. There's nothing worse than an ugly corner gap from a bad measurement. The old rule stands: measure twice, cut once.
- Choosing the wrong fasteners. Only use galvanized or stainless-steel nails. Standard nails will leave ugly rust streaks down your brand-new siding after the first big rain.
Steering clear of these common slip-ups is the key to a job you can be proud of, ensuring your J-channel looks crisp and keeps your home dry for years to come.
Common Questions We Hear on the Job
Even the best guide can't cover every situation you'll run into. After years of siding replacement projects across the Pacific Northwest, we've heard just about every question. Here are a few common ones that pop up when installing J-channel around windows.
Should I Caulk My J-Channel When I'm Done?
This is probably the most frequent question, and the answer is a firm no. It seems counterintuitive, but caulking the J-channel, especially along the bottom, is one of the worst things you can do.
A key benefit of modern siding replacement is creating a rainscreen system. It's designed to let the small amount of water that inevitably gets behind it drain out. If you seal that bottom J-channel with caulk, you're building a dam. That trapped moisture will lead to rot and serious damage to your wall sheathing, a major concern in our Seattle climate.
Your real water protection comes from the house wrap and flashing tape installed underneath the siding. The J-channel's job is to direct bulk water away, not create a waterproof seal.
How Do I Trim Out an Arched Window?
Arched windows look beautiful but can be a head-scratcher. You can't just bend a standard piece of J-channel; it will buckle and crack. For these, you need a specific product called flexible J-channel.
A trade method for getting a smooth curve is making a series of "relief cuts" along the nailing flange. These small snips, spaced about an inch apart, allow the channel to bend without kinking.
Here's how we tackle them:
- Start by securing the flexible J-channel at the top center of the arch.
- Slowly work down each side, gently bending the channel to follow the curve and nailing it off as you go.
- The straight vertical side pieces must be installed first, so the curved top piece can overlap them correctly for proper water drainage.
Can I Just Put New J-Channel on Top of My Old Wood Trim?
We see this a lot on older homes getting a vinyl siding facelift. While you technically can cover old wood trim, it's a shortcut we never recommend. It's asking for trouble.
Old wood trim is notorious for hiding rot. Covering it up doesn't fix the problem—it seals it in, making it worse.
The best practice is to remove all the old wood trim first. This is a major benefit of a full siding replacement. It lets you inspect the sheathing for soft spots, repair any damage, and properly integrate new flashing tape with the weather-resistive barrier. This gives your new J-channel and siding a solid, dry foundation, ensuring the job lasts for decades.
Ready to ensure your siding project is done right from the start? For a professional installation that stands up to the Seattle weather, trust the experts at Breeze Siding. Learn more about our siding installation services and get your free estimate.