
Before you even dream about siding colors or profiles, there's a crucial first step: getting an accurate measurement of your home's exterior. Think of this as the bedrock of your entire siding project. Getting it right is your best defense against the classic homeowner nightmare—running out of material mid-job or, just as bad, being left with a huge, expensive pile of leftovers.
Getting your numbers straight from the get-go is a game-changer. An accurate measurement lets you nail down your budget without surprise costs later. It also keeps your project on track, preventing delays that turn a simple job into a lengthy ordeal. Plus, when you approach contractors with solid figures, you’ll get quotes that are far more accurate and competitive. This proactive step not only saves money but also significantly boosts your home's curb appeal and long-term value, which is a major benefit of any siding replacement project.
Talking the Talk: Squares, Not Just Square Feet
When you start talking to siding professionals, you'll notice they don't just talk about square feet. The industry standard is a unit of measurement called a "square."
It's simple: one square equals 100 square feet of siding.
So, if a contractor tells you your home needs 25 squares, they're really saying you need 2,500 square feet of material. It's just a bit of trade shorthand that's been used for decades to simplify material orders and minimize waste.
Getting comfortable with this term is a small thing that makes a big difference. It helps you understand quotes, speak the same language as your installer, and feel more confident that everyone is on the same page.
This measurement standard is rooted in practicality and has been the go-to for ensuring projects are supplied correctly. To get a broader sense of industry trends, you can check out research on the global siding market. Ultimately, a precise initial calculation is the single most important step you can take to ensure your project goes smoothly and stays on budget.
Getting Your Tools Ready for a Perfect Measurement
Any good siding project starts with solid prep, and that means having the right tools in hand before you start. A quick check to make sure you have everything you need can save you a ton of frustration later on. The old carpenter’s rule applies here: measure twice, cut once. In our case, it's measure once and order once.
Your ability to get this right really comes down to a few basic, but essential, items.
The Toolkit You Can't Do Without
Having these simple tools ready will make the whole process go a lot smoother and ensure your numbers are spot-on.
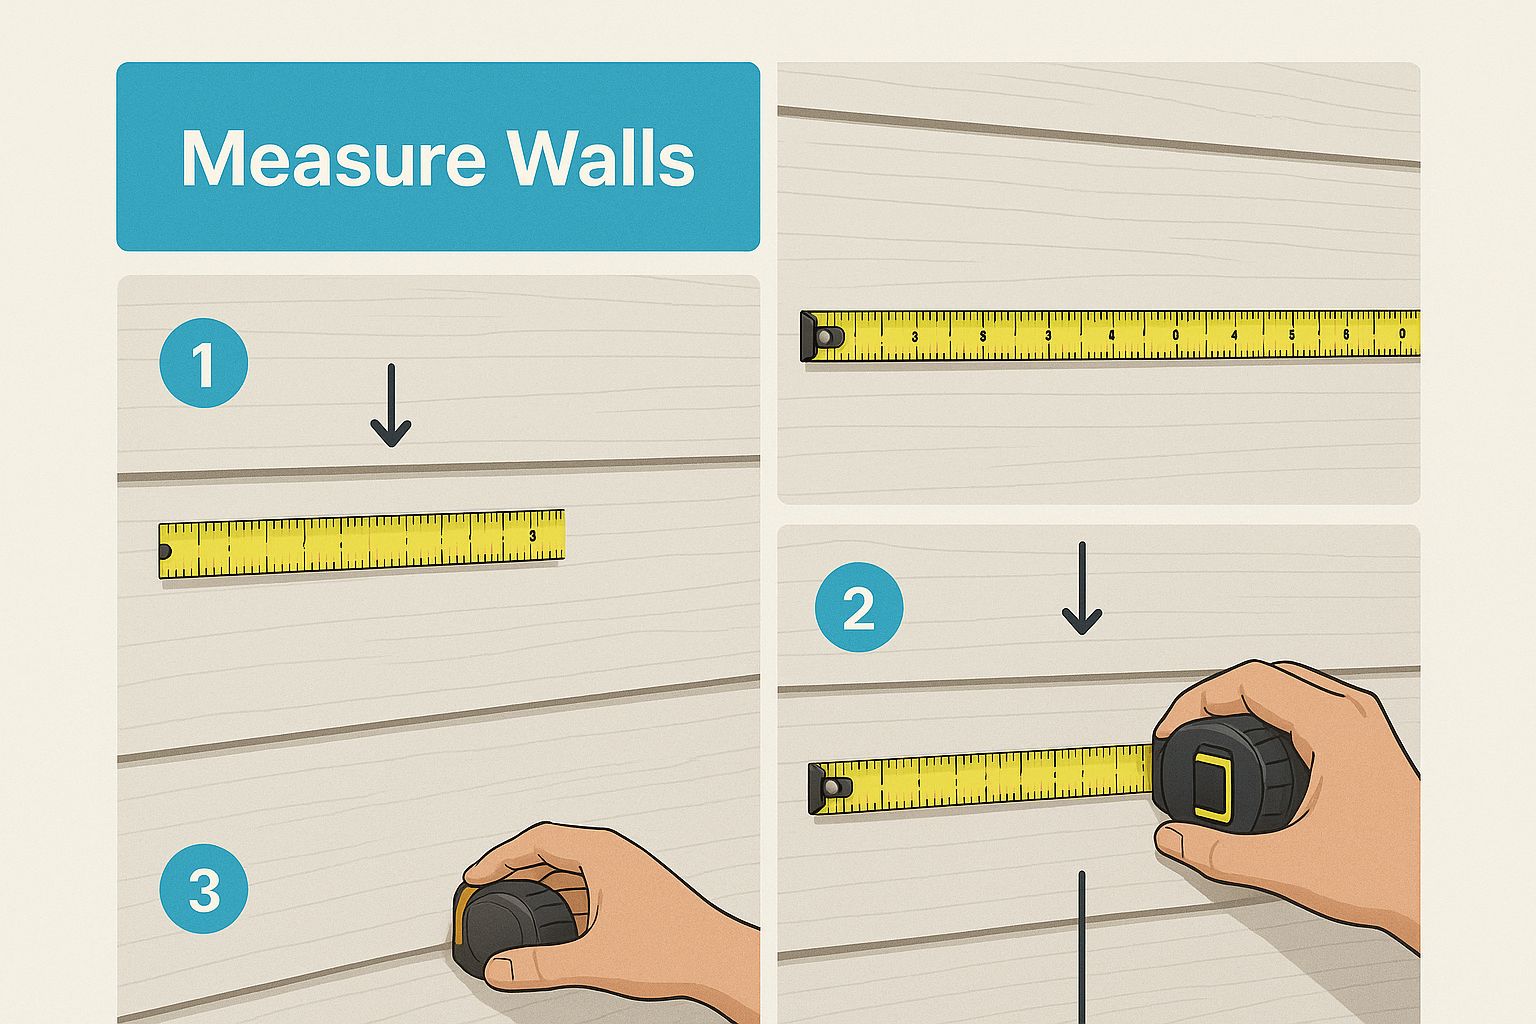
- A 100-foot Tape Measure: That little 25-footer in your junk drawer isn't going to work here. For long exterior walls, you need a long, sturdy tape to get straight, accurate lines without having to constantly stop and start.
- A Sturdy Ladder: Safety first, always. Especially here in the Seattle area, where a little morning dew can make things slick. You need a stable ladder you can trust when you're reaching up to measure gables and second-story eaves.
- Notepad and Pencil: It might sound old-school, but nothing beats a pencil and paper for jotting down numbers and sketching a quick diagram of your walls. It’s simple, reliable, and the battery never dies.
- A Helper: I can't stress this one enough. Trying to measure a 40-foot wall by yourself is just asking for a sagging, inaccurate tape line. An extra set of hands is probably the most valuable "tool" you can have for this job.
Here’s a pro tip I've learned over the years: draw a quick, rough sketch of your house's exterior. It doesn’t have to be a work of art—just a simple map where you can label each wall, dormer, and gable with its measurements. This little visual guide is your best friend when it’s time to double-check your numbers.
Calculating Your Home's Total Wall Area
With your tools ready and a rough sketch in hand, it’s time to start measuring. The trick here is to stop seeing your house as one big, complicated structure. Instead, break it down into a collection of simple shapes—mostly rectangles and triangles.
We'll tackle each wall section one at a time, calculating its area and building a running total.
For the main walls, the math is refreshingly simple. Just measure the width from corner to corner, then measure the height from the foundation up to the eaves. Multiply the width by the height, and you've got the square footage for that section. Do this for every major wall, jotting down the number on your sketch.
Handling Gables the Professional Way
Those triangular sections at the peaks of your roof are called gables, and they can look a bit tricky to measure. Don't worry—there's a straightforward formula that pros use every day.
First, measure the width of the gable along its base. Next, find the center of that base and measure straight up to the very peak. That’s your height.
Now, just plug those numbers into this simple formula:
(Base Width x Height) ÷ 2 = Gable Area
That’s all there is to it. You’ve just turned an intimidating angle into a simple number to add to your total.
Putting It All Together for Your Gross Square Footage
Let's walk through a quick example. Imagine a standard two-story house here in the Bellevue area. You’d work your way around the house, measuring each distinct area like this:
- Front Wall (bottom floor): 40 ft wide x 9 ft high = 360 sq ft
- Front Wall (top floor): 40 ft wide x 9 ft high = 360 sq ft
- Front Gable: 40 ft base x 10 ft height ÷ 2 = 200 sq ft
You'd keep this up for the back and sides, making sure to calculate every wall and gable. Once you have a number for every surface, simply add them all together.
The grand total you end up with is what contractors call the gross square footage. This isn't the number you'll use to order materials—not yet, anyway. Think of it as the crucial first step that gets us in the right ballpark.
Dealing With Windows, Doors, and Other Obstructions

With the total square footage of your walls in hand, it’s time to get a little more precise. This is the part of the process that really tightens up your material estimate and keeps your budget in check. We need to account for all the spaces you won't be covering with siding—your doors, windows, and any other significant openings.
Skipping this step is a classic rookie mistake. You end up paying for a pile of material you simply don't need, which is a real shame, especially when you consider the cost of quality siding in places like the Seattle area.
The good news is that the math is simple. Grab your tape measure again and get the width and height of every single window, door, and garage door. A quick multiplication of width by height gives you the square footage for each one.
Calculating Your Deductions
Let’s walk through a quick, real-world example. Say you're measuring a wall that has a couple of standard openings.
- A standard window might be 3 feet wide by 5 feet high, which equals 15 sq ft.
- A sliding glass door is often 6 feet wide by 7 feet high, giving you 42 sq ft.
- And a two-car garage door is typically 16 feet wide by 7 feet high, a whopping 112 sq ft.
Make your way around the entire house, measuring each opening and jotting down its square footage. Once you have a number for every window and door, add them all up. This final sum is your total deduction.
Now, just subtract that total from your gross square footage. The number you're left with is your net square footage—a much more accurate reflection of what you actually need to buy.
This refined total is the number that truly reflects the surface area you need to cover. Getting this right is a critical part of an accurate siding measurement and prevents costly over-ordering.
Of course, windows and doors aren't the only things breaking up your walls.
What About Vents and Faucets?
I get this question all the time: "What do I do about the small stuff, like dryer vents, outdoor faucets, or the electrical meter?"
The answer, based on years of experience, is to not subtract them. The amount of siding you save by cutting around these small items is negligible. It's the kind of minor scrap that gets absorbed into the overall waste factor, which we’ll cover next.
Instead of trying to calculate their tiny areas, just mark their locations on your diagram. Knowing exactly where these little obstacles are is far more important for planning your cuts down the road. It helps you work efficiently and ensures the final job looks clean and professional.
Factoring in Siding Type and Ordering Extra
You’ve got your net square footage, which is a great start, but don't head to the supplier just yet. The final piece of the puzzle in measuring for siding is accounting for the material itself. This is where the pros add a buffer known as the “waste factor.”
Think of it as project insurance. It's not about buying way too much; it’s about planning for reality. Every cut made to fit a panel around a window, along a tricky roofline, or at a corner creates scrap. And let's be honest, a mis-cut can happen to even the most seasoned installer. The waste factor is what keeps you on the job site instead of making a frantic trip back to the store.
Why Your Siding Choice Changes Everything
The material you pick has a huge impact on how much extra you'll need. Vinyl siding, for instance, makes up about 24% of the global siding market and is pretty forgiving to work with. It's easy to cut, so a 10% waste factor is usually a safe bet. You can dig deeper into siding market trends and material usage to see how different materials stack up.
Harder, more rigid materials? That's a different story.
- Fiber Cement Siding: This stuff is incredibly durable, but cutting it is a bigger deal. It's less forgiving and creates a lot of dust, so we always plan for a waste factor of 10-15%.
- Wood Siding: With natural materials, you have to account for imperfections like knots or splits. To be safe, plan on at least a 15% waste factor.
- Vertical or Shake Siding: These profiles look fantastic but require a lot more intricate cuts. For these, bumping the waste factor up to 15% or even 20% is a smart move.
My rule of thumb is this: the more complex your home's layout and the trickier the material is to cut, the higher your waste factor needs to be. It’s the key to a smooth installation without any last-minute surprises.
To make this easier, here's a quick reference guide I use when planning projects.
Recommended Waste Factor by Siding Material
| Siding Material | Typical Waste Factor | Notes |
|---|---|---|
| Vinyl Siding | 10% | Easy to cut, relatively forgiving. |
| Fiber Cement | 10-15% | Less forgiving, requires specialized blades. |
| Wood Siding | 15% | Accounts for natural defects and potential splitting. |
| Vertical/Shake | 15-20% | Involves more complex cuts and angles. |
Factoring in the right amount of waste is what turns a good measurement into a perfect material order. It's a simple step, but it's the professional secret that separates a stressful, delay-plagued project from a seamless one, like the beautiful homes you can see in our gallery of Seattle-area siding projects.
Common Questions About Siding Measurement
Even after you've mapped out every wall, a few nagging questions can pop up just as you're about to order your materials. Let's tackle some of the most common ones I hear from homeowners, so you can feel completely confident in your numbers.
Is Adding a Waste Factor Really Necessary?
One hundred percent, yes. I like to call it “project insurance.” Every single time you cut a piece of siding to fit around a window, along a tricky roofline, or at a corner, you create a piece of scrap. And let's be honest, mis-cuts happen to everyone, even pros who’ve been doing this for decades.
A standard waste factor, usually 10-15%, is specifically designed to cover these real-world situations. Without it, you're setting yourself up for the nightmare scenario: running out of siding with just a few feet left to go. That means project delays and a frantic search for another box, hoping you can find one from the same color lot.
Trust me on this—that small buffer is a non-negotiable part of any professional siding job.
How Do I Measure Complex Shapes Like Dormers?
The trick here is to stop looking at the dormer as one big, complicated shape. Instead, treat it like a miniature house and break it down into simple, easy-to-measure geometric shapes.
Most dormers are just a combination of these:
- A rectangular front face.
- A triangular gable sitting on top of it.
- Two smaller sides, which are usually either rectangles or triangles.
Just measure each of these simple shapes one by one, find their individual square footage, and add them all together. This little bit of geometry turns what seems intimidating into a few quick and easy calculations.
Should I Round My Measurements Up or Down?
Always, always round up. It’s a standard practice in the industry to round up to the next full inch or, for long walls, even the nearest quarter-foot. It just makes the math cleaner and builds in a tiny, almost unnoticeable buffer.
Don't worry that this will make you over-order. The official waste factor you add at the very end is the real safety net that covers all these minor adjustments, potential mistakes, and the scrap from your cuts. Being precise is good, but rounding up is a safe, professional habit that gives you a little welcome wiggle room.
Ready to skip the tape measure and get a professional, guaranteed quote? The expert team at Breeze Siding has been helping homeowners in the Seattle area achieve beautiful, durable results since 2007. Contact us today for your free, no-obligation estimate.