
Figuring out how to measure your house for siding is a crucial first step for any replacement project. It all boils down to calculating the total square footage of your exterior walls and then translating that into "siding squares." In the industry, one square is simply 100 square feet. Getting this measurement right from the get-go is the most critical part of the job—it prevents the headache of running out of material or overspending on excess siding you don't need, ensuring a smooth and cost-effective siding replacement.
Your Foundation for an Accurate Siding Measurement
Before grabbing a tape measure, let's establish the core concept. You're essentially breaking down your house into simple shapes, mostly rectangles and triangles, and then using basic math to find their area.
Once you have this figured out, you'll be able to approach each wall with the confidence of a pro. This preparation is a best practice that sets the stage for a smooth project, helps keep your budget in check, and is the first step toward boosting your home's curb appeal and weather protection.
The Basic Math of Siding
At its core, measuring for siding is all about finding the total area of your exterior walls in square feet. You’ll measure the height and width of each side of your house and multiply those two numbers together. That gives you the square footage for that section. For those triangular areas up in the gables, you'll measure the base and the height, and then use the classic geometry formula: (0.5 x base x height). For a deeper dive into these calculations, the experts at LP Building Solutions offer some great insights.
This simple approach takes what looks like a big, complicated job and makes it totally manageable.
Trade Method: A non-negotiable rule in the trades is to always measure twice, cut once. A small mistake on one wall can compound into a significant material shortage. It’s a simple habit that makes a world of difference and prevents costly project delays.
Essential Tools for the Job
You don't need a whole workshop full of gear, but having the right tools on hand is non-negotiable for getting an accurate measurement.
- 100-Foot Tape Measure: Don't try to get by with a smaller one. You'll introduce errors trying to measure long walls in segments. A quality laser measure can also be a fantastic, time-saving alternative.
- Sturdy Ladder: Safety is paramount. Ensure your ladder is solid and allows you to safely reach the top of your walls and gables.
- Notepad & Pen/Tablet: Sketching a rough "bird's-eye view" diagram of the house is a pro move. Label each wall and write the measurements down right next to it to keep everything organized.
- Calculator: Your phone is perfect for this. No need for anything fancy.
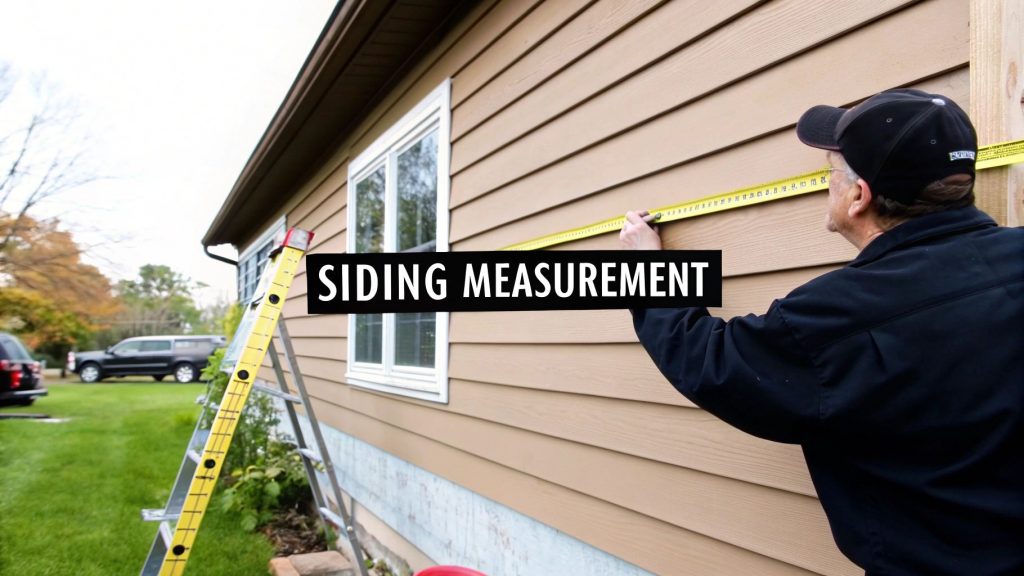
Measuring Your Home's Main Exterior Walls
Alright, let's get down to business with the biggest part of the job: the main exterior walls. This is where the bulk of your material will go, so precision here is everything. To make this practical, we'll imagine we're working on a classic two-story colonial, a home style you see all over the Seattle area.
The trick is to stop seeing your house as one big, complicated shape and instead break it down into simple rectangles. Grab a notepad and sketch a basic outline of your home's footprint. This working diagram is your roadmap to keeping numbers straight.
Calculating Gross Square Footage
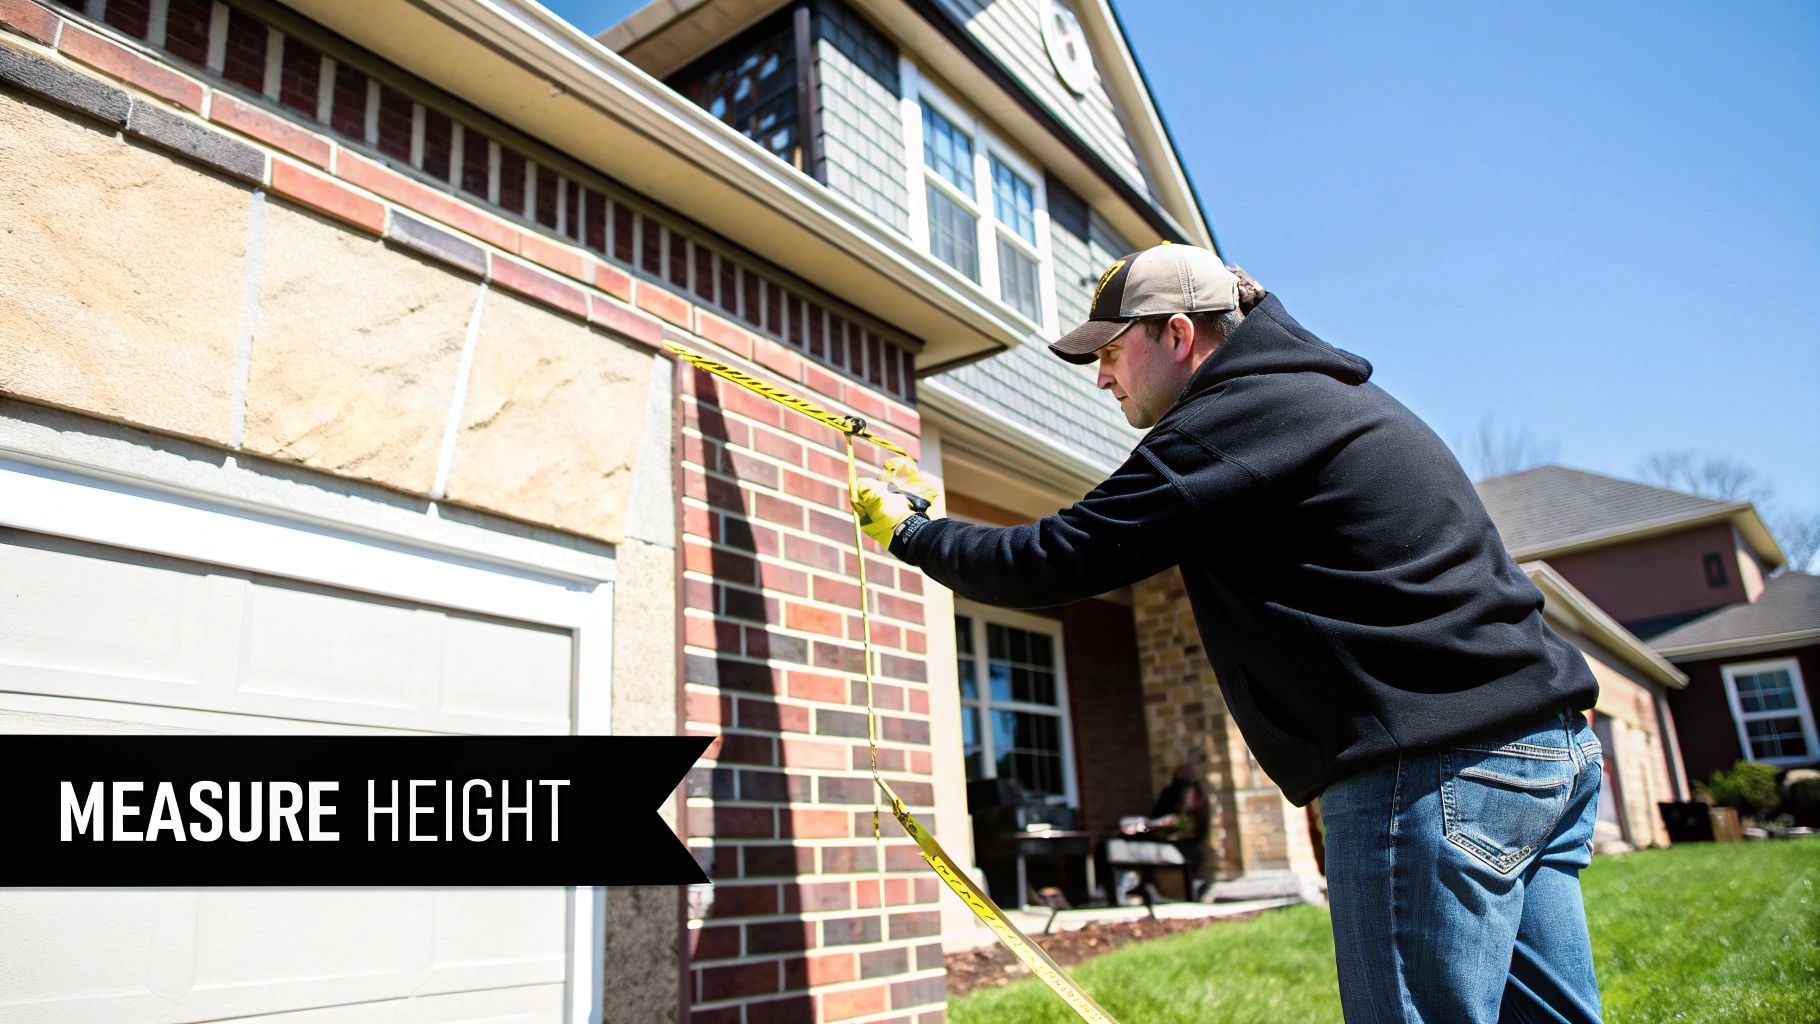
For each wall, you need two key measurements: the length and the height. Start by measuring the length of a wall from one outside corner to the other. Next, measure the height from the very bottom of the wall (right where the siding begins) up to the eaves.
Let's use our colonial example. Say the front of the house is 50 feet long and the walls are 18 feet high. A quick multiplication (50 x 18) gives us 900 square feet for that one wall.
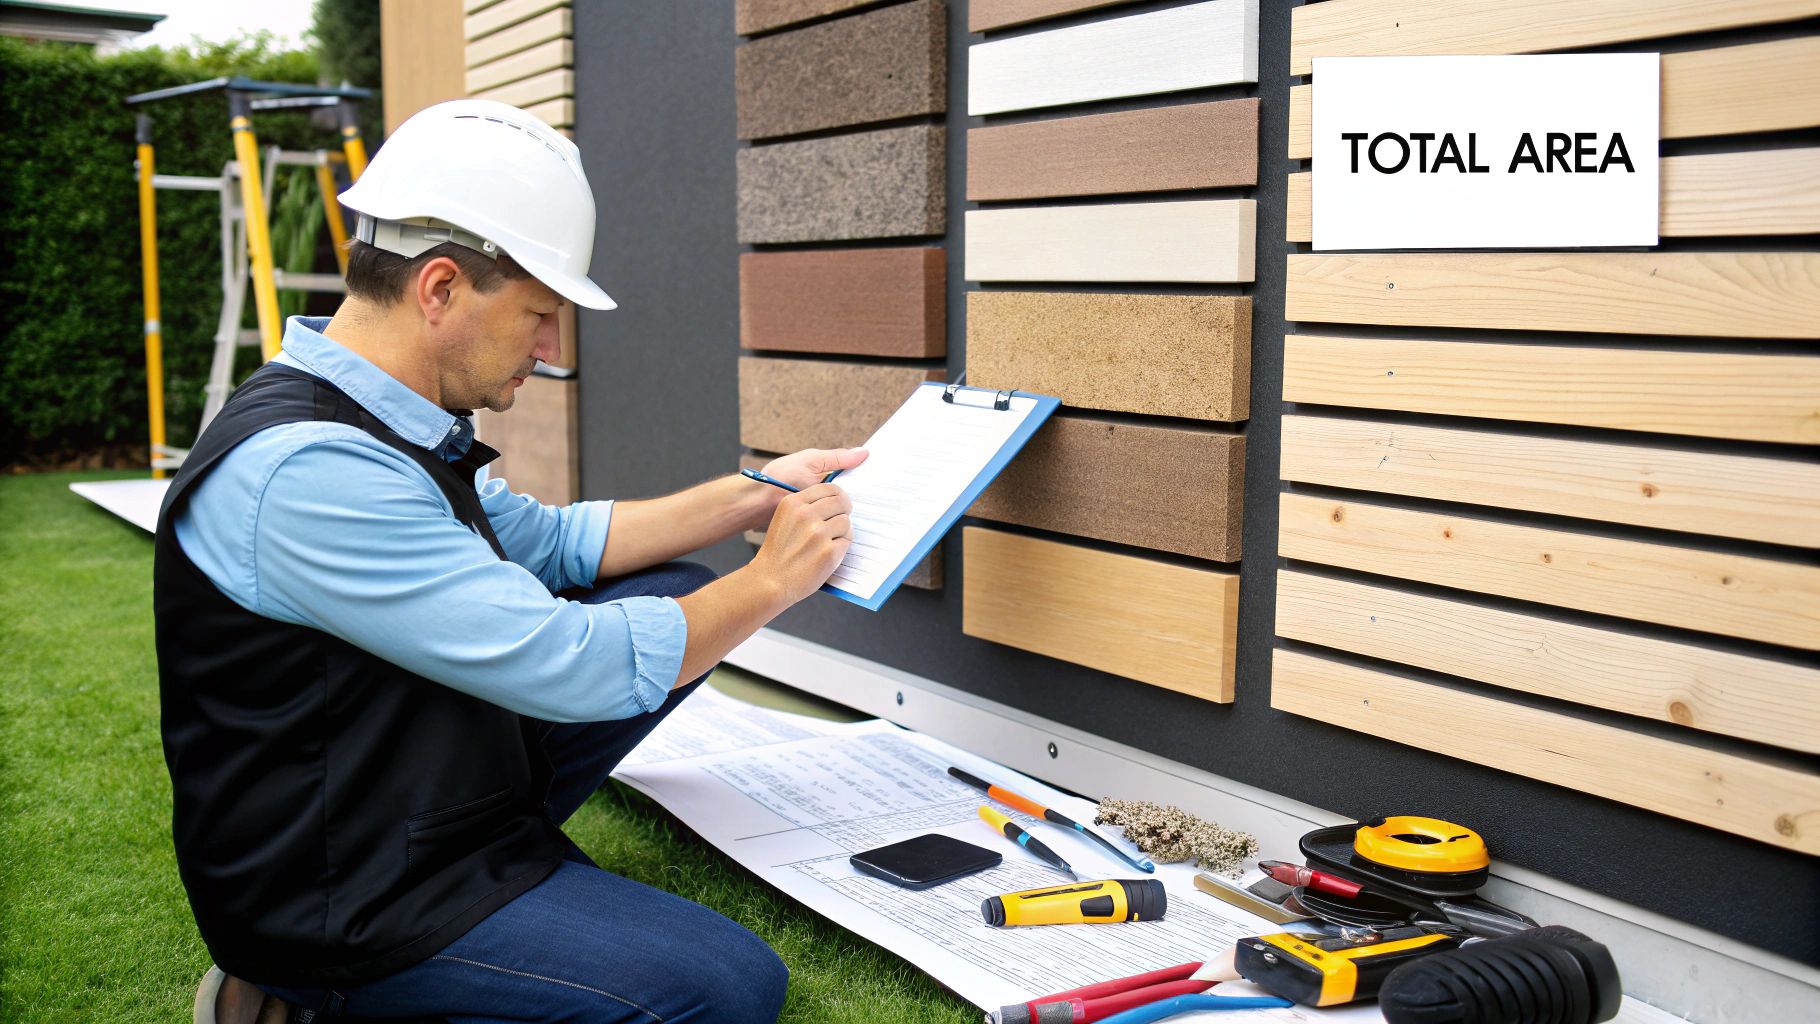
You'll do this for every main wall of the house, jotting down the dimensions and the final area for each section on your sketch. Once you've gone all the way around, add up the areas for all the walls. This total is your 'gross square footage'—the starting number we'll work from before subtracting windows and doors.
This image lays out the essential tools you'll want to have on hand before you start.
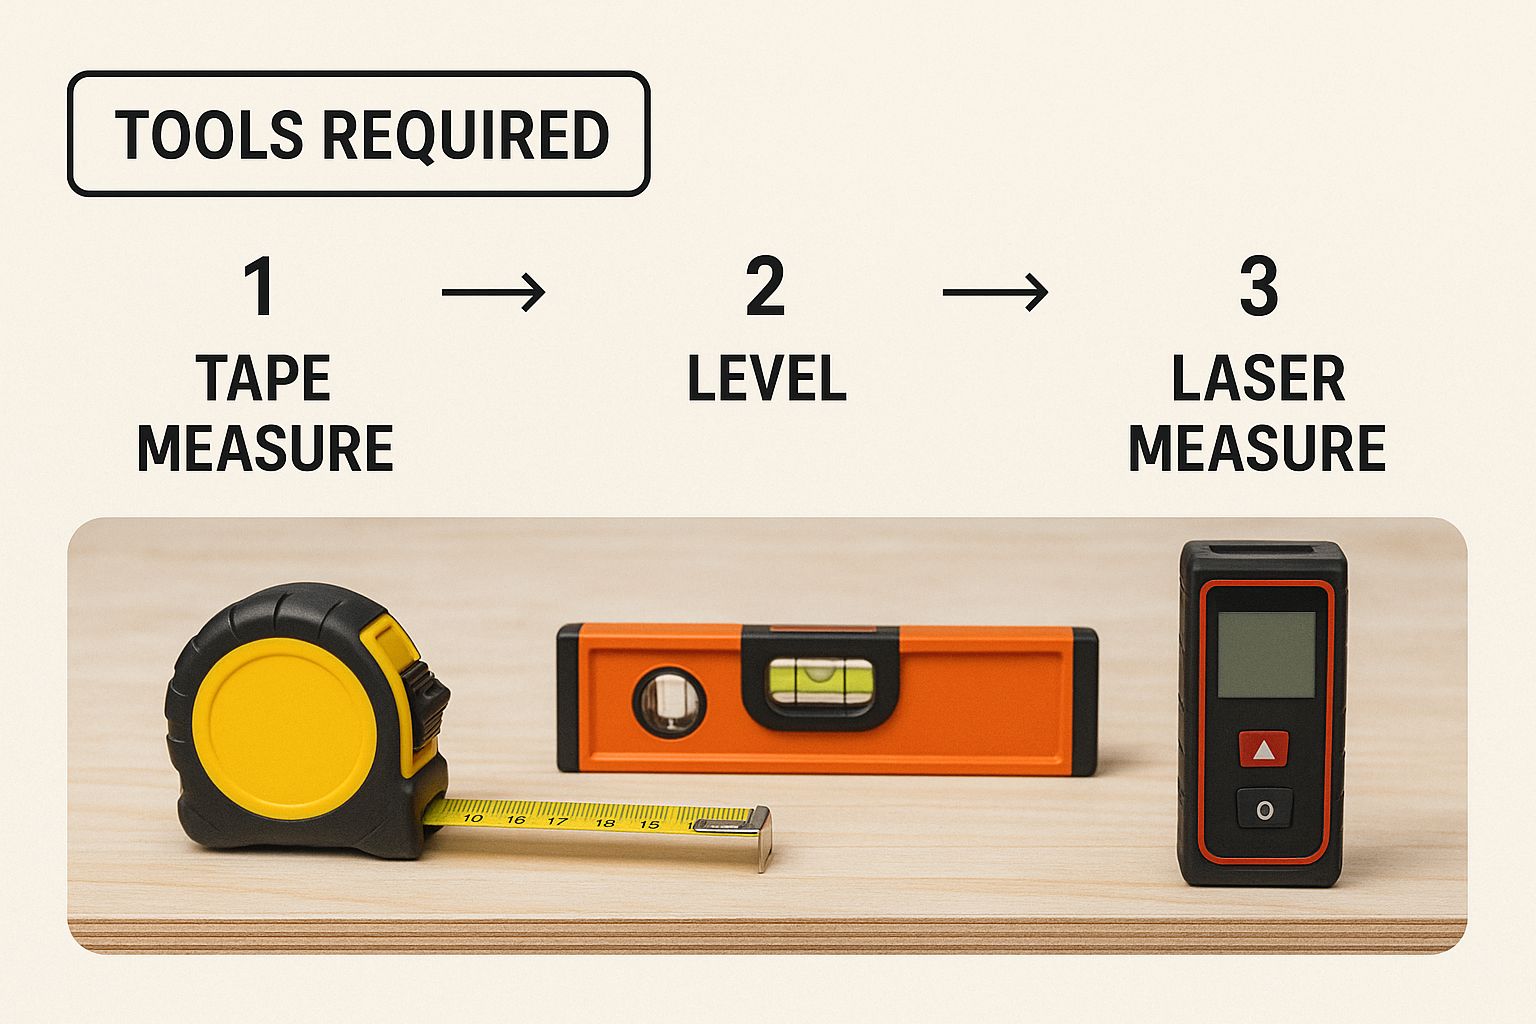
Trust me, having the right gear makes all the difference. A 100-foot tape measure, in particular, is an absolute must-have for getting this right without a lot of hassle.
A Pro Tip for Seattle Homeowners: Trying to measure a long wall on a windy Puget Sound day can feel impossible; the tape measure just won't stay straight. If you're working alone, drive a small nail or screw into the corner sheathing just enough to hook your tape on. It'll keep the line taut and guarantee a precise reading every time. This is a simple trade trick that saves time and improves accuracy.
Handling Gables, Dormers, and Tricky Angles
Gables and dormers can look intimidating, but when you boil them down, they're just triangles and rectangles. Don't let these tricky angles trip you up; getting them right is a crucial part of knowing how to measure a house for siding. Honestly, mastering these odd shapes is what separates a professional-grade estimate from a costly amateur guess.
For a standard gable, you just need to remember one simple formula from high school geometry: (Base x Height) ÷ 2. That's it.
Finding the Gable's Area
First thing's first, you need to measure the base. This is simply the widest part of the gable, which almost always runs horizontally along the top of the main wall below it. Just measure from corner to corner.
Next, you'll need the height. This is the vertical distance from the very middle of that base line straight up to the peak. Once you have both measurements, just plug them into the formula. For a gable with a 30-foot base and a 10-foot height, the math looks like this: (30 x 10) ÷ 2 = 150 square feet.
This same straightforward approach will work for most of the common rooflines you see on homes across the Pacific Northwest, from classic Craftsman bungalows in Ballard to modern farmhouses in Woodinville.
Here’s a little trade secret for measuring height safely: If you can, open a second-story window near the peak. You can hold the tape at the peak and let it drop straight down to the base line. It's a lot easier and safer than constantly repositioning a ladder, a best practice we always follow on site.
Tackling Dormers and Complex Shapes
Think of dormers as little houses sitting on your roof. You just have to measure each of their small rectangular walls and tiny gables individually. Use the same simple formulas you've already been using, then add those smaller areas to your running total. Easy.
Some homes have more unusual rooflines, but the principle never changes: break down any odd shape into a collection of simple rectangles and triangles you can easily measure.
- Shed Roofs: These are often just a single rectangle or maybe a trapezoid.
- Gambrel Roofs: You see this classic "barn roof" style on a lot of homes. Just treat it as a large central rectangle with two triangles on either side.
Taking the time to account for these details is what keeps you from running out of material mid-project—a common and expensive mistake. Nailing this part of the measurement process is the cornerstone of a smooth siding replacement job.
Getting to Your Net Square Footage by Subtracting Openings
Now that you've got your gross square footage, it's time to dial it in for accuracy. You might see some online guides suggesting you can just skip measuring windows and doors, but in my experience, that's a shortcut that leads to over-buying and a busted budget. Professionals always account for openings to ensure a precise material order.
The math here is straightforward. Just measure the height and width of each window and door. Multiply the two numbers together to find the area for that specific opening. For instance, a pretty standard 3-foot by 5-foot window works out to 15 square feet.
Tallying Up the Gaps
Walk the perimeter of your house again, this time with a focus on every single opening. Measure them all—don't forget that small basement window or the one in the guest bathroom. They add up.
Once you have the individual square footage for every window and door, add them all together. Subtract this total from your gross wall area, and you'll have what we call the 'net square footage'. This is the number that truly represents the surface you need to cover.
To give you a real-world picture, let's think about a common 2,700 square foot two-story home. The siding needed isn't based on the home's floor area but on the exterior wall surface. With a perimeter of around 161 linear feet and two stories of 8-foot walls, you're looking at roughly 2,575 square feet of gross wall area. A typical home has about 12% of its wall space dedicated to windows and doors. Subtracting that brings the net siding area down to 2,266 square feet, which is just over 22 siding squares. You can dig deeper into residential cost studies to see how these numbers shake out across different projects.
A Pro Tip for Arched Windows: Don't let custom shapes like arches or circles throw you off. The old-school trade trick is to simply measure the window at its widest and tallest points to imagine a rectangle around it. Calculate that rectangle's area, then take about 80% of that figure. It’s a fast, reliable estimate that gets you incredibly close without needing to dust off your old geometry textbook.
With this refined net total in hand, you’re ready for the final piece of the puzzle.
Calculating the Right Waste Factor for Your Project
Every single siding job produces waste—it’s just an unavoidable part of the process. Forgetting to account for all the offcuts, angled pieces around gables, and the occasional mis-cut is a classic mistake that can bring your project to a screeching halt. This is where the ‘waste factor’ comes into play.
The waste factor is simply the extra material you order on top of your final square footage measurement. This industry best practice is key to a smooth installation, ensuring you don’t run out of siding mid-job and face costly delays or frustrating color-matching issues with a new batch.
Nailing Down Your Home’s Waste Percentage
The amount of extra siding you'll need is directly tied to your home's architectural complexity. A simple, rectangular ranch-style house might only need a 10% buffer. But if you’re dealing with a more complex home full of dormers, multiple gables, and unique angles—common in many historic Seattle neighborhoods—you could easily need 15% or even more.
Pro Tip: Always err on the side of caution. It's far better to have a few extra pieces of siding left over than to be one piece short on the final wall. That extra material can also be a lifesaver for future repairs down the road, ensuring a perfect color match if a piece gets damaged.
To help you get a better handle on this, I've put together a quick guide based on different house styles.
Recommended Siding Waste Factor by House Style
| House Style / Complexity | Description | Recommended Waste Factor |
|---|---|---|
| Simple (e.g., Ranch, Colonial) | A basic rectangular or square footprint with few gables and simple window cutouts. | 10% |
| Moderate (e.g., Cape Cod, Split-Level) | Features more gables, dormers, and a more intricate roofline, requiring more complex cuts. | 12-15% |
| Complex (e.g., Victorian, Tudor) | Many gables, turrets, bay windows, and sharp angles that generate significant offcuts. | 15-20% |
This table should give you a solid starting point. Remember to assess your home's unique features and adjust your waste factor accordingly.
In the past, contractors had to physically scale a home to get these measurements, a process that was both time-consuming and risky. While you can learn more about these professional measurement methods on GAF.com, today's pros often use advanced tools like satellite imagery or drone measurements for unparalleled accuracy and safety. For DIYers, a careful ground-based measurement combined with a smart waste factor is a much safer approach.
Once you have your number, the math is simple. Just multiply your net square footage by your chosen waste factor. For example, 2,000 sq. ft. x 1.10 = 2,200 sq. ft. of siding to order. This final number is what you'll take to the supplier.
Common Siding Measurement Questions
Even after you’ve measured the main walls, a few tricky spots can throw a wrench in your calculations. Let's walk through some of the questions I hear most often from homeowners around Seattle. Getting these details right is what separates a good plan from a great one.
What if I Have an Attached Garage or Porch?
This is a classic head-scratcher, but the solution is pretty straightforward. Think of an attached garage as just another part of the house. You'll measure its exterior walls that need siding the same way you measured everything else.
Open porches are a bit different. You’ll only measure the walls that face outward and any posts or columns you plan on wrapping. And here’s a pro tip: don't forget to subtract the area of your garage door from the wall total, just like you did with the windows and other doors.
Should I Round My Measurements Up or Down?
Always, always round up. It’s a habit every seasoned pro develops. I recommend rounding up to the nearest inch, or even to the nearest quarter-foot (3 inches).
Think of it as building a small but crucial buffer into your plan. It’s far better to have a little extra material left over than to come up short on the last day of the project. Rounding down is a gamble that rarely pays off and can halt progress.
How Do I Measure for Soffit and Fascia?
Soffit and fascia are the finishing touches that really make a siding job look complete, but you can't measure them like the walls. These materials are calculated in linear feet, not square footage.
Here's the breakdown:
- Fascia: This one's easy. Just run your tape measure along the entire edge of your roofline. That total length is the linear footage you need for the fascia board.
- Soffit: You'll need two numbers here. First, measure the width of the roof overhang (from the wall out to the edge). Second, measure the length along that same roof edge. Multiply those two figures together, and you've got the total square footage of soffit you'll need.
Nailing these final calculations ensures every single part of your home’s exterior gets the attention it deserves for a truly professional finish.
Ready to turn those careful measurements into a beautiful new exterior? At Breeze Siding, we’ve been helping Seattle homeowners transform their properties since 2007. As a James Hardie Preferred Installer, we bring a high level of craftsmanship and expertise to every project. A professionally installed siding replacement not only elevates your home's curb appeal but also provides superior protection against the Pacific Northwest climate, increases energy efficiency, and offers a significant return on your investment.
If you're ready for a free, no-obligation estimate, get in touch with our team today. Let's bring your vision to life.