
Getting your siding measurement right from the get-go is the most critical part of any siding replacement job. It’s the one thing that separates a smooth, on-budget project from a nightmare of delays and surprise costs. A precise measurement isn't just about crunching numbers; it's about laying the groundwork for success, ensuring your home is protected from the Pacific Northwest weather, and boosting its curb appeal and value.
A solid estimate is the foundation of your entire project. It directly impacts your budget, your timeline, and ultimately, how your home looks when it's all done. For homeowners, understanding this process gives you the confidence you need when talking to contractors and reviewing their quotes, making you an informed partner in your home's transformation.
The Professional Approach to Measurement
Pros don't eyeball it. We follow a tried-and-true method to nail the numbers every single time. It really boils down to a few key steps that ensure accuracy and efficiency.
- Calculate the Total Area: This is your starting point. You'll measure the height and width of every single exterior wall to get the gross square footage.
- Subtract the Openings: Next, you need to account for all the areas that won't get siding. Carefully measure every window, door, garage door, and even the vents, then subtract that total area from your gross square footage.
- Add the Waste Factor: Finally, you add a buffer. This isn't just for mistakes; it's a calculated percentage to cover all the material lost to cuts and angles.
This methodical approach is non-negotiable for a successful siding replacement. Getting this right is what makes or breaks the budget. Industry-wide, we always recommend adding at least a 10% contingency to your final number to cover waste and cuts. You can find more siding market insights on Market.us.
A classic rookie mistake is ordering the exact square footage you calculate. Homeowners often forget that every cut, especially around gables and windows, creates scraps you can't use. That waste factor isn't optional; it's essential.
To make things easier, it's a great idea to gather your tools before you head outside. Having everything on hand from the start saves you from running back and forth.
Essential Tools for Siding Measurement
Gather these tools before you start to ensure an easy and accurate measurement process.
| Tool | Purpose | Pro Tip |
|---|---|---|
| Tape Measure (25 ft or longer) | For measuring wall lengths and heights. | A wider, stiffer tape is easier to handle, especially when you're working alone. |
| Laser Measure | For quickly capturing long or hard-to-reach distances. | Great for second-story walls where a tape measure can be tricky and inaccurate. |
| Notepad & Pencil | To sketch your home's layout and record measurements. | A simple drawing helps you keep track of which numbers belong to which wall. |
| Calculator | To do the math for areas and totals. | Use the one on your phone, or an old-school one if you prefer. Just double-check your math! |
| Ladder | To safely reach upper walls and gables. | Make sure it's on stable, level ground. Safety first, always. |
By following this blueprint, you're taking control of your project. You'll have a realistic budget and a much smoother installation. You can even sketch out a simple diagram to track your numbers, just like we do for our own project plans.

Putting in this effort up front saves you from the massive headache of running out of material mid-job, ensuring your siding replacement is a fantastic investment in your home's value and curb appeal.
Calculating Your Home's Total Wall Area
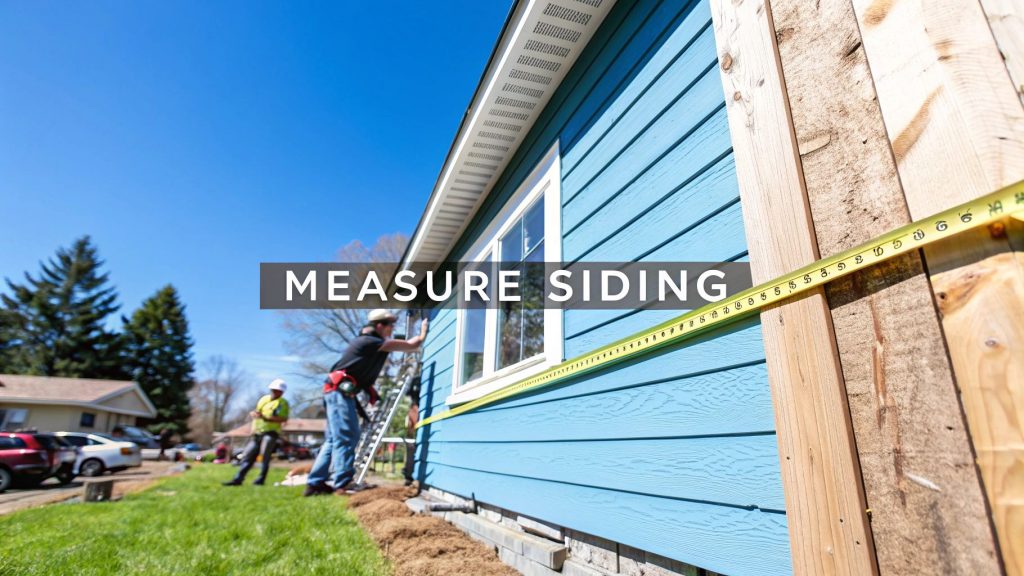
Alright, this is where the real work begins—figuring out the total square footage of your walls. The trick the pros use is to stop seeing your house as one big, complicated shape. Instead, we break it down into simple, easy-to-measure rectangles and squares.
Think of your two-story home in Bellevue or your split-level in Tacoma as a collection of individual flat surfaces. Grab your notepad and pick a side of your house to start with. Measure its total width from corner to corner, then get the total height from the foundation all the way up to the eaves. Just multiply those two numbers (Length x Width) to get the area for that section.
A Methodical Approach to Measurement
Now, just rinse and repeat. Go around your entire house and do this for every single exterior wall, and don't forget the attached garage. As you go, make sure to label each measurement on your sketch—something like "West Wall" or "Garage Front." Trust me, this little bit of organization now will save you a massive headache later by preventing you from measuring a wall twice or, worse, skipping one completely.
- For a split-level home: You’ll want to treat the different levels as separate rectangles. Measure the lower section first, then tackle the area of the part that juts out on the upper level.
- For homes with additions: Handle the main structure and the addition as two different projects. Keeping those numbers separate makes it much easier to spot a mistake when you double-check your math.
Breaking down the house into basic shapes like this is the fundamental process every good siding installer uses to get an accurate estimate.
This infographic boils our process down perfectly. First, we calculate the total area. Then, we subtract the parts we aren't siding, like windows and doors. Finally, we add a bit extra for waste. This straightforward system is the key to accuracy, as it lets us handle one variable at a time before putting it all together.
By carefully measuring and logging the area of each wall, you’re creating a reliable blueprint for your entire project.
Don't try to measure everything at once. Focus on one wall at a time, calculate its square footage, write it down, and then move to the next. This methodical pace is your best defense against making a costly mistake.
Once you have the individual square footage for every wall, it's time to add them all together. That final number is your gross wall area. It's the biggest piece of the puzzle and the baseline we'll use to calculate your final material order. Getting this figure right is the most critical part of the entire process.
Getting Precise: Subtracting Openings and Measuring Gables
Now that you have the total square footage of your walls, it’s time to refine that number. We need to subtract all the areas that won't be covered in siding. Getting this part right is crucial—every square foot you account for saves you money on materials.
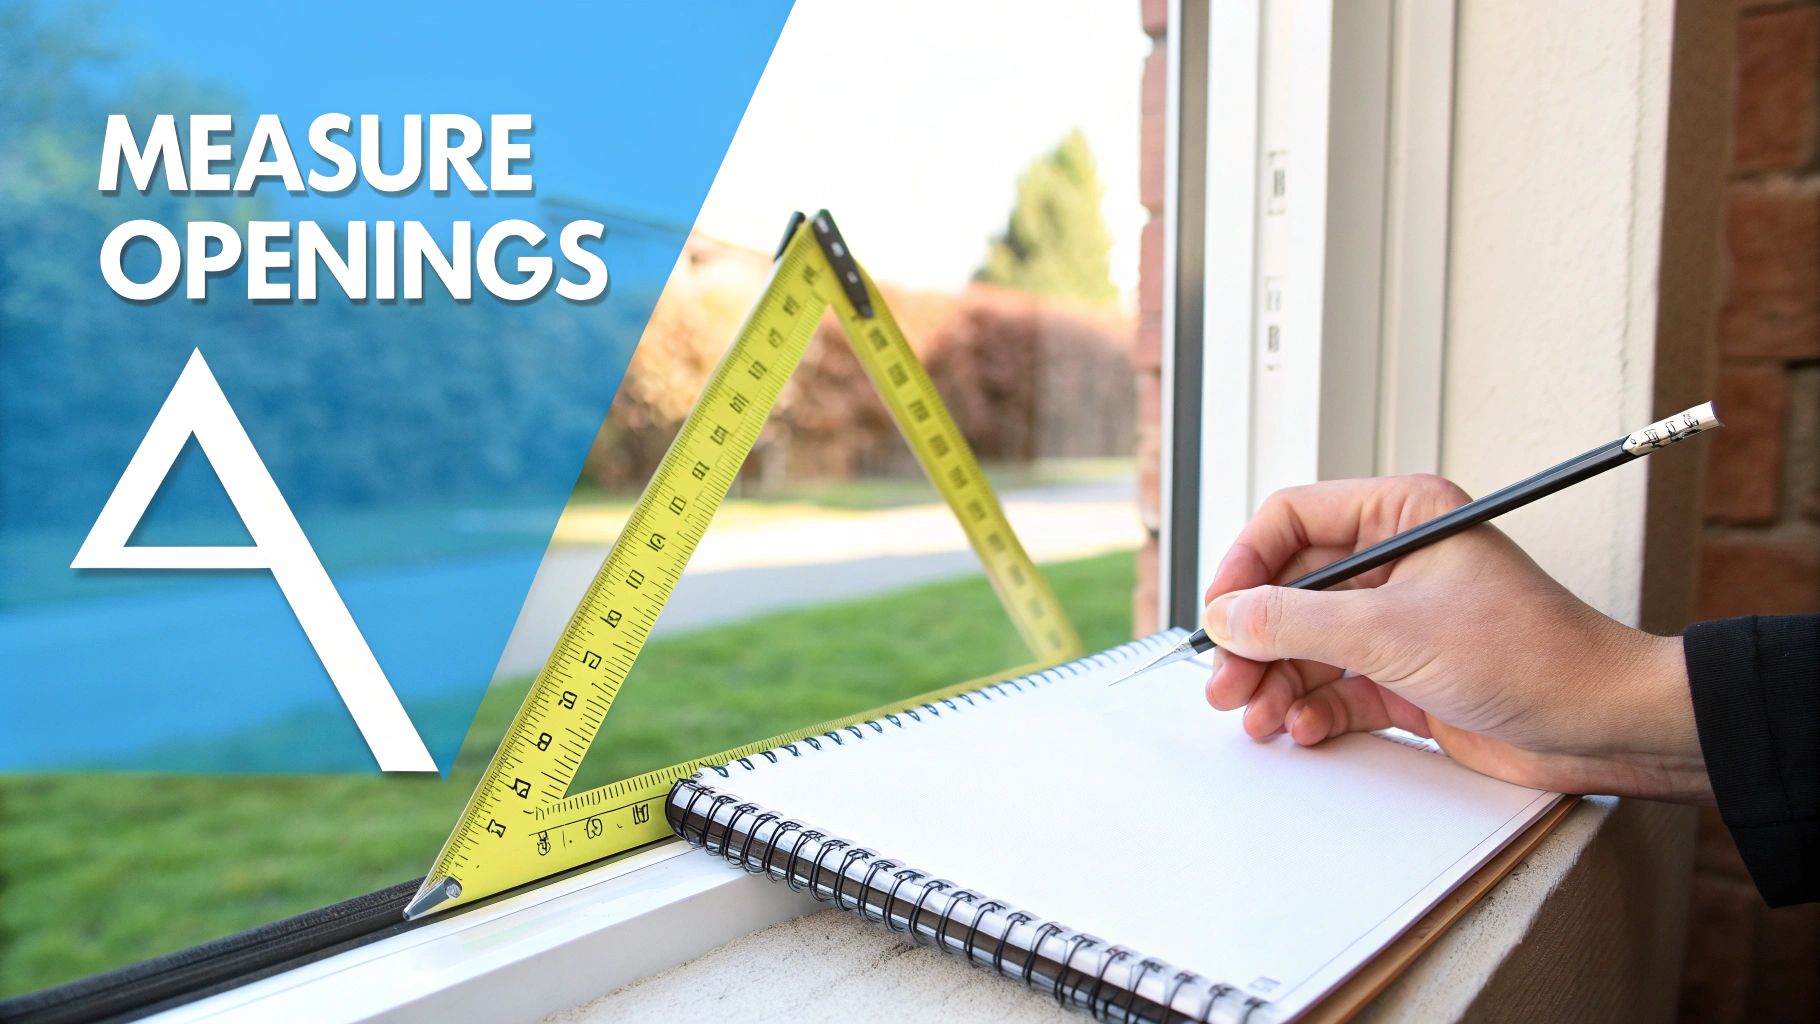
This means you’ll be measuring every single window, door, and garage door.
A common oversight is measuring from the outside edge of the trim. For siding calculations, you need the measurement of the actual opening itself. Measure from the inside edge of the frame where the siding will eventually meet the window or door.
Go around the house, measuring the height and width of each opening. Multiply those two numbers to get the square footage for each one, then add them all up. This final number is your "total opening area," which you'll subtract from your gross wall calculation.
How to Tackle Tricky Gables
Next up are the gables—those triangular wall sections right under the peak of your roof. They look intimidating, but a little high school geometry is all you need.
You just need two quick measurements for each gable:
- The Base: Measure the gable's horizontal width from corner to corner.
- The Height: Find the center of the base and measure straight up to the roof's peak.
With those two numbers in hand, the formula is simple: (Base x Height) ÷ 2. This gives you the exact square footage of that gable. If your house has more than one, just repeat the process for each and add them all together.
Here's a pro tip from the field: Measuring gables is much easier—and safer—with a partner. One person can hold the tape measure at the base while the other is securely on a ladder to get the height. It makes a huge difference in accuracy.
By carefully subtracting the openings and adding in the gable areas, you’re honing your estimate and getting much closer to a real-world material list. This methodical approach is what separates a good siding job from a great one.
Understanding the Siding Waste Factor
I've never been on a siding job that used the exact amount of material we calculated down to the square inch. It just doesn't happen. You're always going to have waste from cuts, angles, and fitting pieces around obstacles—and that's where the siding waste factor comes in.
Think of it as a built-in buffer. It’s the extra material that keeps you from making a panicked, last-minute run to the supplier just to finish that last wall.
Moving Beyond the 10% Rule
You’ll often hear a standard recommendation to add 10% for waste. Frankly, that's just a starting point, and relying on it blindly is a rookie mistake that can leave you short on materials. Any seasoned installer knows you have to tailor that percentage to the house itself.
The biggest driver of waste, by far, is the complexity of your home's architecture.
For a simple, rectangular ranch-style house in Kirkland, you might only need an 8% waste factor. The walls are long and straight, the cuts are simple, and there isn't much to work around.
But take a complex Victorian home in the Seattle area, with all its gables, dormers, and bay windows. A project like that could easily demand a 15% to 20% waste factor. Every one of those inside and outside corners means more intricate cuts, and that inevitably creates more leftover scrap.
The type of siding you choose also plays a big role in how much waste you can expect.
- Vinyl Lap Siding: This is usually pretty efficient. The standardized lengths and straightforward installation mean you’ll generally have less waste.
- Board and Batten: Because this style requires very precise cuts and fitting to create the pattern, you can count on a higher waste percentage.
- Shingle or Shake Siding: The staggered layouts and detailed patterns here can increase waste quite a bit, especially on complex walls.
The goal isn't just to have enough material; it's to avoid having a huge, costly pile of siding left over. Ordering too much can be just as much of a headache as ordering too little.
Calculating a smart waste factor is one of the key benefits of working with an experienced siding replacement team. That insider knowledge is what ensures you order the right amount to get the job done right, without the extra stress or cost.
Calculating Your Final Siding Order
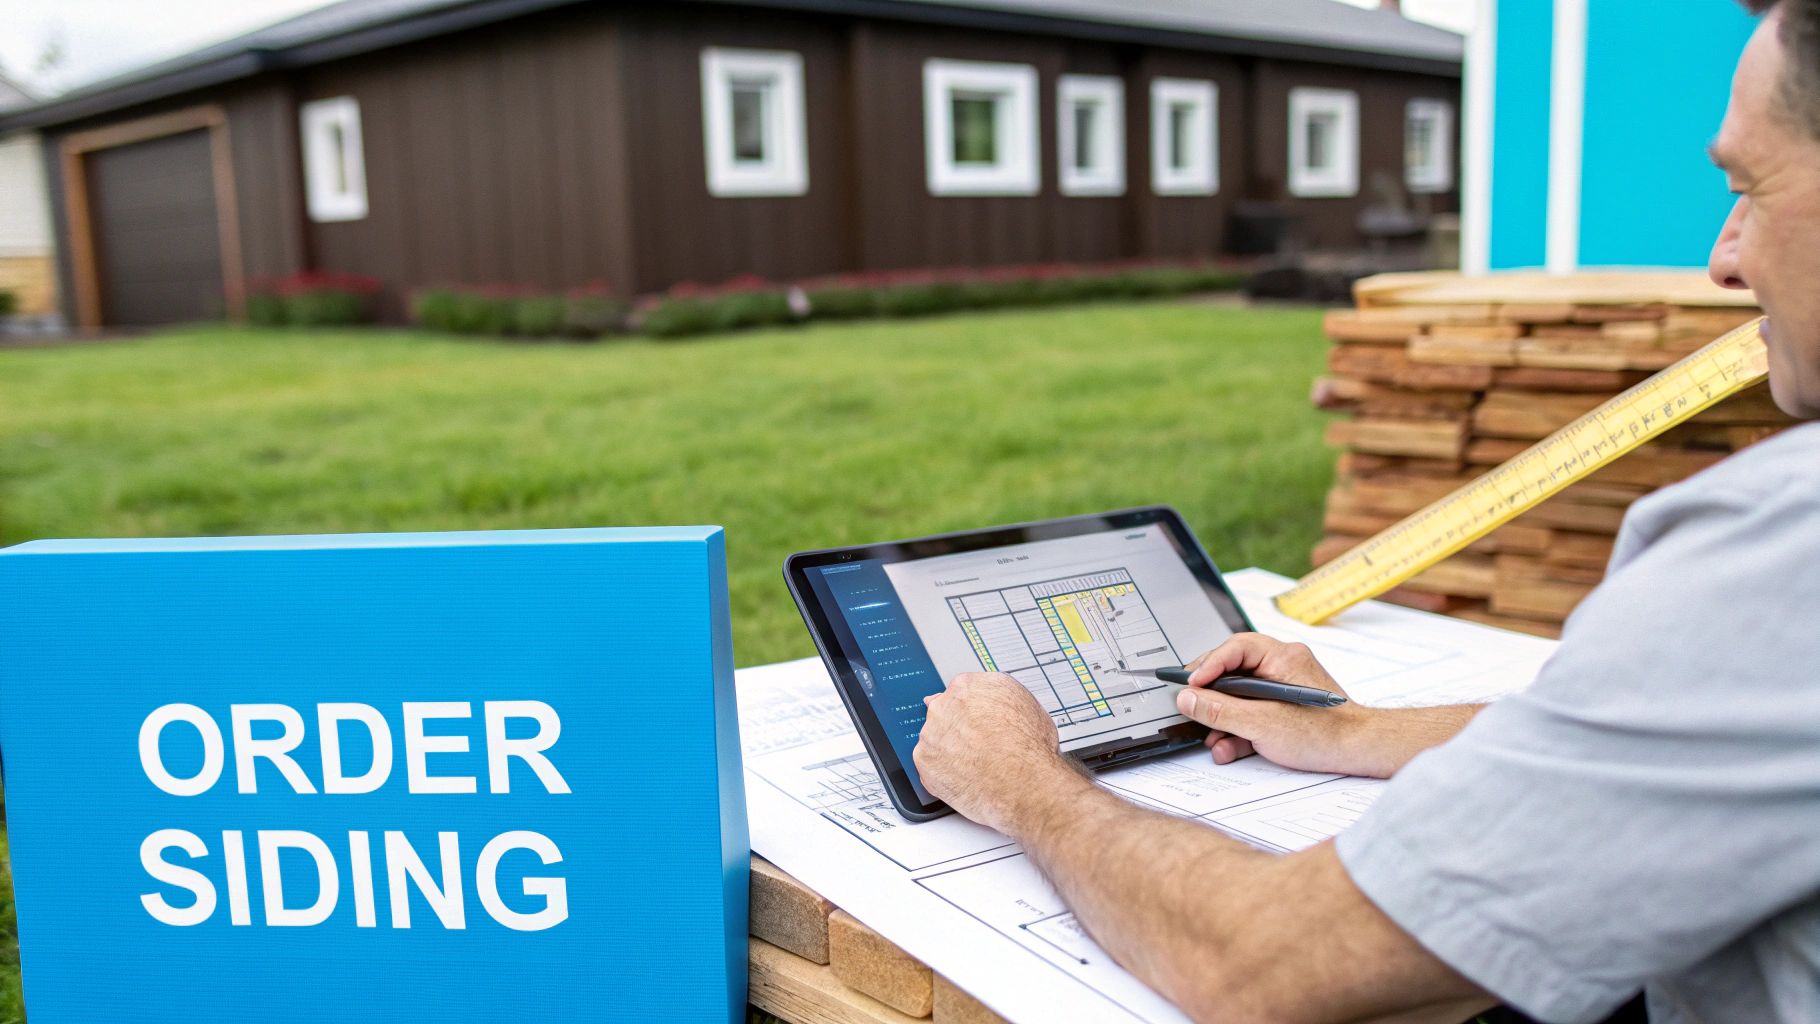
Alright, you've done the legwork. Now it's time to crunch the numbers and figure out exactly how much siding you need to buy. The good news is the math is pretty simple.
You're just going to take the total wall area you calculated, subtract the space taken up by windows and doors, and then add that waste factor we talked about. This final number is your target.
(Total Wall Area – Total Opening Area) + Waste Factor = Final Siding Needed
So, let's say your house has 2,000 sq ft of wall space and 300 sq ft of openings. If you calculated a 10% waste factor on the remaining 1,700 sq ft (which is 170 sq ft), your final order number comes out to 1,870 sq ft. That's the magic number.
From Square Feet to Siding Squares
Now, you can't just walk into a supplier and ask for 1,870 individual square feet of siding. It doesn't work that way. Siding is sold in bulk units called "squares," and one square is always equal to 100 square feet.
To figure out how many squares you need, just divide your final number by 100.
Using our example, 1,870 sq ft divided by 100 gives you 18.7 squares. Of course, you can't buy 0.7 of a square, so you'll round up and place an order for 19 squares.
Always, always round up to the next full square. Trust me on this. The small extra cost is nothing compared to the headache and delay of having to place a second, tiny order just to finish that last wall.
Nailing the Numbers with Modern Tech
A classic tape measure, a ladder, and a notepad will get the job done, but if you want to dial in your accuracy, modern tools are a game-changer. Something as simple as a laser distance meter can slash measurement errors by up to 30%, which really adds up on a big job. Getting your numbers right from the start saves both time and money.
For those interested in the latest trends, the vinyl siding market is always seeing new innovations. You can learn more about what's happening in the industry over at FactMr.com.
Answering Your Siding Measurement Questions
Even with a solid plan, a few tricky questions always pop up when you're measuring for new siding. Getting the details right is what separates a smooth project from a frustrating one, whether you're working on a modern Bellevue home or a classic Tacoma craftsman. Let’s walk through some of the most common things people ask.
What About Walls With Weird Shapes?
This is a classic one. For houses with funky angles, curves, or complex designs, the secret is to stop seeing a weird wall and start seeing a collection of simple shapes. Break everything down into basic rectangles and triangles you can easily measure.
Calculate the area of each little shape on its own, then just add them all up to get your total for that wall. Here's a pro tip for a curved section: divide that curve into several small, straight segments. You can then measure each one like it's a skinny rectangle. It sounds like an approximation, but it’s surprisingly accurate.
Do Soffits and Fascia Count in My Siding Numbers?
Nope. Keep those measurements completely separate. Your siding calculation is only for the actual vertical walls of your house.
- Soffit: That’s the material covering the underside of your roof’s overhang. You’ll measure this in square feet (length times width).
- Fascia: This is the flat board running right along the edge of your roofline. It’s measured in linear feet, not area.
These are totally different materials and are installed differently, so mixing their numbers into your siding estimate will throw off your entire material order.
The single biggest mistake homeowners make is forgetting or underestimating the waste factor. Calculating the exact square footage and ordering that precise amount is a recipe for disaster. You’ll run out of material halfway through the job, guaranteed. Always add 10-15% for waste to avoid stressful delays and extra costs.
For a professional measurement and a flawless installation, trust the experts at Breeze Siding. We ensure every detail is covered from start to finish. Get your free, on-site estimate by visiting us at https://breezesiding.com.