
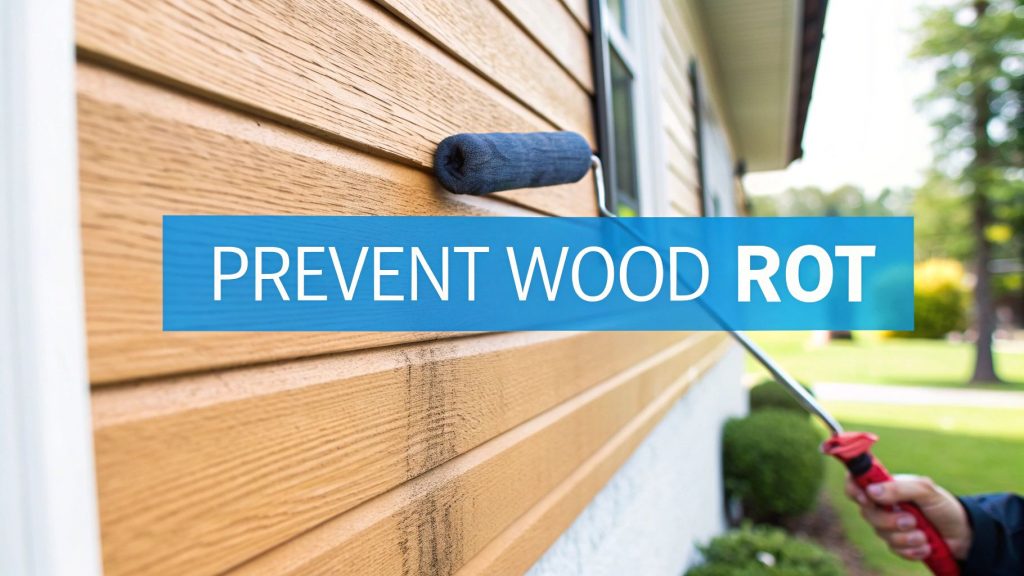
If you want to stop wood rot in its tracks, you have to understand the real enemy. It’s not just water—it’s the microscopic fungi that treat damp wood like an all-you-can-eat buffet. The entire game is about controlling moisture and keeping your siding dry, starving those little organisms of the home they’re trying to build in your walls.
What Really Causes Wood Rot in Your Siding
When a homeowner sees their siding crumbling, rain usually gets the blame. And sure, moisture is a key ingredient, but it’s only setting the stage. The real culprits are specific types of decay fungi that feast on the structural components of wood. To win this fight, you’ve got to know your opponent.
These fungi wake up and get to work once the wood’s moisture content climbs above 20% and stays there. This is precisely why that one shaded corner of the house or the wall constantly getting hit by sprinklers is always the first to go. Once these organisms are active, they start breaking down the wood from the inside out.
The Different Types of Wood Rot
You should know that not all rot looks the same. The specific fungus munching on your siding determines how it breaks down, and being able to spot the differences can help you understand just how bad the problem is.
- Brown Rot: People often call this "dry rot." It’s a bit of a misnomer, but this fungus attacks the wood’s cellulose. The result? The wood shrinks, turns dark brown, and fractures into little cubes. This is by far the most common type we see in residential siding in the Seattle area.
- White Rot: This one is different—it digests both cellulose and lignin. This leaves the wood feeling spongy and looking almost stringy or whitish. It’s less frequent in siding but can show up in places with serious, long-term water exposure.
- Soft Rot: As the name implies, this type works more slowly. It needs very high moisture levels to thrive and causes a gradual discoloration, creating a soft, almost honeycomb-like texture on the wood’s surface.
How Everyday Issues Create the Perfect Storm
It's almost always the little things that lead to a massive rot problem. We’ve been siding contractors in the Seattle area for years, and we see the same culprits over and over again. A sprinkler head aimed just a little too high can soak a section of siding every single morning, creating the perfect fungal habitat.
Clogged gutters are another huge one. Once they back up, all that rainwater just pours right down the face of your siding instead of being directed away from the house. This constant waterfall can saturate entire walls, especially the highly vulnerable end grains of siding boards near the roofline. Don't forget about landscaping, either—if your garden beds slope toward the foundation, water will pool right up against the bottom course of your siding.
The most destructive rot often starts where you least expect it—behind a dense shrub, under a leaky window, or at the base of a downspout. These are the hidden moisture traps that lead to expensive repairs.
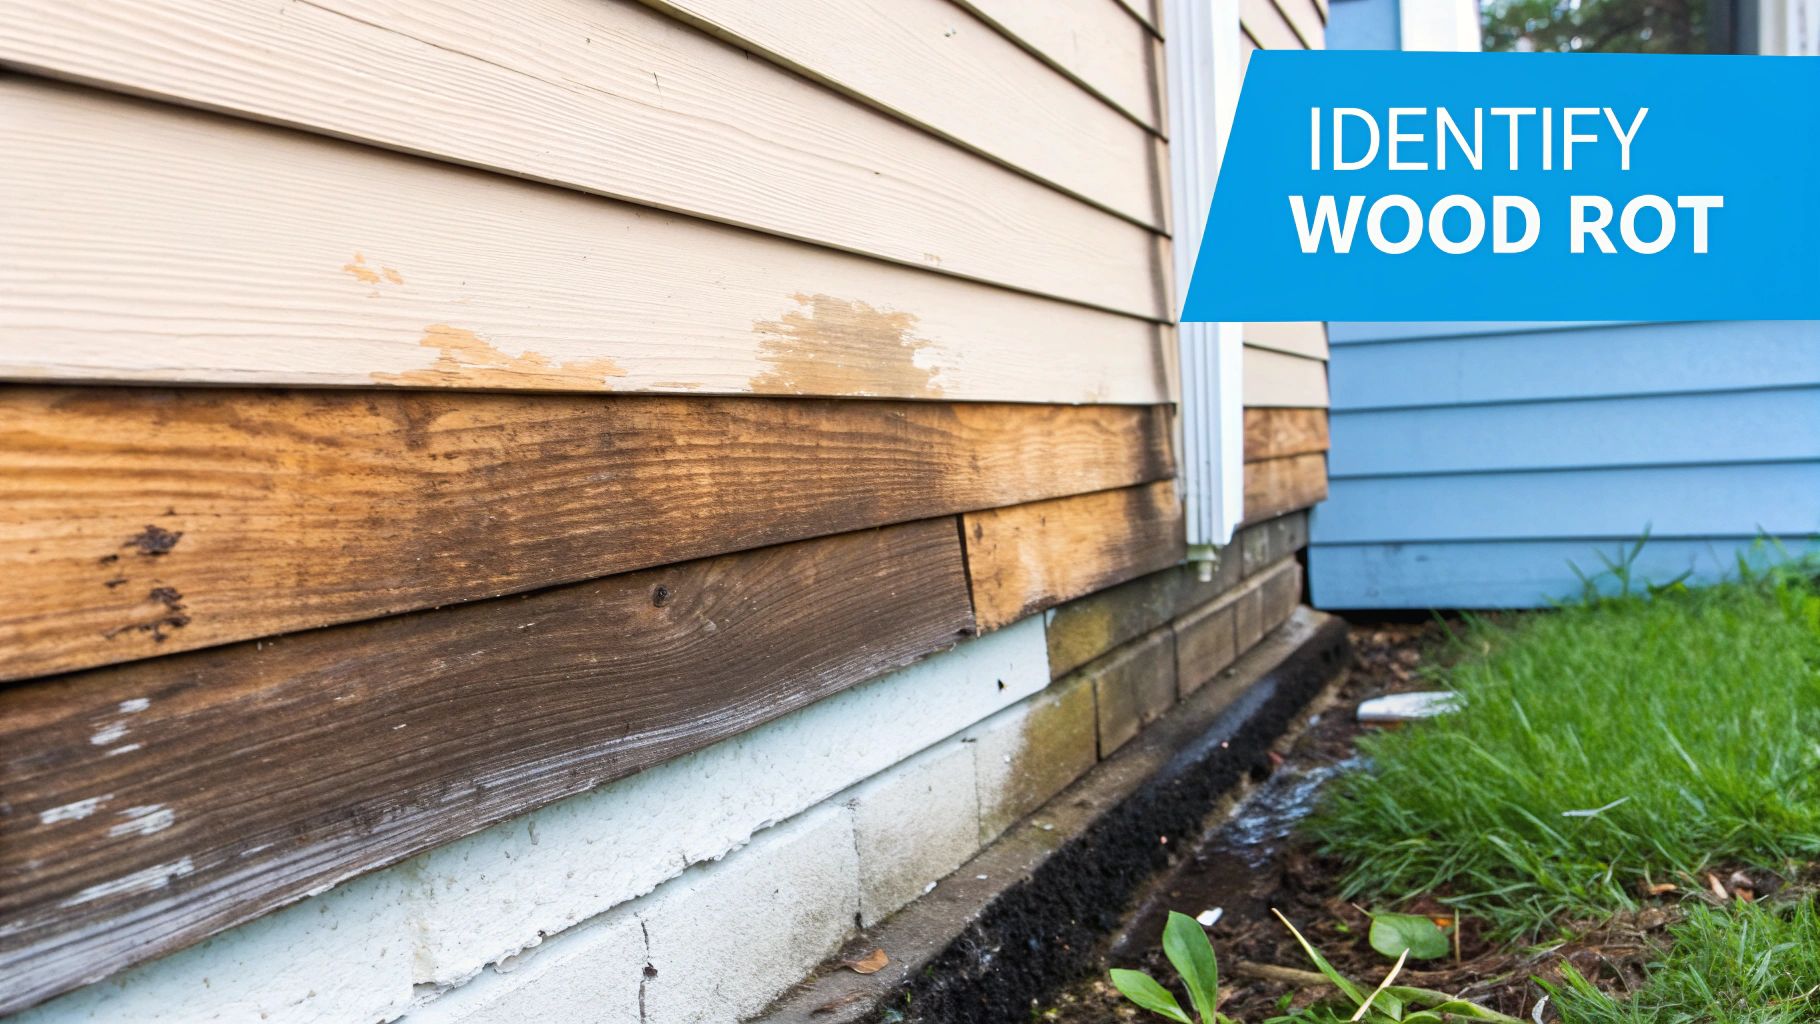
Early Warning Signs Professionals Look For
The absolute key to avoiding a massive repair bill is catching rot early. The first signs are often subtle and easy for a homeowner to overlook. We're trained to spot things like faint discoloration or dark, mildew-like streaks on the paint, which are tell-tale signs that moisture is trapped behind the finish.
Another classic pro move is the "probe test." Take a screwdriver or an awl and gently press it against areas you're worried about, especially near the ground or around window trim. Healthy wood will feel solid and firm. If the tool sinks in easily or the wood feels spongy, you've got active decay. And never, ever ignore paint that’s bubbling or peeling—that’s a five-alarm fire. It means water has gotten underneath and is trying to push its way out, a classic prequel to rot.
Mastering Moisture Management Around Your Home
To really get ahead of wood rot, you have to start thinking like water. Where does it want to go? And more importantly, how can you send it packing, far away from your home? The whole game is about keeping your siding dry, and that means having systems in place that actively shed water, not just passively resist it.
This isn’t just about plugging leaks as they appear; it's about building a proactive defense against moisture from every angle. The infographic below breaks down the three core areas you need to focus on.
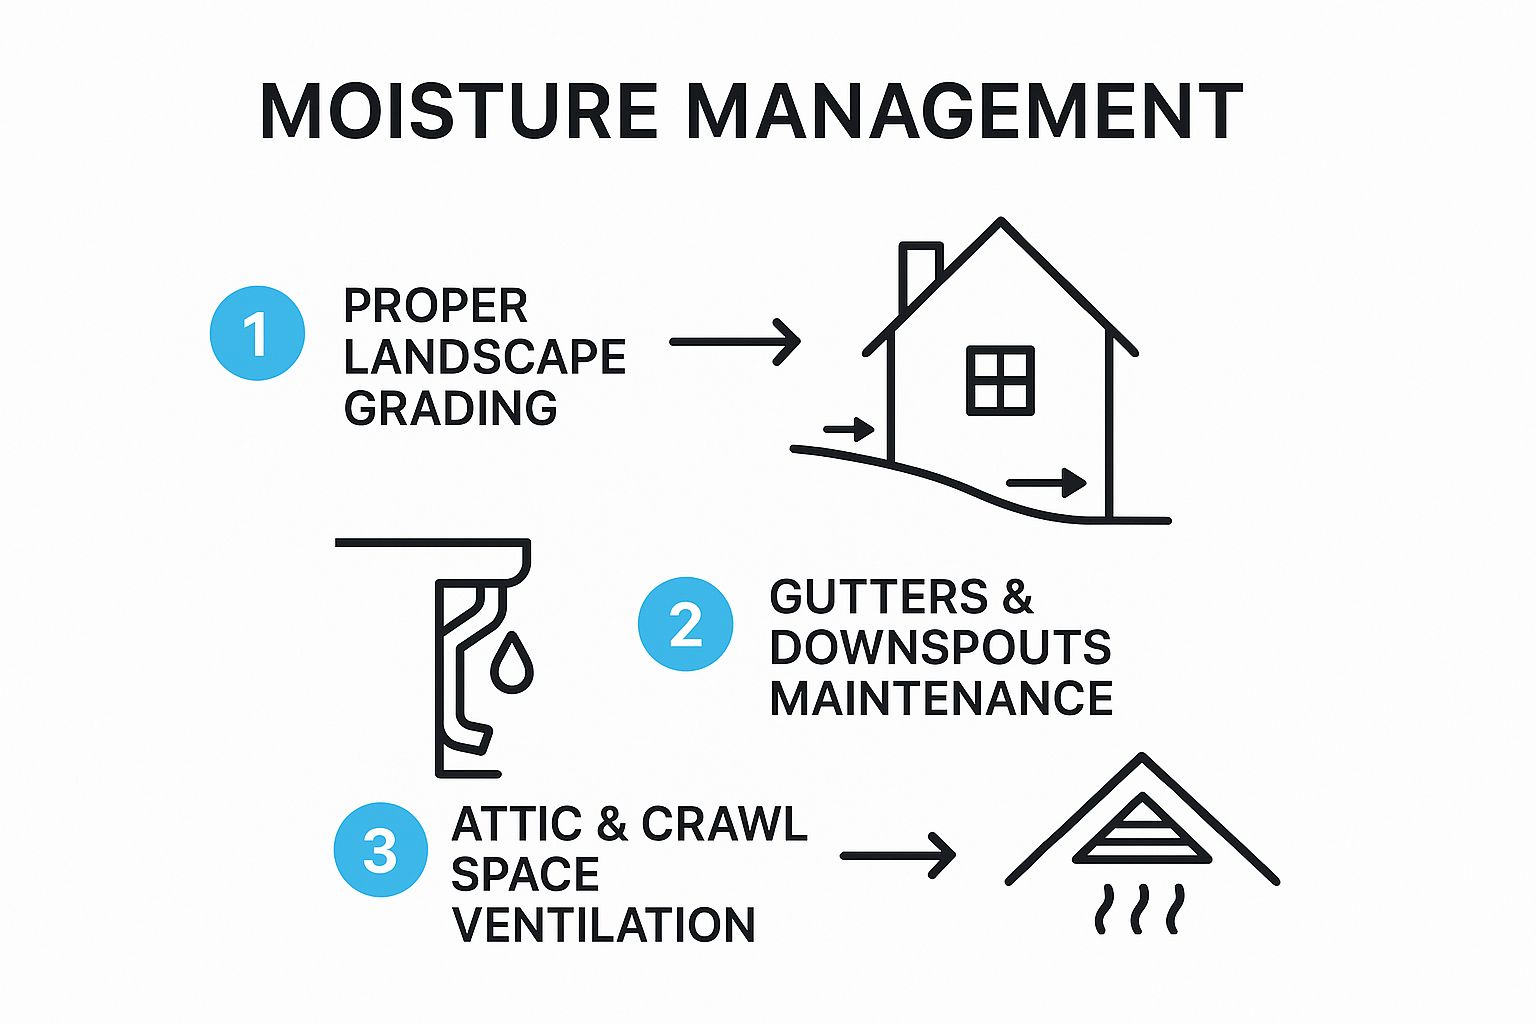
As you can see, protecting your home is a connected process. It starts with the ground your house sits on, moves to the exterior systems, and even involves what's happening inside. Each part supports the others.
Grading Your Property Like a Pro
Here’s a trade secret that has less to do with your house and more to do with the dirt around it: landscape grading. This is your absolute first line of defense. The idea is simple—the ground should slope away from your foundation on all sides. A good rule of thumb is a drop of at least six inches over the first ten feet.
That gentle slope is all it takes to make gravity your best friend, pulling rainwater and snowmelt safely away from your home. If you see soil piled up against your foundation or water pooling near the house after it rains, you've found a major weak spot. Re-grading might seem like a hassle, but it’s a one-and-done fix that solves the root cause of rot at the most vulnerable part of your siding.
In the damp Seattle climate, we see countless siding failures that could have been completely avoided with proper grading. It's the unsung hero of a rot-free home.
The Critical Role of Gutters and Downspouts
Think of your gutters as the highway system for rainwater. Their job is to collect thousands of gallons of water every year and route it away from your siding and foundation. But they only work if they're clean and in good shape. It only takes a small clump of leaves to form a dam, and suddenly all that water is spilling over the side and running straight down your walls.
This makes regular maintenance a must. You should be cleaning your gutters at least twice a year—once in the late spring and again in the late fall after most of the leaves are down. While you're at it, make sure the downspouts are clear, too.
Here's a pro tip that pays for itself ten times over: install downspout extensions. These simple, inexpensive pieces guide the water at least five to six feet away from your foundation. This stops it from saturating the ground right next to your house, which is a classic cause of siding rot.
Ventilating Hidden Moisture Traps
Sometimes, the most destructive moisture doesn't come from a rainstorm, but from right inside your house. Condensation is the silent killer. Attics and crawl spaces that don't have good airflow become perfect moisture traps. Warm, humid air from daily activities like cooking and showering rises, gets stuck, and condenses on cooler surfaces, slowly rotting your home from the inside out.
Proper ventilation creates a constant, gentle flow of air that whisks this moisture away before it has a chance to settle.
- Attic Ventilation: A healthy attic needs a balanced system. You should have soffit vents under the eaves to pull cool, dry air in, and ridge or gable vents at the top to let warm, moist air out.
- Crawl Space Ventilation: A damp crawl space is a recipe for disaster. While vents are a start, here in the Pacific Northwest, the best solution is often to fully encapsulate the crawl space with a vapor barrier. This completely blocks moisture seeping up from the ground.
To help you stay on top of these crucial areas, here's a quick checklist for routine inspections.
Moisture Control Checklist Key Areas and Actions
This simple table provides a reference for your regular home maintenance routine. Catching these issues early is far easier and cheaper than dealing with the damage they can cause down the line.
| Area of Concern | Inspection Frequency | Preventative Action |
|---|---|---|
| Landscape Grading | Annually (Spring) | Check that soil slopes away from the foundation. Add or remove soil as needed to maintain a 6-inch drop over 10 feet. |
| Gutters & Downspouts | Twice a year (Spring/Fall) | Clear all debris from gutters. Flush downspouts to ensure they are clear. Check that extensions direct water 5-6 feet from the home. |
| Attic Vents | Annually (Fall) | Ensure soffit and ridge/gable vents are not blocked by insulation, debris, or pests' nests. |
| Crawl Space | Twice a year | Look for standing water, dampness, or signs of condensation. Check the integrity of the vapor barrier if you have one. |
| Exterior Faucets/Spigots | Annually (Fall/Spring) | Inspect for drips or leaks. Ensure proper winterization to prevent freeze damage. |
Think of this checklist as a recurring appointment with your home's health. A few minutes of prevention a couple of times a year can save you from major headaches and expensive repairs.
Choosing the Right Armor for Your Wood
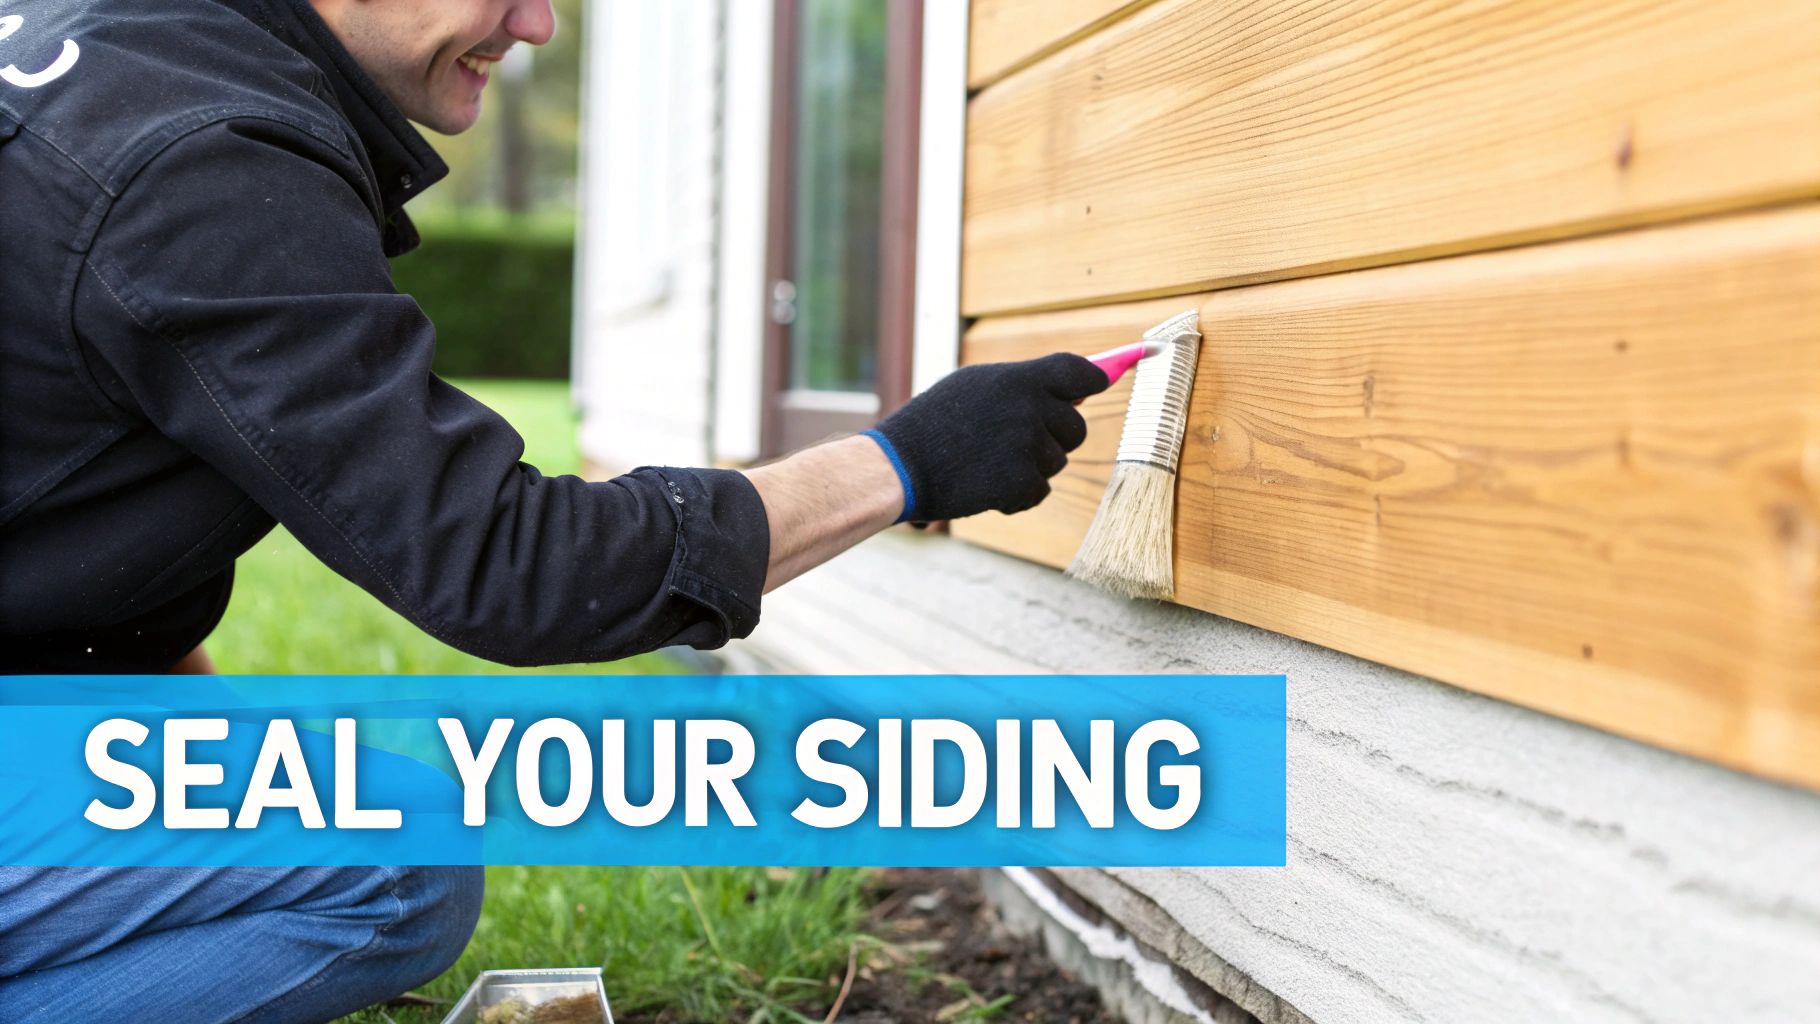
Managing the water around your house is a huge step, but it's only half the battle. To really stop wood rot in its tracks, your siding needs a tough, reliable shield against the weather. I like to think of paint, sealants, and preservatives as armor—it’s that final, crucial layer of defense that repels water and shuts down decay-causing fungi before they can get a foothold.
But here’s the thing: not all armor is created equal. The difference between a siding job that lasts five years and one that holds up for twenty often comes down to choosing the right products and, just as important, applying them correctly. This is where real-world experience and material know-how truly pay off.
Selecting Your Protective Coating
Walking into the paint aisle can be overwhelming, I get it. But for exterior wood siding, your choice really boils down to two main options: acrylic latex and oil-based paints. And with modern paint technology, one of them has a serious advantage, especially in damp climates like Seattle.
High-Quality Acrylic Latex: This is what the pros use, and for good reason. A top-tier 100% acrylic latex paint creates a barrier that’s both waterproof and breathable. Its flexibility allows the paint film to expand and contract right along with the wood as temperatures swing, which drastically cuts down on cracking and peeling. That breathability is the secret sauce—it lets any water vapor trapped inside the wood escape, instead of getting stuck and causing those ugly paint blisters.
Oil-Based Paints: For a long time, oil-based paints were the go-to for their hardness and great adhesion. They’ve become less common for siding these days because they create a rigid, non-breathable film. While that provides great water protection at first, the paint can become brittle over time. Once it cracks, it actually traps moisture behind the paint, which can accelerate rot faster than if you’d done nothing at all.
The single biggest mistake a homeowner can make is applying a beautiful topcoat over a poorly prepared surface. Your paint is only as good as the foundation it's sitting on.
The Power of Wood Preservatives
Before you even pop open a can of primer, you should seriously consider a modern wood preservative. These aren't just surface coatings; they penetrate deep into the wood fibers to protect it from the inside out. They essentially make the wood an unwelcome home for the fungi and insects that cause rot.
There’s a reason these products are flying off the shelves. The global market for wood preservatives hit USD 1.65 billion in 2023 and is only expected to grow, as both builders and homeowners are wising up to the importance of long-term durability. The industry trends show just how critical these pre-treatments have become.
A Pro-Level Guide to Surface Preparation
A flawless finish that actually protects your siding is all about the prep work. If you cut corners here, I can guarantee you’ll be redoing the job in just a few years.
Thorough Cleaning: First things first, you have to get rid of all the dirt, mildew, and any old, loose paint. A power washer on a low setting can work well, but you have to be careful not to blast water up into the siding seams. For any stubborn mildew, a simple solution of water and oxygen bleach works like a charm.
Strategic Sanding: Don't worry, you don’t need to sand the entire house down to bare wood. The key is to focus on feathering the edges where paint has peeled. This creates a smooth, seamless transition so the new coat blends in perfectly, leaving no ridges that could trap water later.
Priming Is Non-Negotiable: I can’t stress this enough. This is the most critical step. For raw or weathered wood, a high-quality exterior oil-based primer is almost always your best bet. It completely seals the wood, stops old stains from bleeding through, and gives your acrylic topcoat something to really grab onto.
Following a disciplined approach like this means you’re not just painting your house—you’re installing a complete system designed to keep wood rot at bay for years to come. It’s this attention to detail that we build into every professional siding installation we do.
Proactive Maintenance and Early Detection Secrets
When it comes to wood rot, the best defense is a good offense. If you can stop it from ever getting a real foothold, you’ve already won half the battle. A little hands-on maintenance can be the difference between a minor fix and a major, wallet-draining disaster. It all boils down to catching the little things before they become big problems.
The secret is simple: get in the habit of doing a thorough walkthrough of your home's exterior twice a year. I always recommend doing this in the spring and fall. As you walk the perimeter, zero in on the spots where water tends to hang around—think under windowsills, around corner joints, and especially the very bottom boards that sit closest to the ground.
Performing the Screwdriver Test
One of the most reliable tools in my kit for this job is nothing fancier than a basic screwdriver. Gently press the tip into those vulnerable areas I just mentioned. Healthy, solid wood won't budge. But if that tip sinks in with little effort or the wood feels even slightly spongy, you’ve just found active decay. This little trick is your early warning system, revealing damage that your eyes might have completely missed.
Manage Your Landscaping for Better Airflow
It's easy to overlook, but your beautiful landscaping can actually be working against you. When shrubs and trees are planted right up against the house, they trap a ton of moisture against the siding. This creates a damp, shady microclimate that’s basically a five-star resort for rot-causing fungi.
Make sure there’s at least 12-18 inches of breathing room between any plants and your wood siding. Regularly trimming back branches and bushes is a non-negotiable. This simple bit of yard work allows sunlight and air to circulate, which are two of the best natural defenses against rot. It makes a huge difference in how fast your siding can dry out after one of our classic Seattle downpours.
Think of your maintenance routine as a conversation with your home. Twice a year, you’re asking it where the weak spots are, and with the right techniques, you can hear the answer loud and clear.
Seal the Gaps Promptly
Tiny gaps are huge invitations for water. That cracking caulk around a window frame or a small split in a siding board might not look like much, but they’re an open door for moisture to sneak in behind the scenes. During your inspections, be on the lookout for any seals that are cracked, shrinking, or pulling away from the wood.
Fixing these breaches right away is one of the most critical things you can do. A high-quality, paintable exterior caulk will seal up those vulnerable entry points and shut down water intrusion for good. This isn't just busy work; it’s essential protection. Left completely exposed, untreated wood can start to rot in as little as 1-3 years.
A little diligence goes a long way. These preventative steps can slash the chances of siding failure by more than 70%. You can learn more about how wood durability is affected by the elements and preservatives. Keeping up with these small tasks can extend the life of your siding by decades, ensuring your home stays protected and sound.
Knowing When to Repair vs. Replace Your Siding
Even with the best maintenance, rot can sometimes get a foothold. When it does, you're faced with a big question: can you get away with a simple repair, or is it time to bite the bullet and replace the siding altogether? The right answer really hinges on whether you're looking at an isolated problem or a symptom of a much larger, house-wide issue.
A small patch of softness on one board? That's often a straightforward fix. For surface-level decay, a pro can carefully remove the rotted wood, apply a wood hardener to solidify what's left, and then fill the gap with a high-quality epoxy. It's a great, cost-effective solution for minor flare-ups.
But if you start finding rot in multiple places, or the decay goes clear through the board, you’re probably dealing with something much more serious. Widespread rot is usually a red flag signaling a major failure in your home’s moisture defense system—a problem a simple patch job just can't fix.
Assessing the Scope of the Damage
To make the right call, you need to play detective. Is the rot just on the surface, or has it gotten to the structure underneath?
Gently but firmly probe the soft spots and the boards around them.
- Is the rot contained to a small area, or does it seem to spread?
- Are the nails still holding tight, or are the boards loose and pulling away?
If you find that the rot has reached the sheathing behind the siding, the decision is made for you. A full replacement isn't just an option anymore; it's a necessity. This is a sure sign that water has been getting past your siding for a long time, and you've got to fix the root cause to protect your home's frame.
A full siding replacement isn't just a repair. It's an investment in your home's long-term health and a permanent solution to recurring rot problems. Think of it as upgrading your home's entire defense system.
The Long-Term Benefits of Siding Replacement
While the upfront cost is definitely higher, tearing off old, failing wood siding has some serious advantages that make it a smart financial decision. It's really the only way to prevent wood rot for good. Modern materials, like fiber cement, are practically immune to rot, moisture, and insects.
A professional replacement also introduces a rainscreen—a small air gap between your siding and the house wrap. In the damp Pacific Northwest climate, this is a game-changer. It creates a capillary break that prevents water from getting trapped, allowing the wall assembly to dry out completely. This single trade method drastically reduces the risk of future rot and moisture damage.
Plus, a full replacement is the perfect opportunity to install a modern weather-resistive barrier and new, properly installed flashing. This one-two punch drastically improves your home's energy efficiency and stops future water intrusion in its tracks. You can learn more about these global wood preservation standards to see how the pros do it.
Ultimately, new siding gives you a clean slate. You get to end the frustrating cycle of patching and painting, give your home a major curb appeal boost, and gain the peace of mind that comes from knowing it's properly protected for decades to come.
Got Questions About Preventing Wood Rot? We've Got Answers
Even with the best game plan, it's natural to have a few nagging questions about keeping your wood siding safe from rot. After all, your home is a huge investment. Getting straight answers from someone who's seen it all can make a world of difference.
We've pulled together the most common questions we get from homeowners right here in the Seattle area. These are the real-world issues that pop up when you're trying to protect your home's exterior.
What’s the Best Paint to Stop Rot in its Tracks?
When it comes to paint, you get what you pay for. For the best, most durable protection, you want a 100% acrylic latex paint made for exteriors. This stuff is amazing because it's flexible, expanding and contracting right along with your wood as the temperature changes. That elasticity is key to preventing those tiny cracks where moisture sneaks in.
Even better, it acts like a high-tech jacket—it keeps rain out but lets water vapor from inside the wall escape. Think of it as a breathable barrier. But here's a pro tip: for a truly bulletproof finish, start with an oil-based primer. The primer seals the wood and gives that acrylic topcoat a solid foundation to grip onto for years.
Can I Really Prevent Rot Without Using Harsh Chemicals?
You absolutely can. In fact, your most powerful weapons against rot have nothing to do with chemicals. It all boils down to one simple concept: moisture control.
Think about the simple, practical things you can do:
- Clean your gutters. Seriously. Clogged gutters send water cascading right down your siding.
- Check your grading. The ground should always slope away from your foundation.
- Redirect your sprinklers. Make sure you're watering your lawn, not your house.
Another big one is keeping shrubs and bushes trimmed back from the siding. This lets air circulate and sunlight hit the wood, which fungus absolutely hates. These physical steps, plus a solid coat of paint, are your best line of defense. And if you're building new, starting with a naturally rot-resistant wood like cedar is a fantastic, chemical-free choice from the get-go.
The secret to preventing wood rot isn't a magic spray. It's just a consistent, disciplined effort to keep your wood siding dry. That's it.
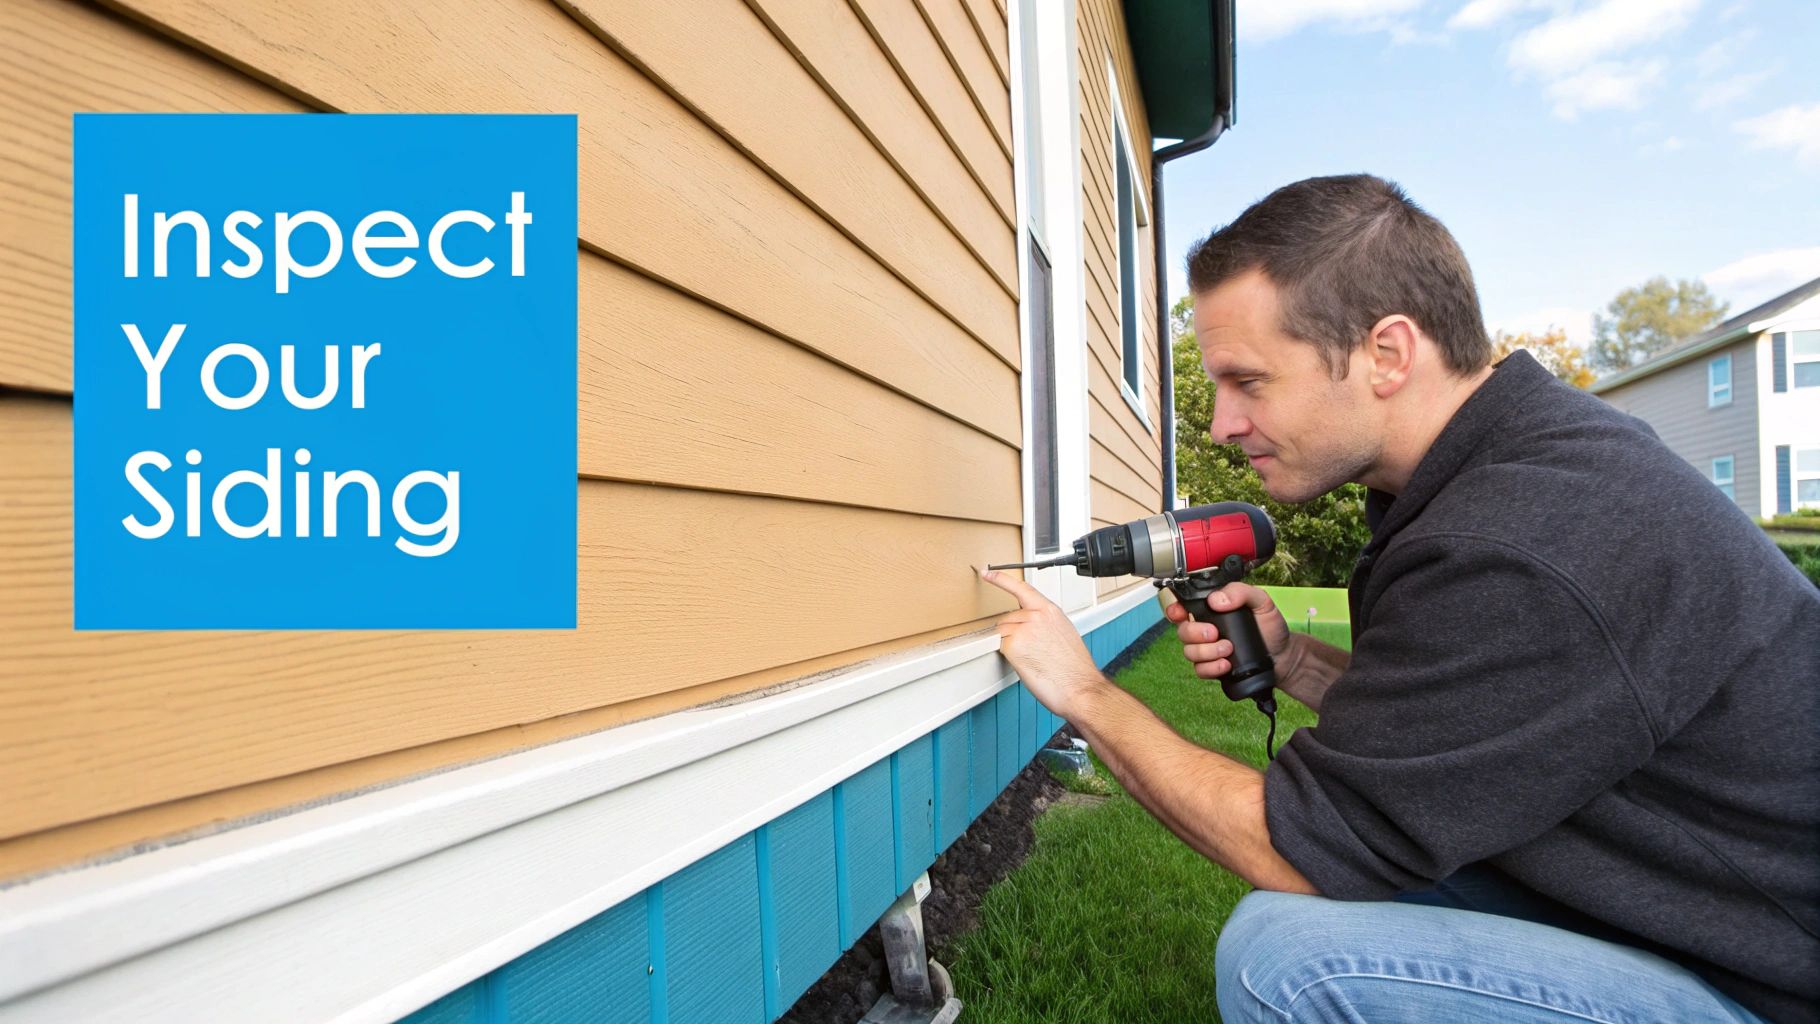
How Often Should I Actually Inspect My Siding for Rot?
We tell all our clients the same thing: a thorough inspection twice a year is non-negotiable. Do one in the spring to see what winter left behind, and another in the fall to button things up before the rain returns.
During your walkthrough, you're looking for the early warning signs: peeling paint, cracked caulk around windows, or any dark, discolored streaks on the wood. Grab a screwdriver and gently poke any spots that feel soft or look suspicious. Pay special attention to areas near the ground, under windowsills, and where corner boards meet. It’s also a great habit to do a quick visual check after a big storm to make sure water isn't draining somewhere it shouldn't be. Catching a problem early is the difference between a simple fix and a major headache.
If you're dealing with existing rot or thinking it might be time to upgrade to a more durable, worry-free siding, the team at Breeze Siding has you covered. We specialize in giving Seattle-area homeowners lasting solutions that protect their homes for the long haul. Contact us today for a free, no-obligation estimate.