
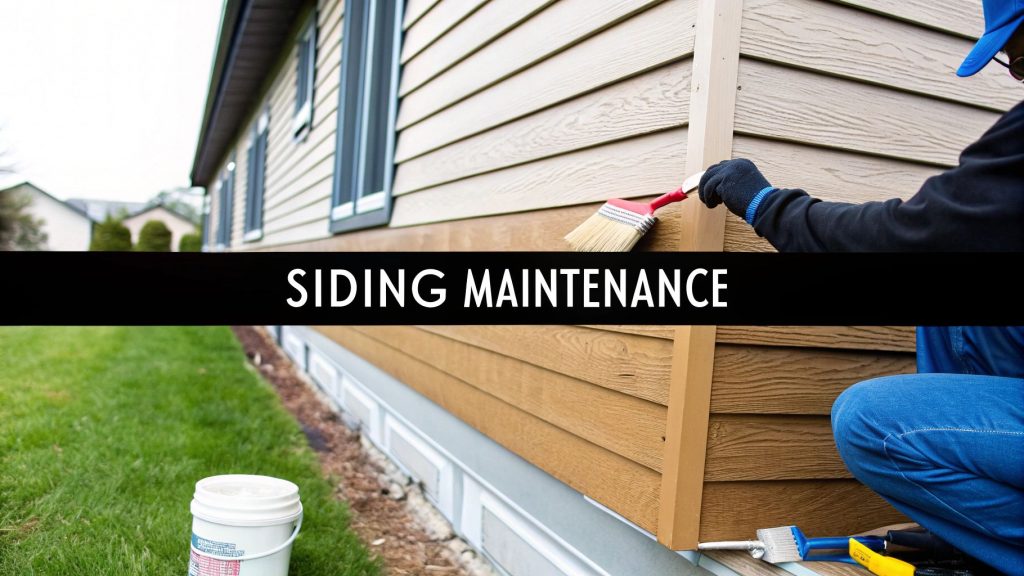
Taking care of your cedar siding isn't just another weekend chore—it's the single best way to protect your home from the notoriously damp Pacific Northwest climate. Think of it as a proactive defense plan to prevent costly repairs, boost your curb appeal, and make sure your investment lasts for decades.
Why You Can't Afford to Ignore Cedar Siding Maintenance
Your home’s cedar siding is a huge part of its character and value. That natural beauty is why so many of us love it, but without a consistent maintenance schedule, it can quickly fade and leave your home exposed to some serious problems.
Skipping routine upkeep on your cedar can trigger a domino effect of issues that are far more expensive to fix than a little preventative care. The Seattle area's unique weather—with its relentless drizzle and surprisingly intense summer sun—creates the perfect storm for siding to break down.
Our Local Climate is Cedar's Biggest Enemy
Here in the Puget Sound, moisture is public enemy number one for cedar. The constant dampness is an open invitation for mold, mildew, and the one thing you really want to avoid: rot. Once rot gets a foothold, it can spread like wildfire, weakening the wood and potentially damaging the very structure of your home.
But it’s not just the rain. Our beautiful, sunny summers bring their own set of challenges, mainly UV radiation. The sun's rays are brutal on wood, breaking down its fibers and any protective finish you have.
This leads to a few common problems:
- Fading and Discoloration: That beautiful, warm cedar tone can turn into a drab, washed-out gray.
- Cracking and Splitting: As the sun bakes the moisture out of the wood, it becomes brittle and starts to crack.
- Finish Failure: The sealant or stain you applied starts to peel and flake away, leaving the raw wood exposed and vulnerable.
A proactive approach is everything. Catching small things like a cracked caulk seam or a tiny patch of mildew early on can stop them from becoming major headaches like widespread rot or water getting inside your walls—a fix that could easily run into thousands of dollars.
It's More Than Just a Quick Wash
Real professional maintenance is so much more than just hosing down your siding. It’s about knowing exactly what cedar needs to thrive in our specific environment. It’s about using the right cleaning solutions that won't harm the wood, knowing the precise pressure to wash with so you don't cause damage, and selecting a stain that offers the best possible protection from both moisture and UV rays.
This expert-level care doesn’t just preserve your siding; it actively extends its life, often for decades longer than siding that's been neglected. In the end, consistent maintenance is the difference between siding that fails way too soon and siding that remains a beautiful, functional part of your home for a lifetime.
Your Semi-Annual Siding Inspection Checklist
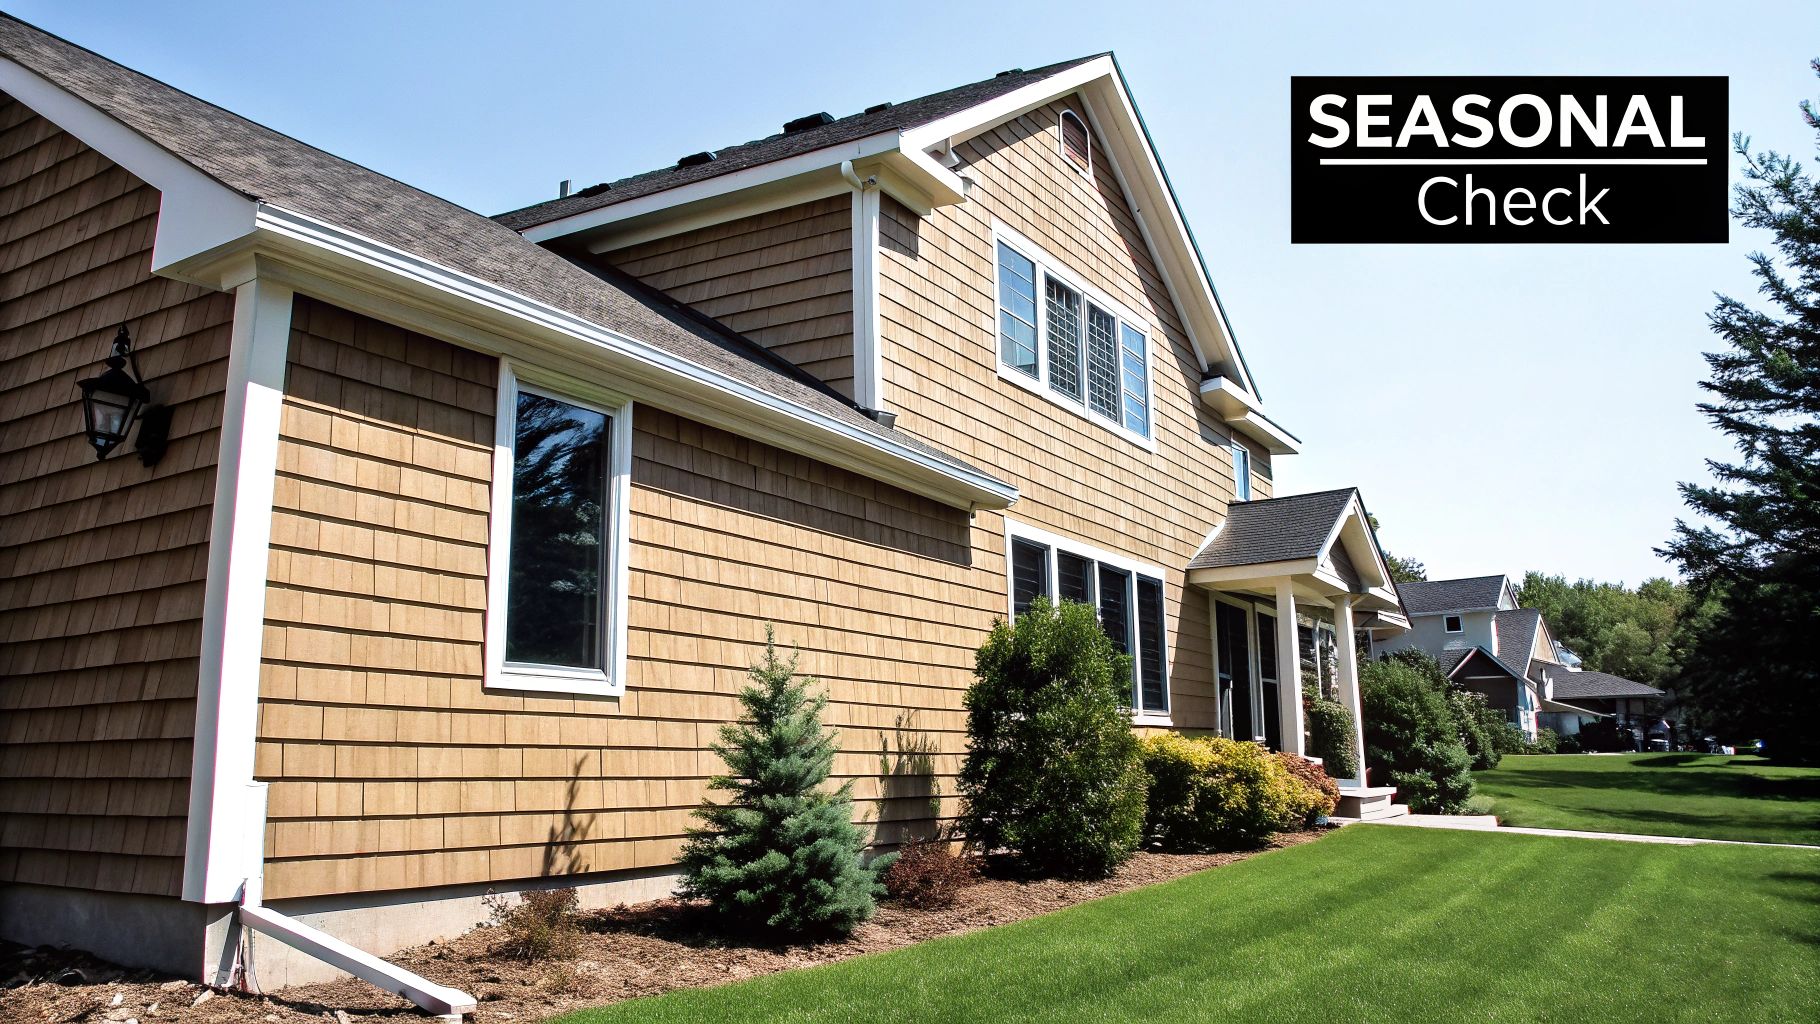
The secret to keeping cedar siding looking great for decades is catching small problems before they balloon into expensive repairs. All it takes is a quick walk around your house twice a year—once in the spring after the winter soak, and again in the fall before the rains return. This isn't just a casual glance; it's about training your eye to spot the subtle clues that tell you what’s really going on with your home's exterior.
Think of it like being a detective for your own house. Your mission is to find the early warning signs that the Seattle area's damp climate is starting to win the battle. With a little practice, you'll be able to spot issues long before they require a professional fix.
Looking Beyond the Obvious Damage
Your inspection should start by stepping back 10-15 feet from your home. This wider view is crucial because it helps you notice inconsistencies you'd miss up close, like uneven fading or a slight warp developing across a long wall. You'll want to pay extra attention to the south- and west-facing walls, since they get hammered the hardest by sun and weather.
After your long-distance scan, it's time to get up close and personal with the details. We have a systematic approach we use on every job, and you can use it too.
Your Pro-Level Checklist:
- Faint Discoloration: Look for spots where that rich cedar color has faded to a dull, silvery gray. This isn’t just normal aging—it’s a clear signal of UV damage. It means the protective finish has failed, leaving the raw wood exposed and vulnerable.
- Subtle Soft Spots: Gently press your thumb into the siding, especially on the lower boards near the ground or under windows where water tends to sit. If a board feels even slightly spongy, that’s a major red flag for moisture damage and potential rot hiding underneath.
- Failing Caulk Seals: Check the caulk around all your windows, doors, and corner trim. Look for tiny hairline cracks, spots where it's shrinking, or places where it’s pulling away from the wood. A failed seal is a welcome mat for water.
Identifying Moisture and Pest Activity
In the Pacific Northwest, moisture is cedar siding’s number one enemy. It's really important to know the difference between simple surface dirt and something more destructive.
Mildew usually looks like dark, powdery dots or patches. Algae, on the other hand, often appears as a greenish film. Both are common in our climate and mean moisture is lingering on the surface for too long—a problem you need to solve before it leads to rot.
The other critical thing to check for is pest activity. Carpenter ants and termites love damp wood. Keep an eye out for tiny, unexplained holes in the siding. Another dead giveaway is finding small piles of what looks like fine sawdust (we call it "frass") on the ground right below the siding. These are tell-tale signs of an infestation that needs to be dealt with immediately.
By running through this inspection twice a year, you switch from being reactive to proactive. You’re no longer waiting for a leak to show up inside your home; you’re stopping the problem at the source. This is how you ensure your beautiful cedar siding remains a protective, valuable asset for years to come. It’s the real secret to affordable, long-term care.
The Pro's Guide to Cleaning Cedar Siding
Cleaning cedar siding isn't about blasting it with the highest pressure you can find. It’s a delicate process. If you go too hard, you’ll scar the soft wood fibers for good. But if you're too timid, you'll leave behind the very mildew and algae that cause rot, especially here in the damp Seattle climate. The trick is to clean it like a pro—deeply and safely—to prep the surface for a finish that will actually last.
Picking the Right Cleaner for the Job
Forget those generic, all-in-one deck washes. The right cleaning solution depends entirely on what you're up against. For light surface dirt, dust, and pollen, a simple, mild detergent is usually all you need.
But for the stubborn green algae or black mildew that loves our weather, you need to bring out the bigger guns. The pro’s choice is oxygen bleach. It’s fantastic because it effectively kills organic growth without stripping the wood of its natural protective oils, which is exactly what harsh chlorine bleach does.
The demand for cedar is growing worldwide. The cedar wood market hit around $0.35 billion in 2023 and is only expected to climb. This global popularity just reinforces how critical it is to use proven, local maintenance techniques to protect this valuable siding. If you're curious, you can explore more about global cedar wood market trends to see how different regions handle their wood.
Below is a quick comparison of the most common cleaning agents we use. This will help you match the right solution to the specific grime on your siding.
Cedar Siding Cleaning Solutions Comparison
| Cleaning Agent | Best For | Mixing Ratio | Application Notes |
|---|---|---|---|
| Mild Soap/Detergent | General dirt, dust, pollen | 1/4 cup per gallon of water | Best for light, annual cleanings. Apply with a soft brush and rinse thoroughly. |
| Oxygen Bleach | Mold, mildew, algae, graying | Per manufacturer's instructions | The safest bet for killing organic growth without harming the wood. Let it sit for 10-15 minutes before rinsing. |
| Commercial Cedar Cleaner | Heavy stains, water marks | Varies by product | Often combines detergents and a mild brightener. Follow the label directions exactly. |
| Chlorine Bleach | Severe mold/mildew (use with caution) | 1 part bleach to 3 parts water | A last resort. Can damage wood fibers and is harsh on plants. Always rinse completely. |
As you can see, oxygen bleach is often the most balanced and effective choice for the issues we typically face. It cleans thoroughly without the risks associated with more aggressive chemicals.
The Right Tools and Techniques Make All the Difference
The pressure washer is easily the most misunderstood tool in this trade. In the right hands, it’s a massive time-saver. In the wrong hands, it’s a quick way to shred your siding and end up with a huge repair bill.
Success isn't just about turning down the dial. It's a combination of the right settings, the right nozzle, and the right technique.
Here's the formula we stick to for safe, effective pressure washing:
- Pressure Setting: Never, ever go above 1200 PSI. Cedar is a softwood, and anything more powerful will dig into the grain, leaving a fuzzy, permanently damaged surface.
- Nozzle Type: Stick with a wide fan-tip nozzle, either a 25 or 40-degree tip. This spreads the pressure out, cleaning the surface without concentrating a destructive jet of water.
- Working Distance: Keep the nozzle tip at least 18-24 inches away from the siding at all times. Don’t be tempted to get closer, especially around more fragile areas like trim and window frames.
Pro Tip: Always find a hidden spot to test your setup first—maybe behind a bush or on a low section of a wall. Start applying cleaner from the bottom and work your way up. When you rinse, do the opposite: top-down. This simple trick prevents ugly streaks from forming.
This image lays out the simple, three-part workflow we follow on every single job.
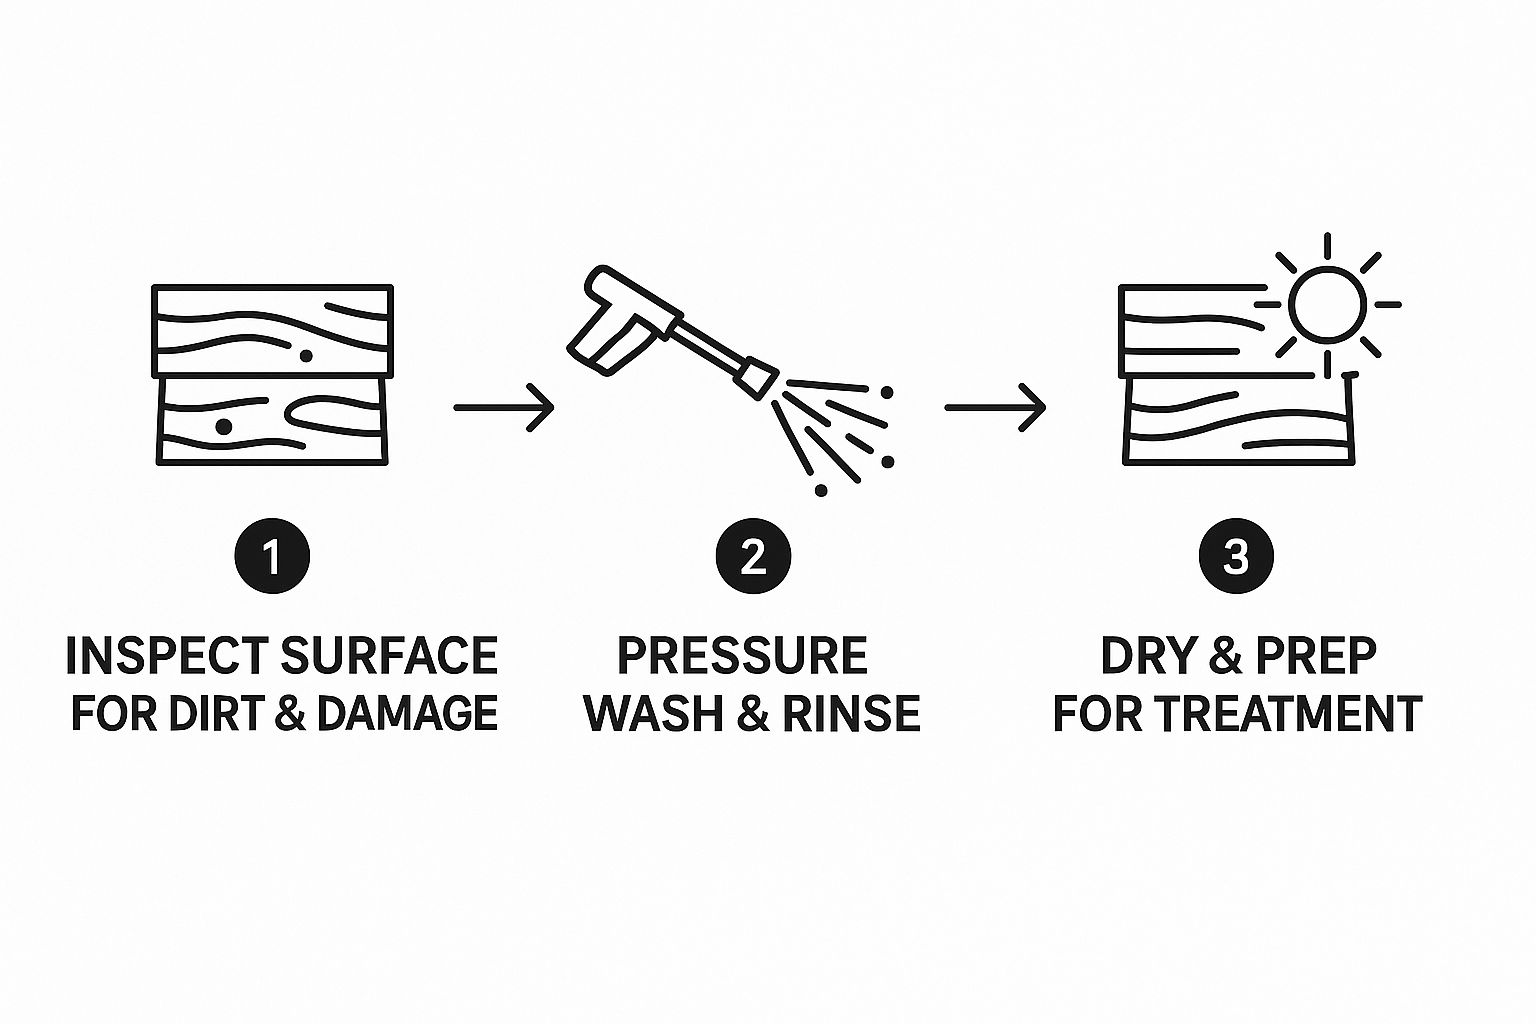
It’s not just about the washing. As the image shows, proper prep and allowing the wood to dry completely are just as crucial. A clean, bone-dry surface is the only way your new sealant will adhere properly and give you the long-term protection you’re paying for. This methodical approach is what separates a quick, temporary fix from a lasting investment in your home’s health and beauty.
Sealing and Staining for Long-Term Protection
Alright, your cedar siding is clean, repaired, and bone dry. Now for the most important part: the finish. This isn't just about making it look pretty. It's about creating a powerful barrier against the relentless dampness and UV rays we get here in the Pacific Northwest. Think of it as armor for your home, protecting that beautiful wood from moisture and sun damage.
Picking the right finish is your first big decision, and the options can feel a little overwhelming. But it really boils down to a few categories, each offering a different mix of looks and protection. What you choose now will determine how your siding ages and how often you'll need to revisit this job.
Choosing Your Siding's Defense
The best product really depends on your end goal. Are you in love with the natural wood grain, or are you looking for the absolute toughest defense against the weather?
- Clear Water Repellents: These are your most basic option. They provide a good layer of moisture resistance while leaving the wood's natural color and grain completely untouched. The downside? They offer almost zero UV protection, so your cedar will still silver over time.
- Semi-Transparent Stains: This is the sweet spot for most cedar homeowners. You get a nice hint of color that beautifully highlights the wood grain, plus it’s packed with UV inhibitors to slow down that fading process. It’s the perfect compromise for a natural look with real-deal protection.
- Solid Color Stains: If you want a complete color change and maximum protection, this is your go-to. Solid stains look a lot like paint but they actually penetrate the wood fibers. They offer the highest level of UV protection available, though they will completely cover up the natural grain.
A word of caution: never, ever use a standard exterior paint on cedar. Paint creates a film that sits on top of the wood. Cedar naturally breathes and moves, and as moisture passes through, it will cause that paint to bubble, blister, and peel. You’ll be left with a nightmare scraping job. A quality stain, on the other hand, soaks in and fades gracefully, making reapplication a breeze.
Pro Application Secrets for a Flawless Finish
The how is just as critical as the what. A sloppy application doesn't just look amateur—it fails fast, leaving your siding exposed and vulnerable. Proper maintenance for cedar siding is all in the technique.
One of the most important professional tricks is back-brushing. If you use a sprayer to speed things up (which is fine), you absolutely must follow it up immediately with a good-quality brush. This simple step physically works the stain into the wood's pores, the joints between boards, and any tiny cracks. It's the difference between a finish that lasts five years and one that starts to fail in two.
Regular upkeep is also non-negotiable. Plan on re-treating your cedar siding every three to five years. This cycle is what keeps it looking great and preserves its value. It's a key practice in the global wooden siding market—a sector valued at around $8 billion and still growing. You can learn more about the trends shaping the wooden siding industry if you're curious.
Finally, be a weatherman. Staining in direct, hot sunlight is a recipe for disaster. The finish will dry on the surface before it has a chance to properly soak into the wood. The perfect day is overcast, with low wind and temps between 50-80°F. Get that right, and you’ll have a beautiful, long-lasting finish that protects your investment for years to come.
Repair or Replace? Making the Right Call for Your Cedar Siding
Sooner or later, every cedar-sided homeowner stands in their yard, looks at a problem spot, and asks the big question: can I get away with a repair, or is it time to bite the bullet and replace it all?
Getting this right is about more than just the upfront cost. It’s about protecting your home and your wallet long-term. You don't want to waste money on patchwork fixes for siding that's already on its last legs, but you also don't want to pay for a full replacement when a simple repair would have done the trick.
The secret is learning to read the signs and understand the scope of the problem.
When a Simple Repair Is All You Need
Small issues are just part of owning a home with beautiful wood siding, especially out here in the Pacific Northwest. If you're doing your regular walk-arounds, you'll catch these things early, and a quick fix is usually all it takes.
You’re likely in repair territory if you spot things like:
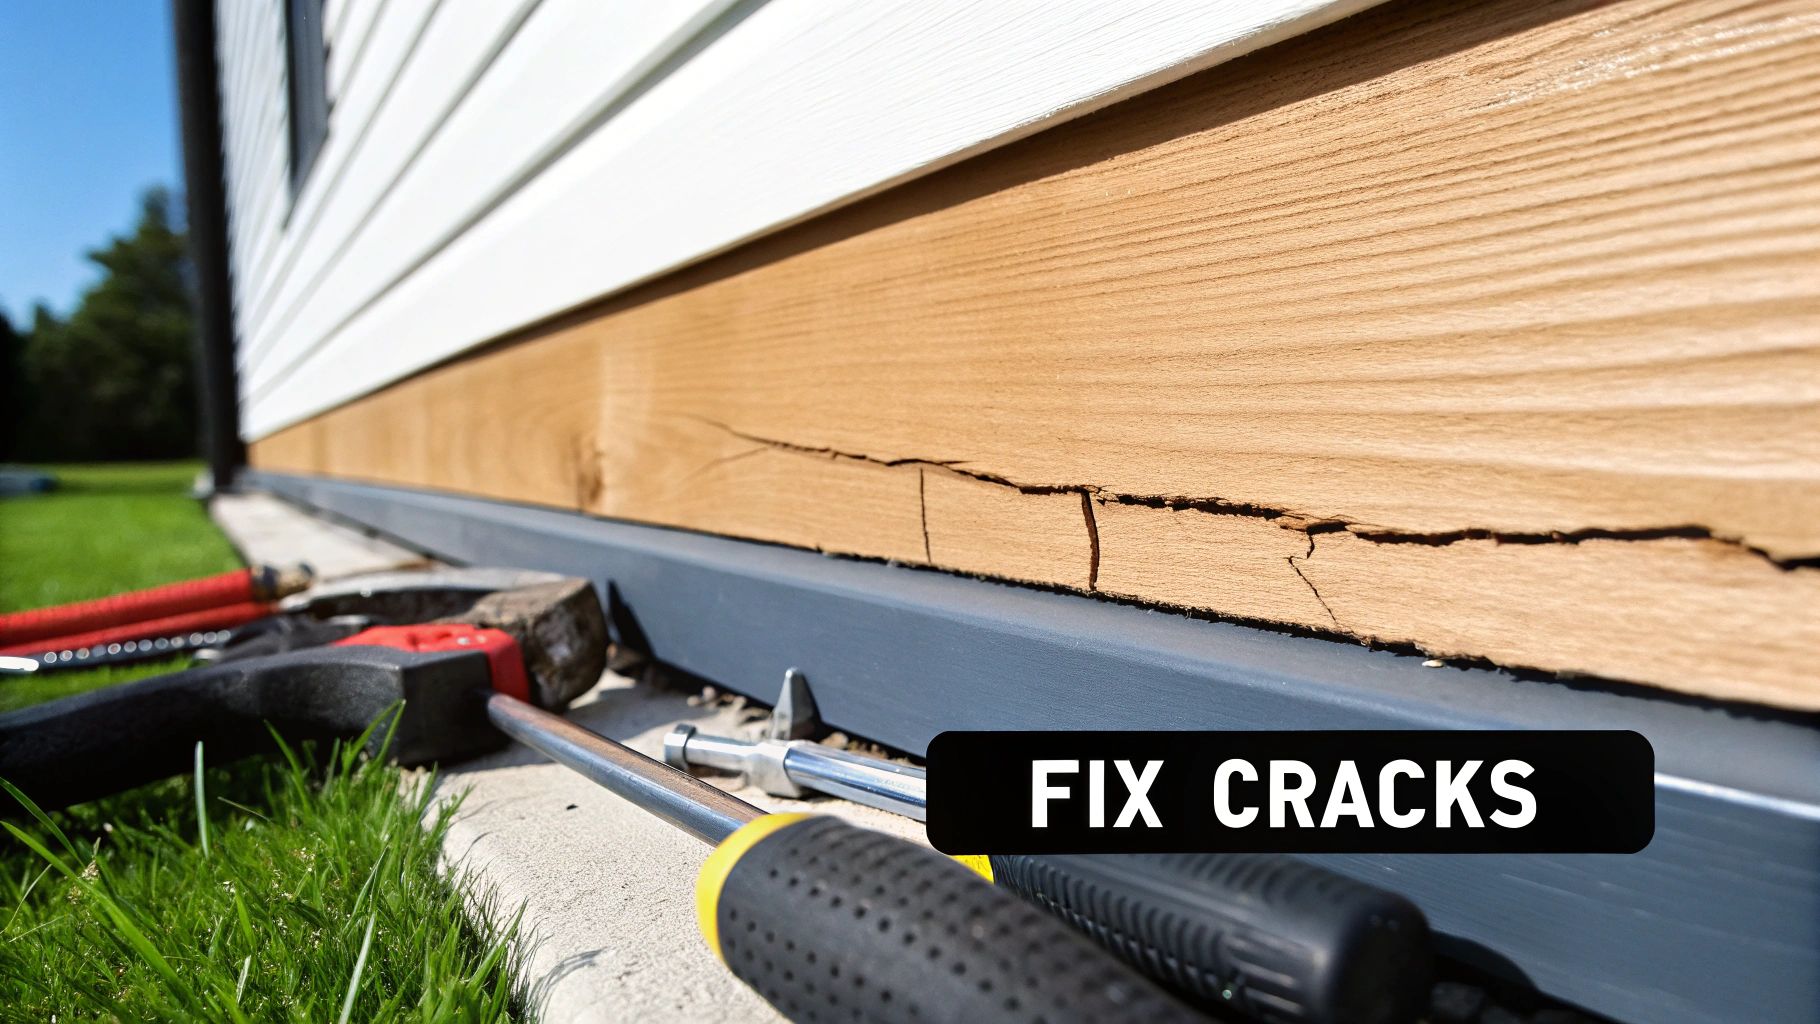
- A few cracked boards. Maybe a ladder slipped or a baseball went astray. Swapping out a single plank is a straightforward job.
- Popped or rusty nails. Wood swells and shrinks with the seasons, and sometimes it pushes a nail out. Just pull the old one, treat the hole, and drive in a fresh, high-quality stainless steel nail.
- A small spot of rot. Found a soft spot on the end of one board near the ground? Often, you can just cut out the damaged section and patch it without touching the rest of the wall.
The Telltale Signs It's Time for a Full Replacement
Sometimes, though, the problem isn't just one or two boards. It's systemic. When the damage is widespread, trying to patch it is like putting a band-aid on a broken leg. A full replacement is the only move that makes sense to truly protect your home.
My rule of thumb? If more than 25-30% of your siding is showing signs of failure, it’s time to stop repairing and start replacing. At that point, spot fixes are no longer cost-effective and won't solve the underlying issues causing the decay.
Keep an eye out for these undeniable red flags:
- Widespread dry rot. If you're finding soft, crumbly wood in multiple spots across different sides of your house, the rot has likely spread far and wide.
- Major warping and buckling. Are entire sections of siding pulling away from the wall? This is a huge warning sign that moisture is trapped behind the siding and causing it to fail on a large scale.
- Moisture inside your house. This is the big one. If you see water stains on your drywall or paint peeling around your windows, your siding has officially failed its most important job: keeping water out.
Choosing a full replacement is a big investment, but it comes with major benefits. You’re getting a brand-new, weatherproof envelope for your home, better energy efficiency, and a massive boost to your curb appeal. With global demand expected to push the cedar siding market to around $8 billion by 2033, a fresh installation ensures your home reaps the benefits of that lasting value. You can dive into the full analysis of the exterior cedar siding market to see just how valuable this material is.
Your Cedar Siding Questions, Answered
Over the years, we've heard just about every question you can imagine when it comes to keeping cedar siding looking its best. Here are some of the most common ones we get from homeowners in the Seattle area, with straight answers from our team.
How Often Should I Clean and Reseal My Siding?
This is the big one. The honest answer? It depends on your home's exposure to sun and rain. As a general rule, a light cleaning every year or two will keep the surface grime and mildew from settling in.
When it comes to resealing or restaining, the timeline is a bit different:
- Semi-Transparent Stains: These let the beautiful wood grain shine through but have less UV protection. You’ll want to reapply these every 3-5 years.
- Solid Stains: Think of these as a stronger shield against the sun. They offer more robust protection and can last 5-7 years.
If your home gets blasted by the afternoon sun or faces a lot of wind-driven rain, you'll be on the shorter end of those timelines. It’s always better to be proactive than to wait until the finish starts to fail.
Can I Use a Pressure Washer on Cedar Siding?
Technically, yes—but you have to be extremely careful. Cedar is a softwood, and it's shockingly easy to permanently scar it with too much pressure.
Our Pro Tip: A soft-bristle brush and a regular garden hose are the safest bet. Pressure washers can force water behind the siding, which is a recipe for hidden rot down the road.
If you absolutely must use a pressure washer, keep the pressure under 1200 PSI. Use a wide, 40-degree fan tip and stay at least 18 inches away from the wood. Always, always test it on a hidden spot first.
What’s Better for Cedar: Stain or Paint?
Stain, hands down. The whole point of cedar siding is its stunning natural grain, and stain is made to penetrate the wood and enhance it. Paint just slaps a thick film on top, hiding that character completely.
Even more important is the long-term maintenance. Stain fades gracefully over time, making reapplication as simple as a good cleaning and a fresh coat. Paint, on the other hand, eventually cracks, peels, and blisters. That means hours of scraping and sanding before you can even think about repainting. Sticking with stain is the best way to go.
Ready to give your cedar siding the expert care it needs? The team at Breeze Siding has been protecting homes across the Seattle area since 2007. We handle everything from professional inspections and cleaning to full replacements.
Schedule your free on-site estimate by visiting us at https://breezesiding.com.