
Fixing dry rot isn't just about replacing a piece of wood. It’s a multi-step process: you have to cut out the rot, kill the lingering fungus with a specialized treatment, and then properly repair the area to bring back its strength. But none of that matters if you don't first eliminate the source of moisture. That's the real key to making sure the problem doesn't come right back.
For homeowners in notoriously damp climates like the Pacific Northwest, being proactive is everything. Catching dry rot early can mean the difference between a small, manageable patch job and a massive structural repair bill that requires full siding replacement.
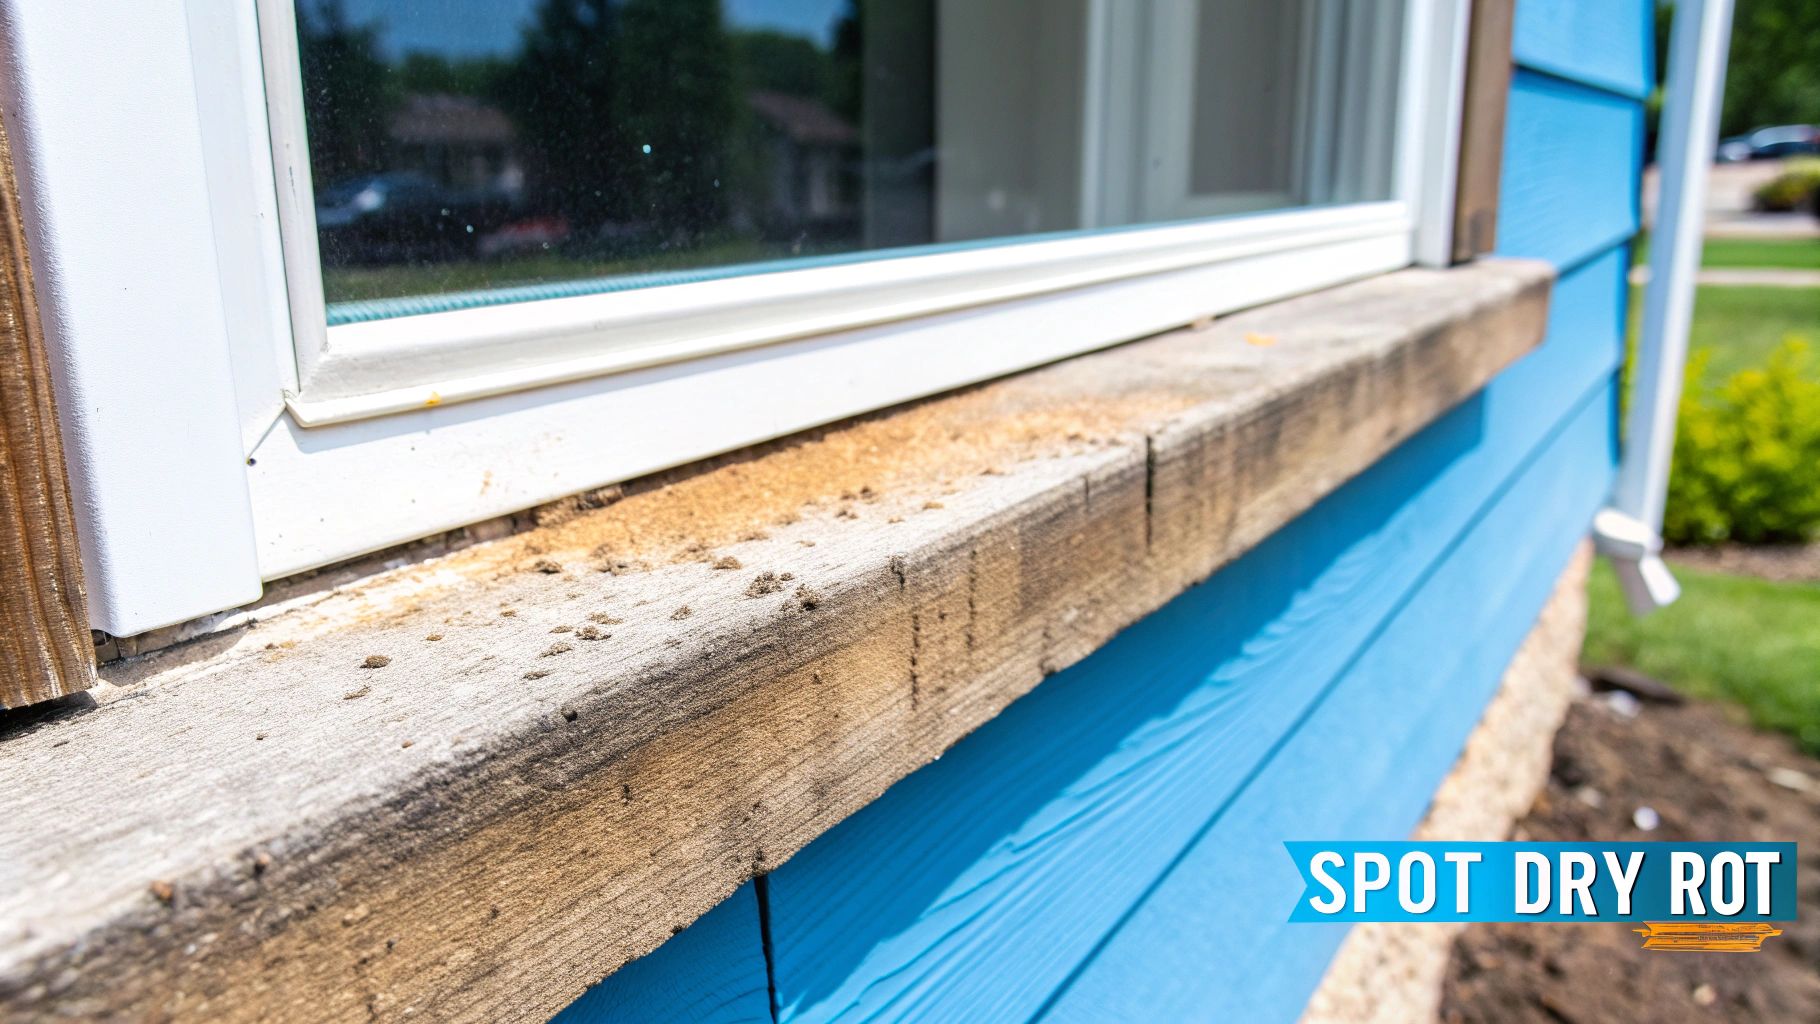
How to Spot Dry Rot Before It Spreads
The best defense you have against a costly dry rot repair is to catch it early. In places like Seattle and Tacoma, where the rain feels relentless, the fungus responsible for dry rot (Serpula lacrymans) is just waiting for an opportunity. You need to look beyond a simple visual scan for crumbling wood to truly protect your home.
Often, the first clues are subtle and easily brushed off as normal wear and tear. You have to train your eyes—and your nose—to recognize the specific signs that an infestation is taking hold.
Using Your Senses to Find Trouble
Believe it or not, your nose might be the first to alert you. A distinct, musty odor that smells earthy or vaguely like mushrooms is a huge red flag. If you catch a whiff of this near a wall, especially after a good rain, it's a strong indicator that moisture is trapped and fungus is growing. Don't ignore that smell; it’s your home’s built-in alarm system.
Visually, keep an eye out for discolored siding. The wood might look bruised or darker in certain patches. You might also spot strange, web-like growths that are grayish-white, or even a fine, rust-colored powder nearby. That powder isn't just dirt—it's a cloud of fungal spores, a sure sign the rot is active and looking to expand its territory.
Pro Tip: Pay close attention to any paint that's blistering, cracking, or peeling for no good reason. While old paint does fail, it often signals a deeper issue. Moisture trapped behind the siding is pushing the paint off from the inside, a classic calling card of dry rot.
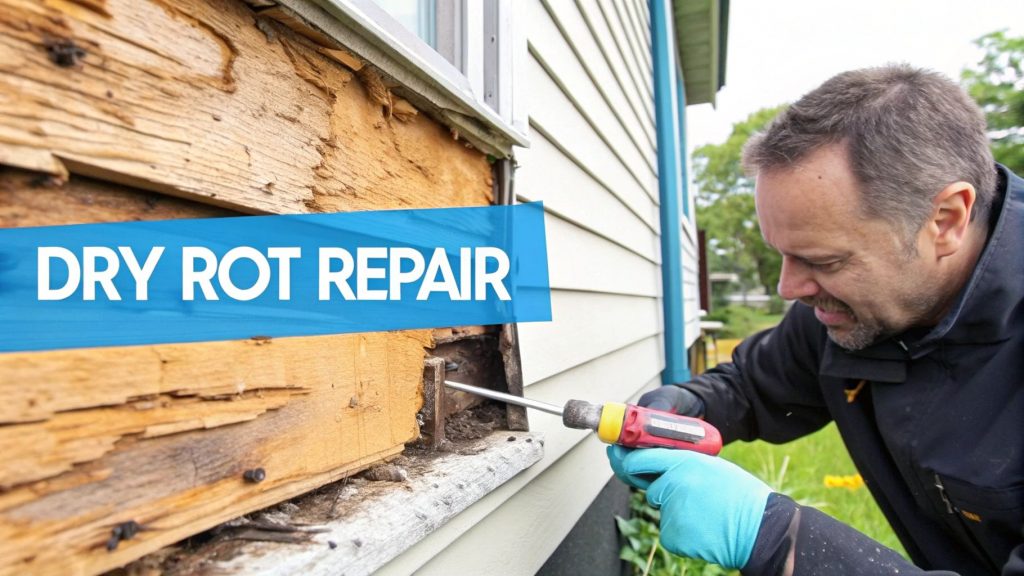
The Screwdriver Test: A Pro’s Go-To Method
One of the most reliable diagnostic tools I use is a simple flat-head screwdriver. We call it the "screwdriver test" in the trade, and it's an incredibly effective way to check the wood's integrity without causing any real damage.
Just take the tip and gently probe any areas that look suspicious. Healthy wood will feel solid and resist the pressure. But if the screwdriver sinks in easily, or the wood feels soft, spongy, or just crumbles away, you’ve found dry rot. This simple test confirms the internal structure of the wood is compromised, even if the surface still looks mostly okay.
Dry Rot vs Wet Rot Key Differences
Before you plan a repair, it’s crucial to know what you're dealing with. Dry rot and wet rot are both caused by fungus, but they behave differently and require slightly different approaches. This quick reference table will help you correctly identify the type of wood decay on your siding.
| Characteristic | Dry Rot (Serpula lacrymans) | Wet Rot (Various fungi) |
|---|---|---|
| Appearance | Wood shrinks and cracks in large, cube-like patterns. | Wood feels soft and spongy; often looks dark and crumbles. |
| Fungal Growth | White, cotton-like mycelium or a "fruiting body" like a mushroom. | Often has dark, thread-like strands or no visible growth. |
| Moisture Level | Can spread to wood with 20% moisture content. | Requires higher moisture levels, typically 50% or more. |
| Damage Pattern | Can spread far from the moisture source through masonry. | Damage is usually localized to the wet area. |
| Smell | Damp, musty, earthy, or mushroom-like odor. | Often has a general "damp soil" smell. |
Knowing the difference is essential. Dry rot is the more aggressive of the two and can cause widespread damage, so identifying it correctly is the first step toward an effective fix.
Common Hotspots for Dry Rot
Dry rot doesn’t just show up anywhere. It picks its spots, targeting areas where moisture consistently gets trapped. When you're inspecting your home, put these vulnerable zones at the top of your checklist:
- Window and Door Frames: The sills and corners are notorious for collecting water, especially if the caulking is old and cracked.
- Where Siding Meets the Foundation: This is a classic trouble spot. Rain can splash back from the ground, and poor drainage can keep this area perpetually damp.
- Deck and Porch Connections: Any place where a structure is bolted to the house can be an entry point for water if the flashing isn't perfect.
- Beneath Leaky Gutters: A clogged or damaged gutter is like a faucet pointed directly at your siding, saturating the wood day after day.
Think about a home in Bellevue where a downspout constantly overflows during the rainy season. The siding right below it never gets a chance to fully dry out. That's a textbook scenario where a homeowner should be doing a quick screwdriver test every month to catch decay before it rots through the sheathing. Recognizing these early warnings is the most important step in stopping a small problem from becoming a structural nightmare.
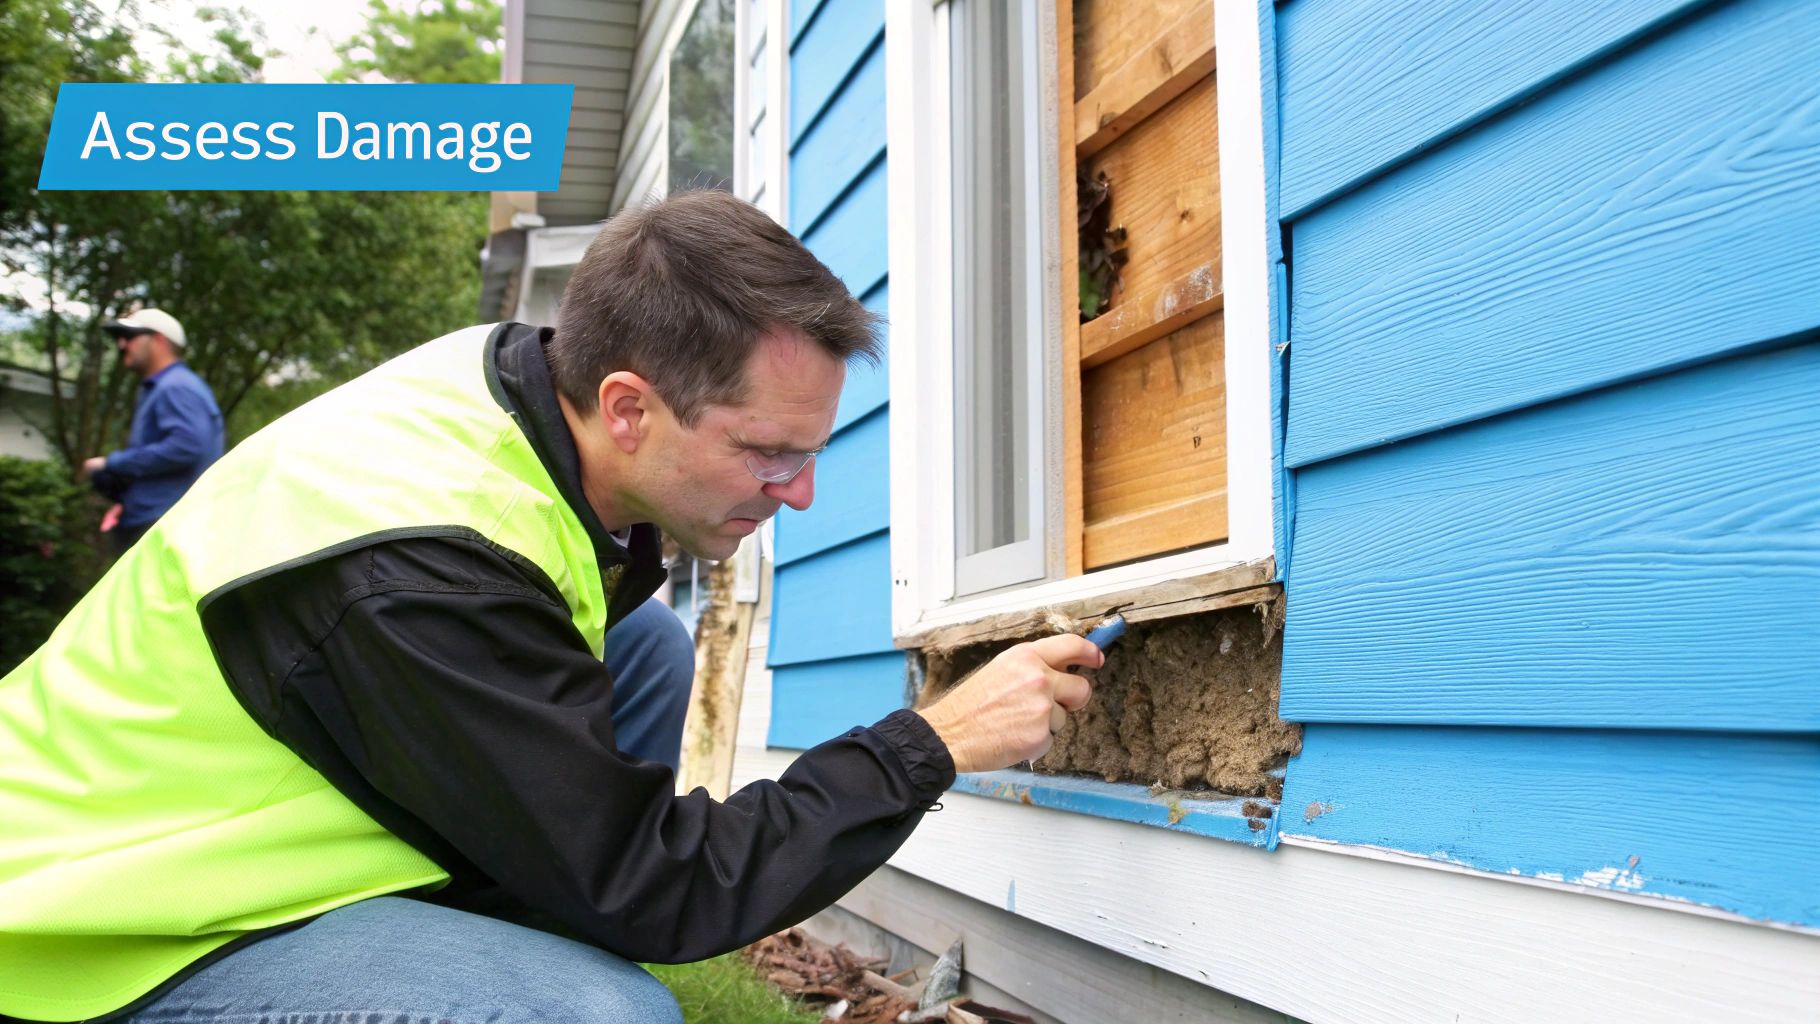
Figuring Out How Far the Dry Rot Has Spread
So, you’ve confirmed it’s dry rot. The next step is absolutely critical, and it's where a lot of DIY repairs go wrong. You have to play detective and find out exactly how far the fungus has traveled. Simply cutting out the visibly damaged spot isn't enough—you have to get to the root of the problem, quite literally.
The fungus that causes dry rot, Serpula lacrymans, is insidious. Its root-like strands, called mycelium, can snake behind perfectly healthy-looking siding, through mortar, and even across metal or plastic to find their next meal. This means the problem is almost always bigger than what you see on the surface.
Tracing the Fungus’s Path
To get the true scope of the damage, you’ll need to do some exploratory work. Start by carefully prying off a manageable section of siding or trim around the obvious rot. This is the only way to see what's happening to the sheathing and framing underneath, which is where the real story unfolds.
I remember a job on a house in Tacoma where a tiny patch of rotted siding next to a window was just the tip of the iceberg. Once we opened up the wall, we found that the mycelium had crept over a foot in every direction, taking out the entire window frame and a chunk of a wall stud. If the homeowner had just slapped some wood filler on the siding, the fungus would have kept on chewing its way through the house, completely hidden.
This is why professionals are so methodical. You have to expose the entire infestation before you can even think about the repair.
Your Damage Assessment Checklist
As you start pulling back siding, keep a close eye out for the tell-tale signs of how far the rot has advanced. You’re looking for more than just crumbly wood.
- Discolored or Darkened Wood: Look for wood that’s gone a darker brown or black, even if it still feels solid to the touch. This staining is often the first sign of decay.
- White, Web-Like Mycelium: If you see fine, cottony growths that look like a spiderweb, you've found active, spreading fungus.
- Cubical Cracking: This is the classic sign of advanced dry rot. The wood will be brittle and broken into small, cube-like chunks.
- A Persistent Musty Smell: As you expose more of the wall cavity, that distinct musty, mushroom-like odor will likely get stronger. Your nose can help you pinpoint the most concentrated areas of decay.
A critical rule of thumb in the trades is to measure at least one foot beyond the last visible sign of rot or fungal growth. This "safety margin" is the absolute minimum area you'll need to remove or treat to stop the rot for good.
When to Call a Professional
Knowing your limits is the smartest thing you can do on any home project, especially when it involves the structure of your house. Fixing a small spot of rotted siding is one thing, but there are definite red flags that mean it's time to put down the pry bar and call in a pro.
If your investigation turns up any of the following, the job is almost certainly beyond a typical DIY scope:
- Structural Timbers are Affected: The moment you find rot in wall studs, floor joists, support beams, or roof rafters, the game changes. The structural integrity of your home is compromised, and replacing these parts requires professional know-how to avoid causing even bigger problems.
- The Rot Covers a Large Area: If the damage spans more than a few square feet of a wall, you'll want a professional to manage the extensive repair and ensure the new siding is installed correctly.
- The Source of Moisture is a Mystery: You can patch the wood, but if you can't find and fix the leak that caused the rot in the first place, it's all for nothing. A contractor has the experience and tools to track down stubborn moisture sources.
Making the right call at this stage is everything. A confident assessment will tell you whether you’ve got a weekend project ahead or if it's time to bring in an expert to protect your home.
Removing and Treating the Affected Wood
Now that you’ve pinpointed the full extent of the rot, it’s time to get your hands dirty. This is where we shift from diagnosis to surgery—carefully cutting out the damaged wood and treating the area to kill the fungus for good.
This isn't a demolition job. It's a methodical process to make sure you get every last bit of the fungus. I’ve seen it time and again: rushing this stage is the number one reason DIY dry rot repairs fail and the problem comes roaring back a year later.
Before you even think about picking up a saw, let's talk safety. You're dealing with fungal spores, fine wood dust, and treatment chemicals. You don't want any of that in your lungs or eyes, so gearing up is non-negotiable.
Your Essential Safety Kit:
- N95 Respirator or Mask: This is critical for keeping fungal spores and dust out of your lungs.
- Safety Goggles: Protects your eyes from flying wood chips and chemical splashes.
- Durable Work Gloves: Keeps splinters and chemicals off your hands.
Getting this right from the start makes the whole job smoother and safer.
Think Like a Pro: The "Safety Margin" Cut
Here’s a common mistake I see homeowners make: they only cut out the wood that looks rotten. The problem is that the fungus has an invisible root system, called mycelium, that spreads far beyond the soft, crumbly wood you can see.
To truly get rid of it, you have to cut a "safety margin" into the healthy-looking wood surrounding the rot.
Think of it like a surgeon removing a tumor. They always take a clean margin of healthy tissue to ensure no bad cells are left behind. We need to do the same thing. A solid rule of thumb is to measure and mark a boundary at least 12 inches beyond the last visible sign of rot. This might feel excessive, but it’s the only way to guarantee a permanent fix.
Grab a reciprocating saw or an oscillating multi-tool for clean, straight cuts, and remove the entire section you've marked. Keep going until you’re left with nothing but solid, healthy timber.
Sterilize Everything to Stop Regrowth
With the bad wood gone, the next step is to sterilize the healthy wood you've just exposed. The goal is to make the area completely uninhabitable for the Serpula lacrymans fungus. This is where a good chemical treatment is your best friend.
Borate-based wood preservatives are what the pros use, and for good reason. These products, which usually contain disodium octaborate tetrahydrate, are lethal to wood-destroying fungi but have low toxicity to people and pets once they’re dry.
You can apply the liquid borate solution with a paintbrush or a simple garden sprayer. Don't be shy with it—the key is to completely saturate all the exposed wood, especially the fresh-cut ends. Let it soak in and dry completely, which can take up to 24 hours. This essentially poisons the wood, turning it into a useless food source for any leftover spores.
Living in a damp climate like the Pacific Northwest, I always apply a second coat. It’s a small extra step that ensures the borate fully penetrates the wood, giving me total peace of mind that the fungus won't be back.
Using Epoxy for Strong, Non-Structural Repairs
What about smaller, non-structural spots like window sills, decorative trim, or small patches of siding? For these, a two-part epoxy filler system is a fantastic solution. This isn't your average wood putty. It’s a high-strength adhesive that bonds with the wood fibers to create a permanent, rock-solid repair that won't shrink or crack.
First, you'll apply a liquid epoxy consolidant (often called a wood hardener) to the sound wood you're repairing. This thin liquid soaks into the wood grain, hardens it, and creates the perfect anchor for the filler.
After the hardener cures, you mix the two-part epoxy filler. It has a consistency like thick peanut butter, so it's easy to work with a putty knife. I always overfill the void slightly because you’ll sand it down perfectly smooth once it’s fully cured. The result is a seamless, waterproof repair that’s often even stronger than the original wood.
The use of these products is on the rise. In fact, the global market for wood repair epoxy was valued at roughly USD 395.9 million in 2023 and is only expected to grow. You can read the full research about the wood repair epoxy market to see how homeowners are increasingly choosing to restore wood rather than replace it.
This combination of careful removal, thorough sterilization, and a professional-grade repair is how you confidently stop dry rot in its tracks and keep your home protected for years to come.
Siding Replacement and Professional Finishing
You’ve done the tough part—cutting out the rot and treating the exposed wood. Now it's time to button everything back up. This final stage is just as critical as the demolition, because a professional finish isn’t just for looks. It's about creating a weatherproof shield that’ll stand up to the damp Pacific Northwest climate for years to come.
Getting this right means all your hard work wasn't for nothing. A poorly sealed repair is basically an open invitation for moisture to sneak back in and start the whole rotten cycle all over again.
The Benefits of Strategic Siding Replacement
Your first big decision is what to patch the hole with. For isolated spots, you can match what you have. But if the dry rot is widespread, this is the perfect opportunity to consider upgrading to a modern, high-performance material. This isn't just a repair; it's an investment in your home's longevity and value.
For homes in constantly rainy climates like we have in the Puget Sound, switching to a more resilient material like fiber cement siding is a brilliant long-term play. It offers numerous benefits:
- Rot and Pest Proof: Fiber cement is completely immune to rot and insects don't want anything to do with it.
- Moisture Resistance: It can handle the relentless moisture we get in the Seattle area without warping, swelling, or degrading.
- Durability: It stands up to harsh weather, from heavy rain to high winds, far better than traditional wood.
- Low Maintenance: Unlike wood, it doesn't require constant scraping and repainting to keep it sealed.
While it costs more upfront, a full or partial siding replacement can save you a world of headaches and future repair costs.
Trade Insight: When you’re joining a new siding panel to an old one, always use a "scarf joint," not a simple butt joint. This means cutting the ends of both boards at a 45-degree angle where they meet. This angled, overlapping joint is far better at shedding water and makes for a much cleaner, less obvious seam once it's all painted.
Integrating New Siding for a Flawless Look
Making a new piece of siding blend in with the old is where the craftsmanship really shows. Start by cutting the new piece to fit perfectly snug, leaving no big gaps. Before you even think about nailing it in place, take the time to prime all six sides of the board—that’s the front, back, and all four edges. This completely seals the wood, stopping moisture from wicking in from behind.
When it comes to fastening, use galvanized or stainless steel nails. This will save you from ugly rust streaks running down your beautiful new paint job later on. Drive the nails just slightly below the surface of the wood. That little indent allows you to fill the hole with an exterior-grade wood filler for a perfectly smooth finish.
This simple infographic gives a great visual of the core steps you take before you even get to this finishing stage.

The main takeaway here is that you can't skip steps. Cutting, treating, and filling are all essential for a repair that's actually going to last.
Sealing, Priming, and Painting for Maximum Protection
With the new siding firmly in place, the last steps are all about weatherproofing. This is your home's armor.
- Caulk Every Seam: Get a high-quality, paintable exterior caulk and seal every single gap. I'm talking about the joints between siding boards, around windows and doors, and at all the corner trim. A solid, flexible bead of caulk is what keeps wind-driven rain from finding a way in.
- Prime the Entire Repair Area: Even if you pre-primed the board, you still need to hit the whole repaired section with a good exterior primer. This covers any wood filler and guarantees your final paint coat will stick properly and have a consistent sheen.
- Apply Two Coats of Quality Paint: Don't get cheap here. Two coats of a premium exterior paint will create a durable, protective barrier that shields the wood from both UV rays and moisture.
Now, what does all this cost? It can really vary. On average, homeowners might spend between $502 and $2,355 for typical dry rot repairs, with the national average sitting around $1,426. If the rot has gotten into the structure, those costs can easily shoot past $6,500, depending on how much area is affected and how complex the job is. By tackling the siding and finishing yourself, you can keep a big chunk of those costs in your own pocket.
Keeping Rot from Coming Back: A Proactive Game Plan
You’ve gone through all the hard work of digging out and repairing dry rot. The last thing you want is to do it all over again in a few years. Frankly, the best repair is the one you never have to make. Now it's time to shift from reacting to problems to actively preventing them, which is the secret to protecting your siding for the long haul.
The strategy is simple: rob the fungus of the one thing it absolutely needs to survive—moisture. If you can manage the water around your home's exterior, you create an environment where dry rot can't even get started.
Master Your Water Management
Your first line of defense is simply telling water where to go, especially during the long, wet seasons we get here in the Puget Sound. This isn't about some complicated engineering project; it just takes a little seasonal attention.
Start by looking up at your gutters. Clogged gutters are one of the biggest culprits I see. When they overflow, water just pours down the siding, soaking the wood day after day. You’ll want to get up there and clear them out at least twice a year—once in the spring after the pollen and seeds fall, and again in the late fall when the leaves are down. While you’re at it, make sure your downspouts extend at least five feet away from the foundation. This keeps water from splashing back up onto the lowest boards.
Next, take a walk around your house and check the landscaping.
- Mind Your Sprinklers: Double-check that your sprinkler heads are aimed at the lawn and garden beds, not the side of your house. A constant spray on the siding is a surefire way to invite rot.
- Give it Room to Breathe: Trim back any bushes, trees, or ivy so there’s at least a foot of clearance from your siding. This space is crucial for airflow, allowing the siding to dry out properly after it rains.
- Check the Slope: The ground right next to your foundation should gently slope away from the house. If you notice puddles forming against the wall after a storm, you might need to build up the soil a bit to improve the grading.
Beef Up Your Siding's Defenses
Beyond just keeping water away, you can make the wood itself a much less appealing home for fungus. This comes down to maintaining a robust, protective finish. A good paint job is so much more than just curb appeal; it’s a critical shield against moisture.
Preventing rot is always more cost-effective than repairing it. Think of regular maintenance as a small, ongoing investment that protects you from a much larger, unexpected expense down the road.
Applying wood preservatives to especially vulnerable spots is another fantastic proactive move. These products are specifically formulated to make wood inedible to decay fungi. It’s no surprise that the global market for wood preservatives, valued at USD 1.50 billion in 2023, is so much larger than the market for repair putties and epoxies. It’s a clear signal that on a massive scale, preservation is a much smarter financial strategy than restoration. You can learn more about the growth of wood preservation strategies here.
By building these simple habits—keeping gutters clear, managing your landscaping, and maintaining your paint and finishes—you’re doing more than just fixing a problem. You’re building a defense system to make sure dry rot never gets a foothold again.
Your Dry Rot Questions Answered
Dealing with dry rot, especially in a damp climate like we have around Seattle, can bring up a lot of questions. Let's walk through some of the most common things homeowners ask me, so you can tackle this with confidence.
Can I Just Slap Some Wood Filler on It and Call It a Day?
I hear this one all the time, and the short answer is absolutely not. Think of standard wood filler as makeup—it just hides the blemish. It has no structural integrity and, worse, it traps the fungus underneath. That rot will keep chewing away at your wood, spreading silently until you have a much bigger, more expensive problem on your hands.
For a repair that actually lasts, you have to cut out all the bad wood, treat the healthy wood left behind, and then use a two-part wood restoration epoxy. It's the only way to truly fix it.
How Do I Know If This Is a Serious Structural Problem?
This is the most important question you can ask. Knowing when to call in a pro is key. Generally, the siding itself, the trim around your windows, and the fascia boards along your roofline are not structural. The real trouble starts when the rot gets into the wood behind all that.
You've got a structural issue on your hands if the rot has reached:
- Wall Studs: Those are the 2×4 or 2×6 boards that form the skeleton of your walls.
- Floor Joists: The big beams under your floor. You can often see them from your basement or crawlspace.
- Support Beams or Posts: These are the heavy-duty timbers holding up major sections of your home.
If you poke any of these with a screwdriver and find soft, spongy, or crumbling wood, it's time to put your tools down and call a professional. Guesswork with your home's structure can lead to disaster.
Is It Actually Dangerous to Live in a House with Dry Rot?
For a small spot on your exterior siding, the immediate health risk isn't huge. The main concern is the fungus itself. That classic "musty basement" smell is actually airborne fungal spores, which can be a real nuisance for anyone with allergies, asthma, or other respiratory issues.
The real danger from dry rot isn't about toxicity—it's about gravity. If left to its own devices, it will weaken the bones of your house, turning what could have been a simple fix into a genuine safety hazard. That's why you have to deal with it the moment you find it.
What's the Real Cost Difference: DIY vs. Hiring a Pro?
There's definitely a big gap. If you're tackling a small, non-structural patch yourself, you might spend $100 to $300 on materials—things like borate treatment, a good epoxy filler, primer, paint, and maybe a replacement board.
Hiring a professional for that same small job will likely run from $500 to over $1,000. The cost goes up from there depending on how widespread the damage is, especially if it's gotten into the structure. While doing it yourself saves cash upfront, paying a pro gets you their experience, the right tools, and the peace of mind that the rot is gone for good and the repair is sealed up tight against the weather.
If you've found dry rot and want to make sure it's handled correctly, the team at Breeze Siding has seen it all. We provide expert siding repair and replacement across the Seattle, Tacoma, and Bellevue areas. Contact us for a free on-site estimate and let's get your home protected with a permanent solution.