
A vinyl siding replacement is one of the most impactful home projects you can undertake, delivering a huge payoff in both curb appeal and performance. It's not just about a fresh look; a professional-quality installation dramatically boosts your home's energy efficiency and creates a durable shield against the elements for years to come. The secret isn't just in the nailing—it's in the meticulous prep work and trade methods that ensure a flawless, long-lasting finish.
Getting this right from the start is what separates a siding job that looks incredible for 20 years from one that starts causing problems in just a few seasons.
Laying the Groundwork for a Flawless Finish
Think of this as more than a simple renovation. A siding replacement involves giving your home a new, durable, low-maintenance skin that has to stand up to everything our local climate throws at it. For homeowners in the Seattle and Pacific Northwest region, a professional-grade installation is non-negotiable. It creates a weather-tight building envelope, preventing wind-driven rain from sneaking in and causing the hidden rot we so often find during tear-offs.
Before you even think about picking up a hammer, you need to get familiar with your material choices.
Understanding Siding Materials and Options
Vinyl siding isn't a one-size-fits-all product. The options on the market today are impressive, but they generally fall into two main categories:
- Standard Vinyl Siding: This is the go-to for a reason. It's affordable, comes in a massive range of colors and textures, and is a dependable, high-performance choice for almost any home.
- Insulated Vinyl Siding: This is the premium upgrade and a smart investment for energy-conscious homeowners. It has a layer of rigid foam insulation bonded to the back of each panel. That foam boosts the R-value of your walls, helping lower your heating and cooling bills. It also makes the panel much stiffer, which does a fantastic job of hiding minor bumps and waves in your existing walls for a perfectly straight, clean look.
There's a reason you see so much of it. Vinyl siding makes up a whopping 54% of the entire global siding market, which is valued at around $125.8 billion. Homeowners and builders love it because it’s incredibly durable and requires next to no maintenance. If you're interested in the numbers, you can dive into the full industry analysis from GM insights for a deeper look at market trends.
Trade Tip: When you're ordering your materials, always add 10% to your final number. This is your safety net. It covers miscuts, mistakes, or that one piece you accidentally drop off the ladder. It is far less stressful to have a few extra panels at the end than to be one short of finishing the job and having to place a new order.
Having a clear picture of the whole process before you start is key. The table below breaks down the major phases of a typical siding project to give you a roadmap for what's ahead.
Vinyl Siding Project at a Glance
| Phase | Key Objective | Estimated Time (1500 sq ft home) | Core Skill Requirement |
|---|---|---|---|
| Preparation | Remove old siding, inspect sheathing, and install house wrap. | 1-3 days | Basic demolition, attention to detail |
| Layout & Trim | Install starter strips, corner posts, and J-channel. | 1-2 days | Precise measuring and cutting |
| Panel Installation | Hang siding panels, ensuring proper overlap and nailing. | 3-5 days | Nailing technique, level-headedness |
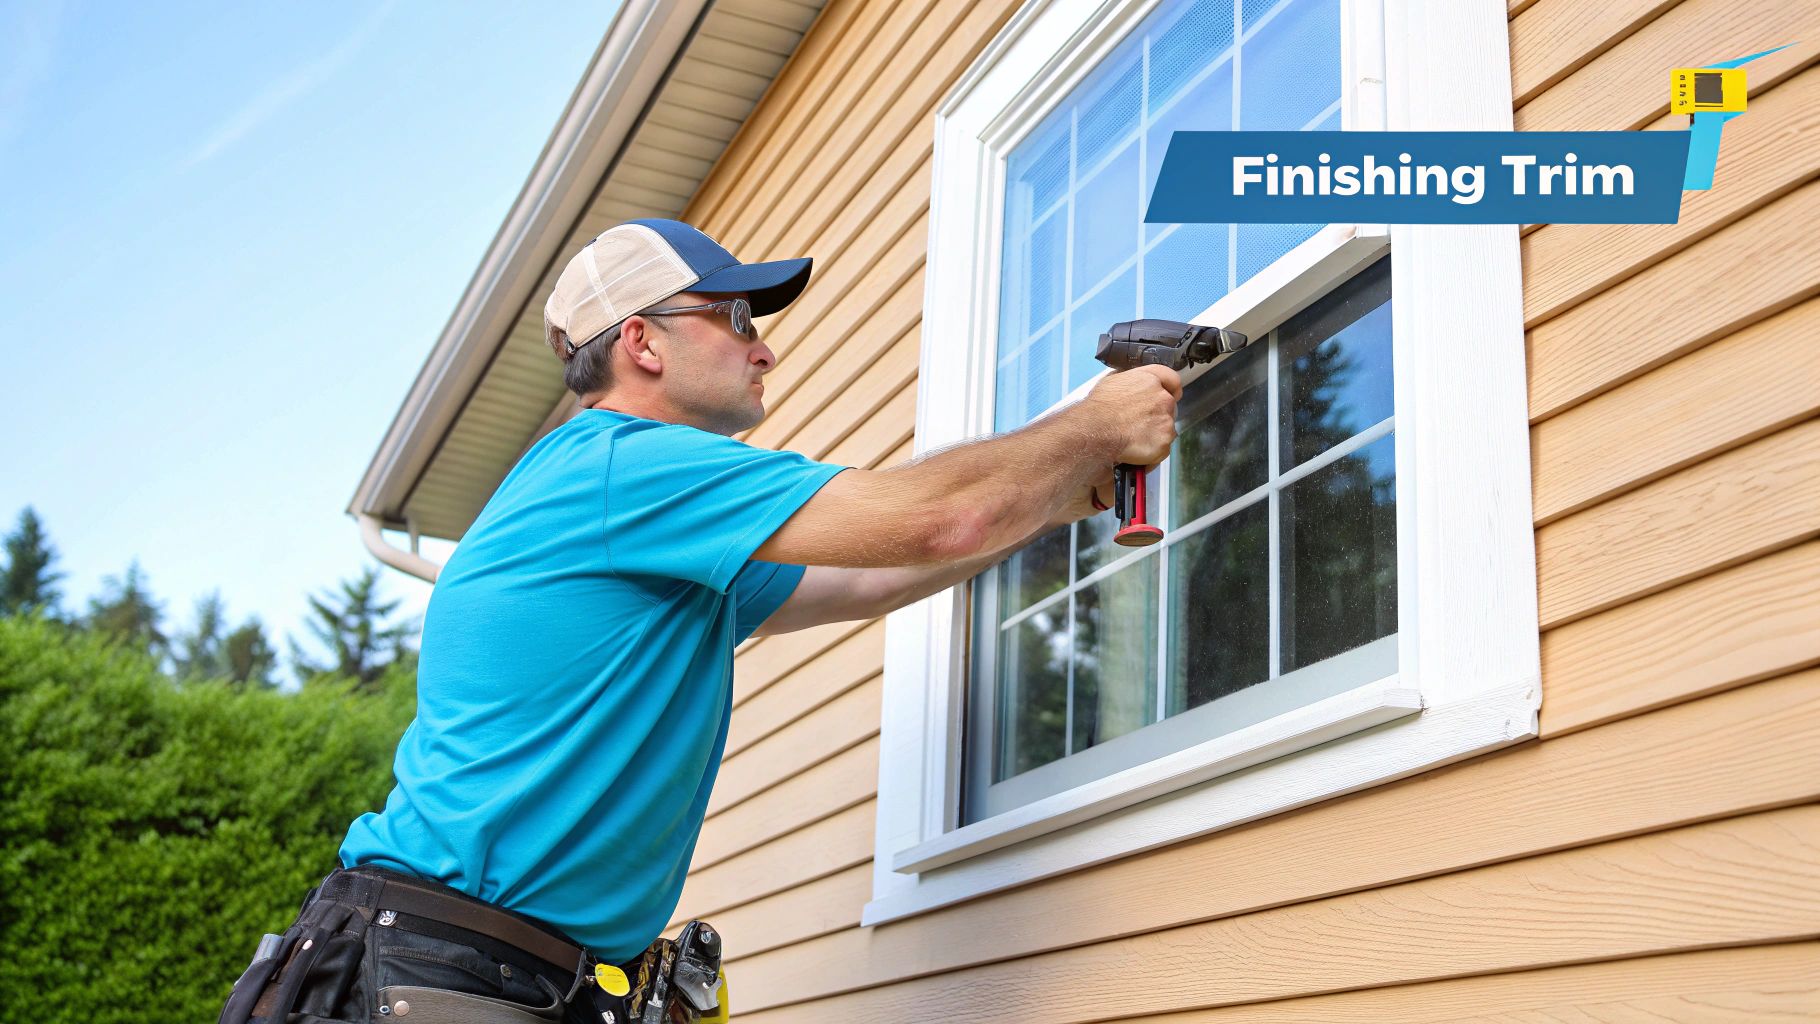
| Finishing Touches | Install soffit, fascia, and finish trim around windows/doors. | 1-2 days | Finesse work, precise cuts |
This overview helps set realistic expectations for timing and the skills you'll need at each stage. Think of this planning phase as your project blueprint—it gives you the confidence to get it right the first time.
Assembling Your Toolkit and Prepping the Walls
A flawless vinyl siding job isn't won when the first panel goes up—it's won in the prep work. Your success boils down to having the right gear on hand and making sure your walls are a perfect canvas. This initial stage is the most important part of the entire project, and it's what will protect your home from moisture intrusion for decades. A proper siding replacement is one of the best investments you can make for your home's long-term health.
There’s a reason vinyl siding is so popular. The market is worth about $7.25 billion and growing because homeowners trust its durability and low maintenance. But to get those benefits, the job has to be done right from the very beginning. If you're curious, you can read more about the growth of the vinyl siding market and see its impact on the industry.
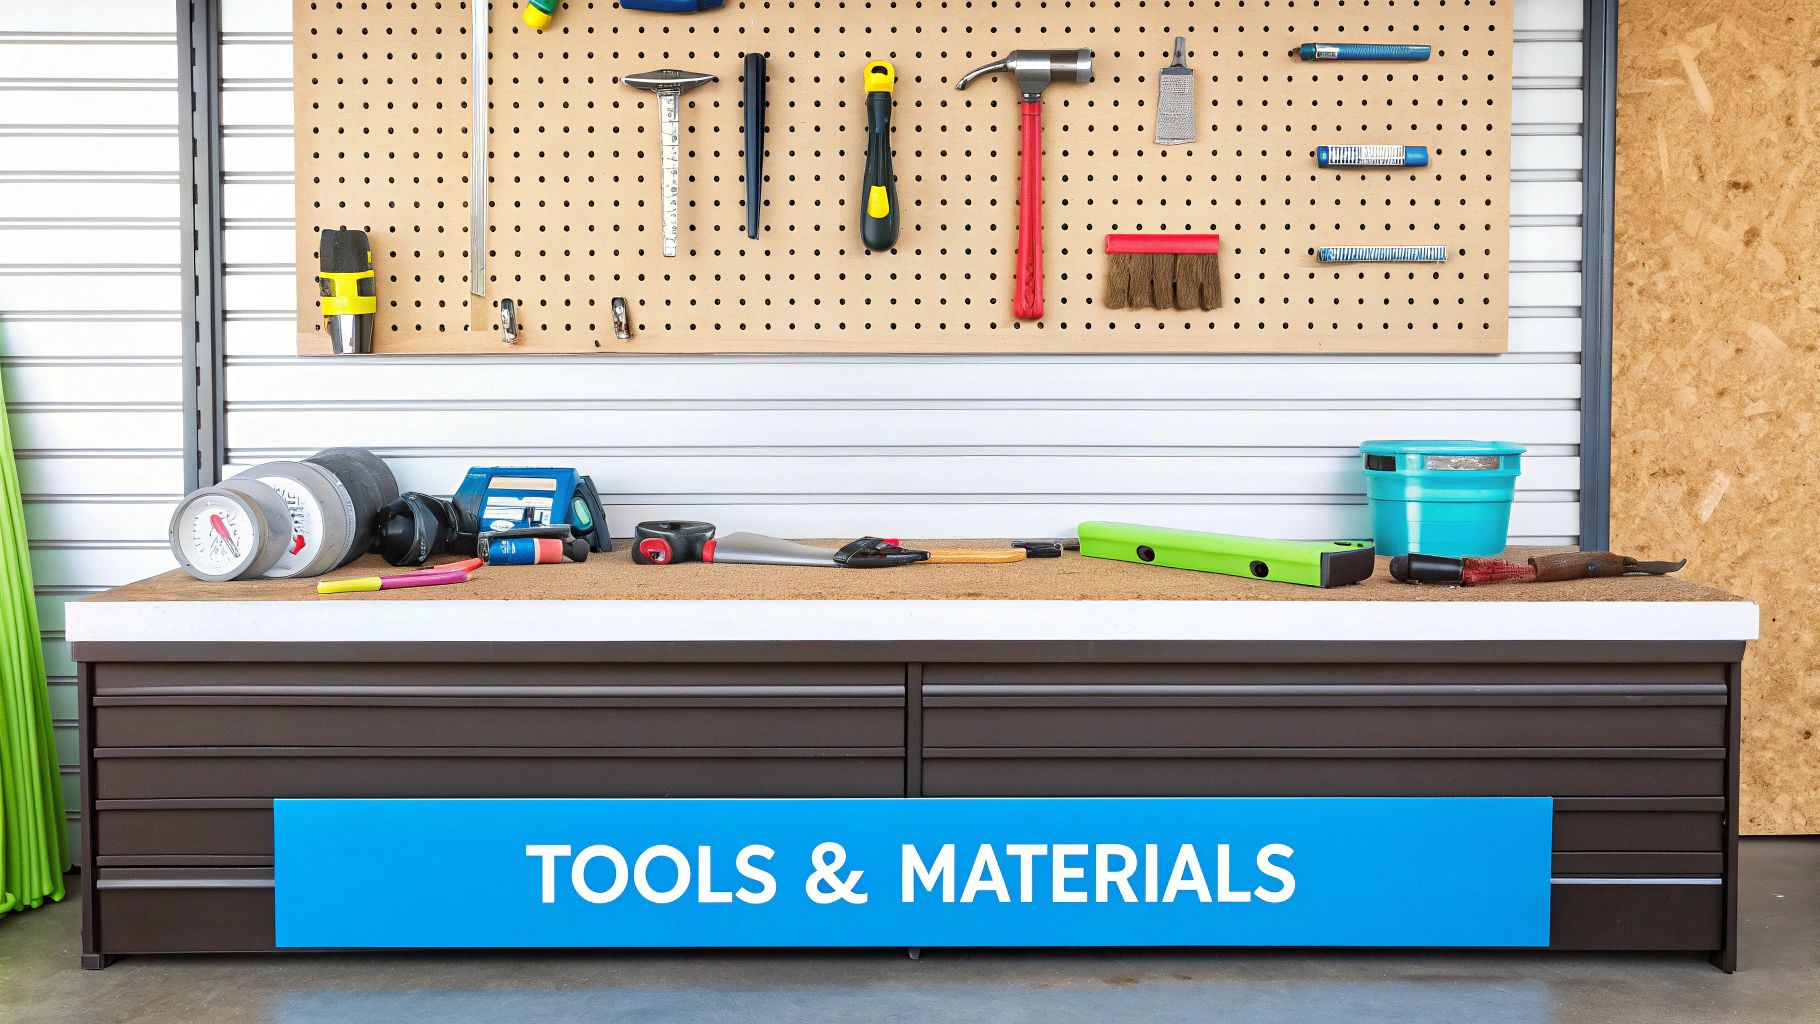
Gearing Up with the Right Tools
You'll obviously need the basics like a hammer, tape measure, and a good level. But a few specialized tools will make a world of difference. These aren't just for convenience; they're what the pros use to get those clean lines and a secure, weather-tight fit.
- Snap-Lock Punch: This is a pro's secret weapon. It creates little raised tabs, or "lugs," in the cut edge of a panel. This is what allows it to lock securely into the utility trim you’ll use at the top of walls or under windows, creating a clean, nail-free finish.
- Unlocking Tool (or "Zipper"): Look, mistakes happen. This simple tool lets you safely "unzip" panels from each other without cracking or damaging them. It's an absolute lifesaver if you need to replace a panel in the middle of a wall.
- Tin Snips (Aviation Snips): You'll need these for making detailed cuts around obstacles like spigots, electrical boxes, and vents. A quality pair makes clean, straight cuts without warping the vinyl.
Having these tools on hand transforms a difficult, frustrating job into one that’s actually manageable. It’s the difference between fighting the material and working with it.
Stripping Down to the Sheathing
Before a single piece of house wrap goes up, the old siding has to come down. This step is completely non-negotiable for a proper siding replacement.
Siding over existing material, whether it's old wood or vinyl, is a recipe for disaster. It traps moisture, hides potential rot, and creates an uneven surface that will make your new siding look wavy and unprofessional. Just tear it off. This is a core best practice that ensures longevity.
Once the old siding is gone, it's time for a thorough inspection. Carefully look over the sheathing for any signs of water damage. Pay close attention to the usual suspects: areas around windows, doors, and along the bottom of the walls. Any wood that feels soft, looks discolored, or is crumbling has to be cut out and replaced with solid material.
A Pro's Perspective: This is your only chance to see what's happening behind the walls. We see it all the time here in the Seattle area—hidden rot from years of wind-driven rain getting past failed flashing. Taking the time to find and fix this damage now saves homeowners from massive structural repairs down the road and is a key benefit of a full siding replacement.
Creating a Weather-Resistant Barrier
With the sheathing solid and repaired, the next job is to create a proper weather-resistant barrier. This is your home's last line of defense against moisture.
Start by installing a high-quality house wrap. You'll want to roll it out horizontally, starting from the bottom of the wall and working your way up. Overlap each course by at least six inches to create a shingle-like effect where water is always directed downward and away. Secure it with cap staples—the ones with the little plastic washer—to keep it from tearing in the wind.
Next, you need to focus on flashing. This is, without a doubt, the most common failure point in any siding job.
- Window and Door Flashing: Use self-adhering flashing tape around every window and door. The sequence here is critical for it to work: install the bottom strip first, then the sides (overlapping the bottom piece), and finally the top strip (overlapping the side pieces).
- Deck and Roof Flashing: Anywhere a deck or a roofline meets a wall needs metal Z-flashing. Make sure it's installed over the house wrap to kick water out and away from the structure.
This meticulous prep work creates a dry, flat, and sound surface that's ready for your new siding. It’s the foundation that ensures your investment not only looks fantastic but performs perfectly for years to come.
All right, with your walls prepped and your tools laid out, it's time to get down to the business of actually hanging some siding. This is where the real craftsmanship comes into play. The techniques we're about to cover are what separate a professional, weather-tight job from one that looks wavy and amateurish in a year.
It all starts with the foundation of the entire system: the starter strip. Getting this piece perfectly level is an absolute must. If it's off by even a fraction of an inch, every single panel you install above it will be crooked. It creates a domino effect that's impossible to fix without tearing everything off and starting from scratch.
First, you need to find the absolute lowest point of the sheathing on the wall you're working on. From that spot, measure up based on the manufacturer's specs—it's usually just a hair less than the width of the starter strip itself. Snap a level chalk line all the way around the house. That line is your bible for the rest of the job.
This simple visual guide breaks down how to get that crucial first piece set up perfectly.
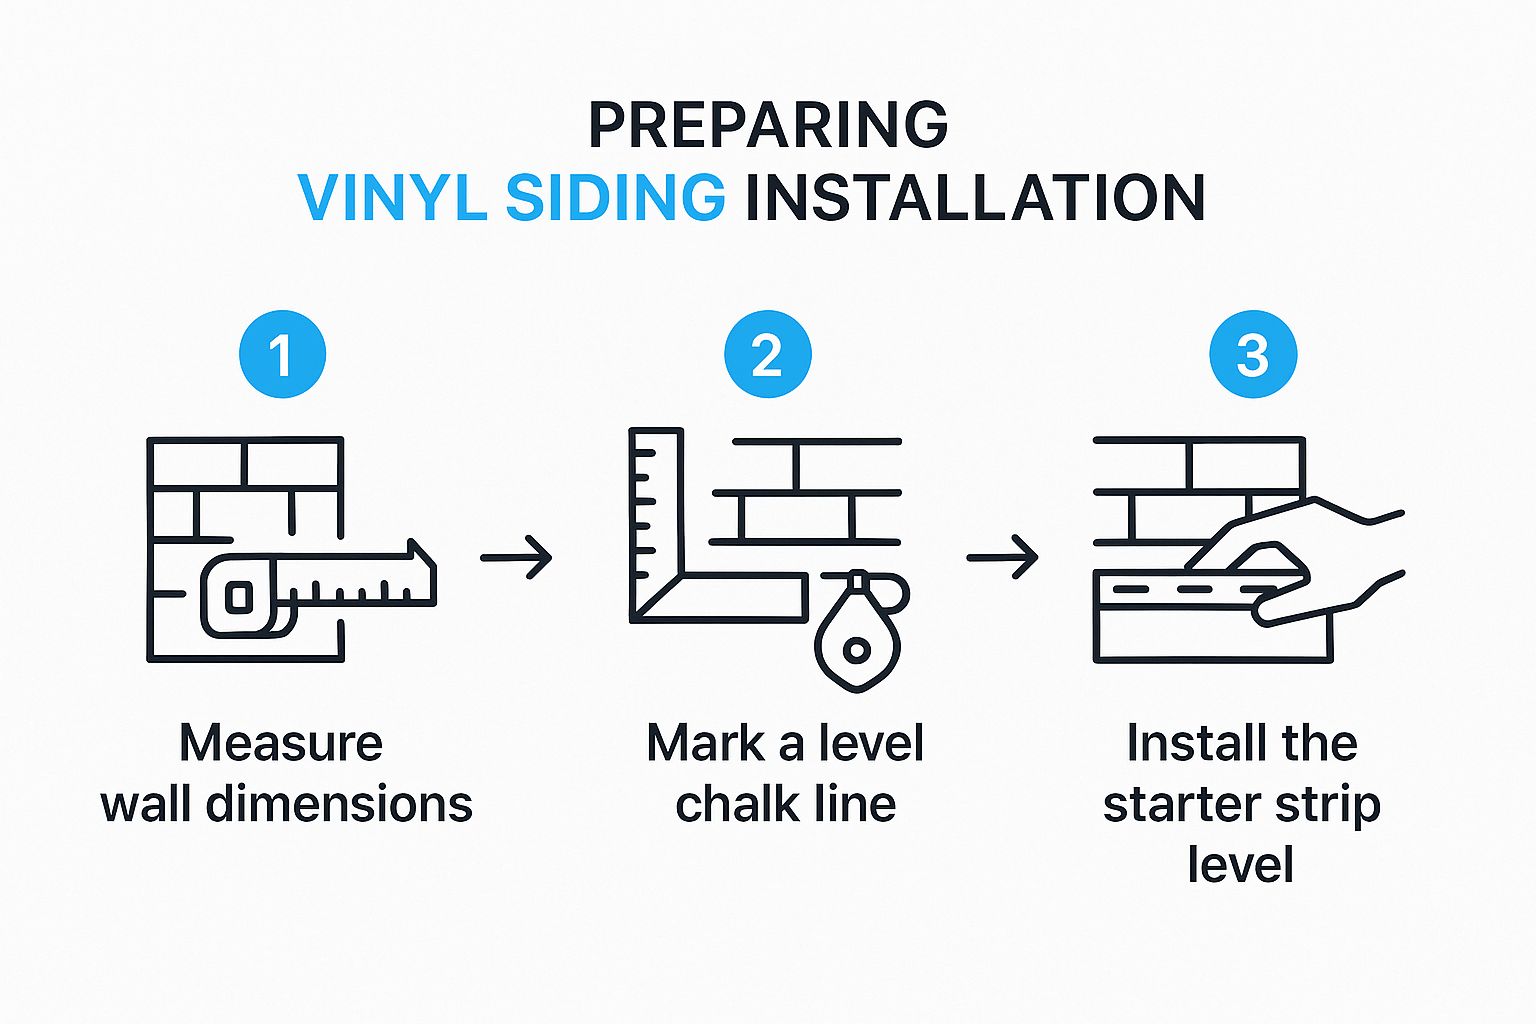
Nail this sequence, and every panel that follows will sit straight and true. That’s the hallmark of a job done right.
Installing Corners and Trim Channels
Once the starter strip is locked in, you'll build the "frame" for your siding panels. This means installing the corner posts and the J-channel that trims out your windows, doors, and the tops of your walls.
Get the corner posts up first. They should be hung, not cinched down tight. Leave about a 1/4-inch gap below the soffit and let the post hang about 3/4-inch below the bottom of your starter strip. This space is critical for allowing the material to move and for letting any trapped water drain out.
Next up is the J-channel. When you're trimming a window, there's a pro trick to creating a small "rain diverter" flap that makes a world of difference in our wet climate.
Here's how we do it in the field to create a bulletproof seal:
- Cut the J-channel for the top of the window 2 inches longer than the casing (giving you one inch of overhang on each side).
- On each end of that top piece, make a 1-inch vertical cut up from the bottom edge.
- Bend that 1-inch tab down. This little flap will overlap the side J-channel pieces.
- Cut a matching notch out of the side pieces so the tab sits flush.
This small detail is a critical best practice. It forces rainwater out and over the side channels instead of letting it sneak behind your siding. In places with a lot of wind-driven rain, it's a non-negotiable step.
Nailing and Expansion Gaps: Where Most DIY Jobs Fail
This is the part of the job that separates the pros from the amateurs. Vinyl is a type of plastic, and it moves—a lot more than people think. A single 12-foot panel can expand and contract by as much as 1/2 an inch as the seasons change. If you don't install it to accommodate that movement, you're in for a world of trouble.
The golden rule is to never nail the siding tight. Each panel needs to hang loosely from the nails, allowing it to slide back and forth. You should center your nail in the middle of the nailing slot and leave a gap the thickness of a dime (about 1/16 inch) between the nail head and the vinyl. If you drive that nail home, you're pinning the panel in place. The first hot day will cause it to buckle and warp.
Pro Tip: Think of your siding as a "floating" system. Every single piece, from the panels to the corner posts, needs to be fastened loosely enough to move with temperature changes. Fighting this natural movement is a battle you will always lose.
Just as important is the expansion gap. You must leave a 1/4-inch gap between the end of a siding panel and any receiving channel, like a corner post or J-channel. If you're installing in cold weather (below 40°F), open that gap up to 3/8 inch to give the panel more room to expand when it gets hot.
Many DIY projects fail because these fundamental rules are ignored. The table below highlights some of the most common errors I see and how to do it the right way from the start.
Common Installation Mistakes and Pro Solutions
| Common Mistake | The Problem It Causes | The Professional Solution |
|---|---|---|
| Nailing Too Tightly | Pins the panel in place, leading to ugly waves, ripples, and buckling when temperatures change. | Leave a 1/16-inch (a dime's thickness) gap between the nail head and the vinyl. The panel should "hang" from the nail. |
| Ignoring Expansion Gaps | Panels butt up against trim and each other, causing them to bow and warp under pressure from thermal expansion. | Leave a 1/4-inch gap at all ends where siding meets a receiving channel. Increase to 3/8-inch in cold weather. |
| Misaligned Starter Strip | If the first course is even slightly off-level, every subsequent course will be crooked, creating a visible, ugly diagonal pattern. | Use a level and a chalk line to establish a perfectly straight guideline around the entire foundation before installing the starter strip. |
| Lining Up Seams | Creates a noticeable "zipper" effect up the side of the house that draws the eye and looks unprofessional. | Stagger all panel seams so they are at least 3 courses apart. Never stack seams vertically. |
Getting these details right is what ensures your siding job will look great not just on day one, but for decades to come.
Creating Nearly Invisible Seams
Finally, let’s talk about seams. Unless you have a very small house, you’re going to need to overlap panels on long walls. The goal is to make these joints disappear as much as possible.
Always overlap your panels by at least 1 inch. More importantly, you need to stagger the seams so they don't line up vertically. This breaks up the visual line and helps them blend into the wall. As a rule of thumb, I always make sure my seams are separated by at least three courses of siding.
Here's an interesting trade method: think about the primary viewing angles of your home. If you approach your front door from the left, you'll want to orient your overlaps so the top panel hides the cut edge from that vantage point. This simple bit of planning elevates the final look from "good" to "great." Master these core skills, and you'll end up with an installation that’s not just beautiful, but also built to withstand whatever our Pacific Northwest weather throws at it.
Handling Soffits, Fascia, and Gable Ends
Running siding along a long, flat wall is one thing. But the real mark of a pro job is how you handle the eaves and gables. This is where craftsmanship truly shows. Getting the soffit, fascia, and gable ends right isn't just about curb appeal; it's about shielding the most vulnerable parts of your home from moisture and pests—a huge deal, especially in climates like the Pacific Northwest.
This part of the guide dives into those tricky details. We'll get past the basics and into the methods the pros use to deliver a finish that’s durable, weather-tight, and looks fantastic.
Installing Ventilated Soffits Correctly
The soffit is what you see when you look up at the underside of your roof's overhang. Its main job isn't just to look pretty—it's to let your attic breathe. Without proper ventilation, you’re asking for moisture buildup, winter ice dams, and a hotter home in the summer. This is a critical best practice for home health.
Most pros, myself included, rely on ventilated vinyl soffit panels. Those little perforations are key for airflow. The job starts by building a frame to hold them. You’ll mount F-channel trim right against the house wall and another piece along the outer edge of the sub-fascia. These channels act like tracks for the soffit panels to slide neatly into.
With the channels up, measure the distance between them in a few spots. Here’s a crucial tip: cut your soffit panels 1/4-inch shorter than your measurement. This gap is non-negotiable for thermal expansion and contraction. Slide the panel into the channels, making sure it can move a bit. A single nail or staple through the nailing hem into the sub-fascia is all you need to secure it.
Pro Tip: For the cleanest look, always install soffit panels so the grooves run perpendicular to the house. It's not just for aesthetics; this orientation makes for a much easier installation, especially on long runs, and prevents the panels from sagging over time.
Capping the Fascia for a Maintenance-Free Finish
The fascia is that vertical board running along your roofline, right where the gutters hang. It's usually made of wood, which means it’s a prime target for rot from constant rain. The industry-standard solution is to cap it with custom-bent aluminum trim coil, which creates a permanent, truly maintenance-free finish—a major benefit of a full siding replacement.
For this, you'll need a tool called an aluminum brake. You can often rent one for the day. The idea is to perfectly bend a piece of aluminum to wrap the existing fascia board like a glove.
Here’s how it breaks down:
- Measure the Fascia: Get the precise height of the fascia board and the depth of its bottom edge.
- Bend the Aluminum: Use the brake to shape your trim. A standard profile has a top lip that tucks under the roof's drip edge, a flat face covering the fascia, and a bottom leg that wraps underneath, neatly covering the edge of your new soffit.
- Secure the Trim: Slide the top of your aluminum cap under the drip edge and fasten it with color-matched aluminum trim nails. Don't hammer them in tight—the metal needs room to expand and contract.
This custom wrap is your best defense against water damage, and it means you can finally throw away your paint scraper for good.
Tackling the Angles on Gable Ends
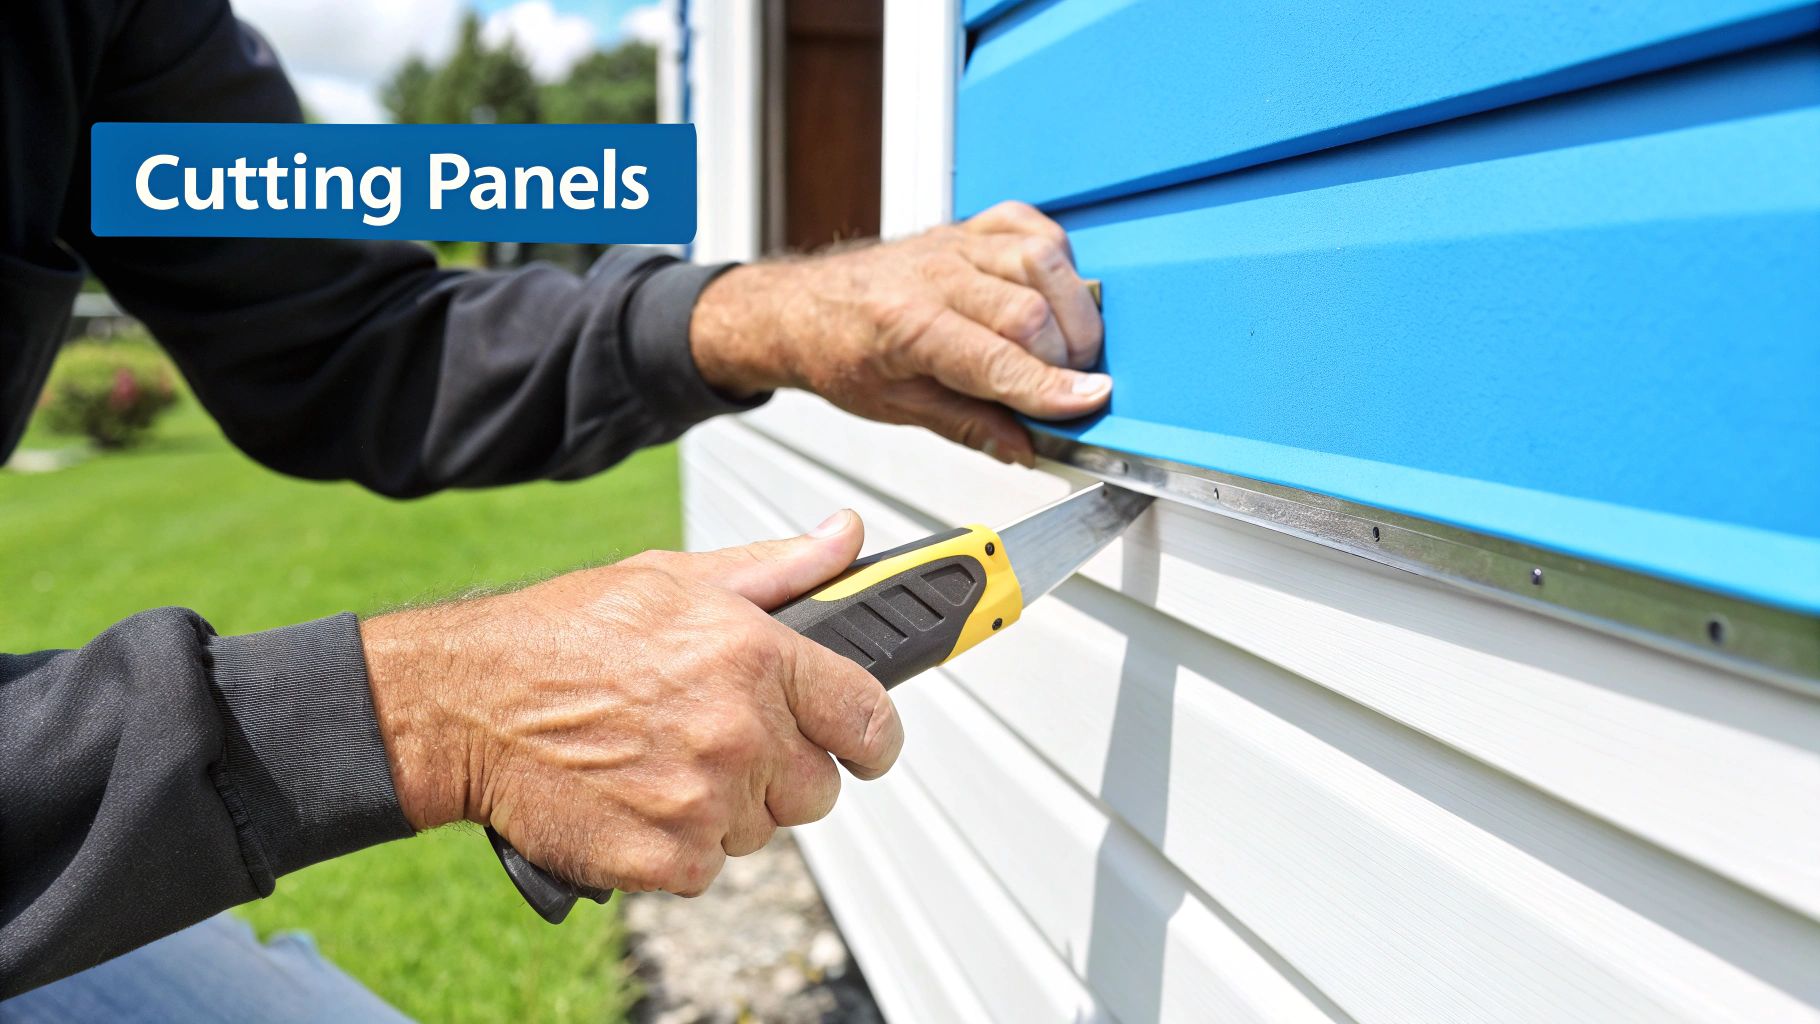
Gable ends—those triangular wall sections at the roof's peak—can seem intimidating. Cutting siding to match that roof angle is where a lot of DIY projects go wrong, but a simple technique makes it surprisingly straightforward.
First, you'll install J-channel all along the rake (the angled edge of the roof). This creates a clean receiving pocket for your angled siding cuts. As you work your way up the wall, each siding panel will have to be cut at an angle to fit snugly inside this channel.
Here's an interesting trade method for nailing the angle every time:
- Hold a full siding panel up, overlapping the panel below it correctly.
- Let one end of the panel run long, past the J-channel on the gable.
- Use the J-channel itself as your guide. Mark the top and bottom of the siding panel where it meets the channel.
- Connect those two marks with a straightedge, and make your cut with a good pair of tin snips.
The piece you just cut will have the perfect angle to slide right into the J-channel. Just don't forget to leave that 1/4-inch expansion gap inside the channel. As you move up toward the peak, your pieces will get shorter and shorter, but this method ensures a perfect fit every single time for a crisp, professional line that follows the roof's pitch exactly.
Applying the Finishing Touches for a Pro Look
You know the old saying: the final ten percent of the work makes ninety percent of the impression. With the main walls covered, it’s these last finishing details that will truly elevate your project. This is the stuff that separates a decent DIY job from a truly professional one, ensuring your home doesn't just look sharp but is also buttoned up tight against the elements.
We’re going to cover how to install that tricky top course of siding, where—and more importantly, where not—to caulk, and what to look for in a final walkthrough. Getting these details right protects your investment and keeps your home looking fantastic for years to come.
Nailing the Final Top Course
You'll almost never get to the top of a wall and find that a full-width panel fits perfectly. It just doesn't happen. You’re going to have to cut that final course lengthwise, and the real trick is fitting it securely without resorting to ugly face-nailing. Driving a nail through the face of the panel is a surefire way to cause cracks and will instantly void most warranties.
This is where your utility trim (some people call it finish trim) and a snap-lock punch become your best friends. This is a best practice you can't skip.
- First, install the utility trim right up against the soffit. This creates a neat little channel that will grab and hold the top edge of your final siding panel.
- Next, measure from the lock on the panel below it up to the inside bottom of the utility trim channel. Now, subtract 1/4 inch from that measurement to leave a proper expansion gap. This is the height you need to rip your final panel to.
- After you’ve cut the panel to size, grab your snap-lock punch. Use it to create raised tabs, or lugs, every 6 to 8 inches along that freshly cut top edge. Make sure the raised part of the lug faces outward, away from the house.
- Finally, lock the bottom of your custom-cut panel into the course below. Gently flex the top edge and push it upward until it snaps securely into the utility trim. Those lugs you punched are what grip the trim, holding the panel firmly in place for a clean, fastener-free finish.
Knowing Where and When to Caulk
Caulking is absolutely critical, but it's a classic case where more is definitely not better. In fact, slapping caulk everywhere can do more harm than good by trapping water behind the siding, which can lead to rot.
The rule of thumb I’ve always followed is simple: caulk vertical seams, not horizontal ones.
Your siding is engineered as a system that lets any water that gets behind it drain out from the bottom. If you seal up the horizontal locks or the bottom edges of your trim, you've just built a dam. You want to focus your caulking efforts only in these key areas:
- Around Penetrations: Seal neatly around anything that pokes through the wall—light fixtures, dryer vents, water spigots, you name it.
- Vertical Trim Edges: Run a thin, clean bead of caulk where your vertical trim pieces (like corner posts or the J-channel around a window) butt up against a different material, like brick, stone, or wood trim.
This approach gives you a watertight seal right where it’s most vulnerable, without messing with the siding's built-in drainage design. If you want to see what that clean, professional trim work looks like, take a look at some of our completed siding projects.
A Pro's Perspective: Don't cheap out on caulk. Use a quality elastomeric or polyurethane sealant that’s rated for exterior use and stays flexible. The cheap acrylic stuff will just shrink and crack within a year or two, especially with the temperature swings we get in the Northwest, and you’ll be right back up on the ladder doing it all over again.
The Final Walk-Through and Long-Term Care
With the last piece snapped into place, it's time for a final inspection. Do a slow walk around the entire house. Look for any panels that might be nailed too tight—you should be able to slide them back and forth just a little. Check your expansion gaps. If you see any tight spots, you can use your unlocking tool to make small adjustments. Make sure all your caulking lines are smooth and complete.
The good news is that long-term care is refreshingly simple, one of the key benefits of vinyl. An annual wash-down with a soft-bristle brush, some mild soap, and a garden hose is usually all it takes to get rid of dirt and mildew.
And if a panel ever gets damaged by a stray baseball or a rogue lawnmower, replacement is a breeze. Just use your zip tool to unlock the courses above the damaged piece, pop it out, and snap a new one in. A little bit of simple maintenance is all it takes to ensure your new siding protects and beautifies your home for decades.
Common Vinyl Siding Installation Questions
Even the most thorough guide can't cover every question that pops up during a big project. After years of installing siding here in the Seattle area, we’ve heard just about every question in the book. Let's tackle some of the most common ones so you can move forward with confidence.
Can I Install New Siding Over Old Siding?
It might seem like a tempting shortcut, but putting new vinyl directly over old siding is almost always a bad idea. We strongly advise against it as a matter of best practice.
The biggest issue is that you’re covering up whatever is happening underneath. You completely miss the chance to inspect the wall sheathing for any hidden rot or moisture damage that could be silently wrecking your home's structure. This inspection is a primary benefit of a full siding replacement.
Trapping moisture is a recipe for disaster. Plus, old siding is rarely the perfectly flat surface you need for new vinyl. Any bumps or waves will transfer right through, making your brand-new siding look rippled and amateurish from day one.
Takeaway: Always tear off the old siding. It’s the only way to properly repair the substrate, wrap your home in a fresh weather-resistant barrier, and get a smooth, professional finish that lasts.
How Do I Manage Vinyl Expansion and Contraction?
This is probably the most critical lesson in vinyl siding. Get this wrong, and your siding will warp and buckle. Get it right, and it will look great for decades. Vinyl naturally expands in the heat and shrinks in the cold, so you have to give it room to move.
It all comes down to two golden rules of installation.
First, leave a 1/4-inch gap where a panel meets any trim piece, like a J-channel or corner post. If you find yourself installing on a particularly cold day (below freezing), give it a little more room and increase that gap to 3/8-inch.
Second, never hammer your nails in tight. The nail head should sit about 1/16-inch proud of the nailing flange—think the thickness of a dime. This allows the panel to slide back and forth freely. Always center the nail in the middle of the slot, not at the ends. This simple step is your best defense against cracking and buckling.
What Is the Best Time of Year for Installation?
You can technically install siding any time of year, but your life will be much easier if you aim for mild weather. For us here in the Pacific Northwest, that sweet spot is usually in the spring or fall.
Working in extreme temperatures presents some real challenges:
- Extreme Cold: Vinyl gets brittle. It's far more likely to crack or shatter when you're cutting or nailing it.
- Extreme Heat: The panels will be fully expanded. If you cut and fit them tight, they’ll have nowhere to go when the temperature drops, causing them to pull apart or buckle.
Working in moderate temperatures, say between 50-75°F, keeps the material stable and easy to work with, leading to a much better final product.
Is Insulated Vinyl Siding Worth the Extra Cost?
Insulated vinyl siding—the kind with a rigid foam backing fused to each panel—is a fantastic product, but it comes at a higher price. So, is it worth it?
The benefits are pretty clear. That foam backing adds a continuous layer of insulation to your home's exterior, which helps tighten up the building envelope and can definitely lower your energy bills over time. This is a significant long-term benefit for any homeowner.
It also makes the siding tougher. The panels become more rigid and impact-resistant, so they stand up better to everything from stray baseballs to leaning ladders. That rigidity also helps smooth over minor imperfections in your walls, giving the house a straighter, more solid look.
While the upfront cost is higher, many homeowners find that the combination of energy savings, added durability, and improved appearance makes it a solid long-term investment.
Ready to transform your home's exterior without the stress of a DIY project? The experts at Breeze Siding have been serving the Seattle area since 2007, delivering flawless siding installations with top-quality materials. Schedule your free, on-site estimate today by visiting https://breezesiding.com.