
Catching dry rot early can feel like a daunting task, but it really comes down to knowing what to look for. The fungus behind it all, Serpula lacrymans, is a bit of a paradox—it needs moisture levels over 20% to even get started, despite its "dry" name. It has a nasty habit of eating wood from the inside out, which is why finding it early is so crucial for your home's structural health, especially in the damp climate we experience here in the Pacific Northwest.
What Is Dry Rot, and Why Is It So Destructive?
It helps to think of dry rot less like a simple mold and more like a silent, slow-motion demolition crew for your home. This aggressive fungus literally devours the cellulose and hemicellulose in timber—the very stuff that gives wood its strength and stiffness. Much like termites, it compromises the wood's integrity, but it does its dirty work internally, often leaving a paper-thin, perfectly normal-looking surface behind.
This hidden destruction is precisely what makes it so dangerous. You might not notice a single thing is wrong until the damage is already widespread. The fungus is a master of hiding, spreading quietly behind drywall, under your floors, and inside your walls without any obvious clues.
The Sneaky Lifecycle of Dry Rot
Dry rot’s life cycle makes it an incredibly stubborn opponent, especially in damp climates like we have in the Seattle area. Its ability to just hang out and wait is a key part of what makes it so destructive.
- Waking Up: The whole process kicks off when dormant spores meet enough moisture. Things like leaky gutters, poor ventilation in a crawl space, or failing siding create the perfect breeding ground for it to wake up and get to work.
- Spreading Out: Once it's active, the fungus grows fine, white, web-like strands called hyphae. These strands weave together into a larger mass called mycelium. This fungal web is remarkably resourceful and can travel across brick, plaster, and even through masonry to find new wood to feed on.
- Lying in Wait: Here’s the really tricky part: even if you fix the moisture problem, the fungus doesn't necessarily die. It can go dormant and stay viable in damp masonry for a long time—up to nine years, in some cases. Research shows it can spread at a rate of up to 0.8 meters per year, allowing it to creep silently through a house if you don't stop it. You can read more about dry rot's behavior in this ESI report.
This cycle really drives home why spotting the problem early isn't just a good idea—it's absolutely essential.
How to Spot the Telltale Signs of a Dry Rot Invasion
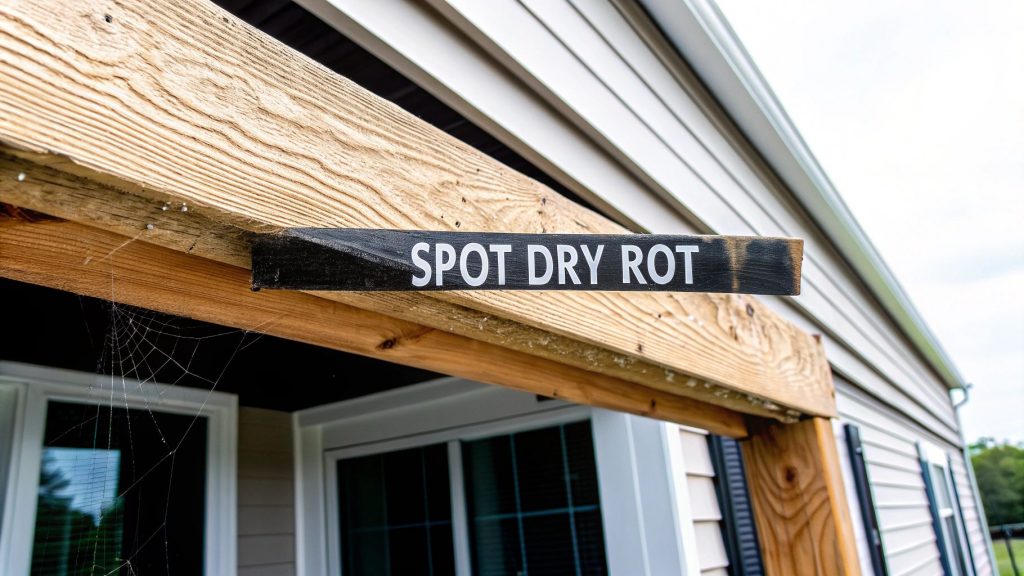
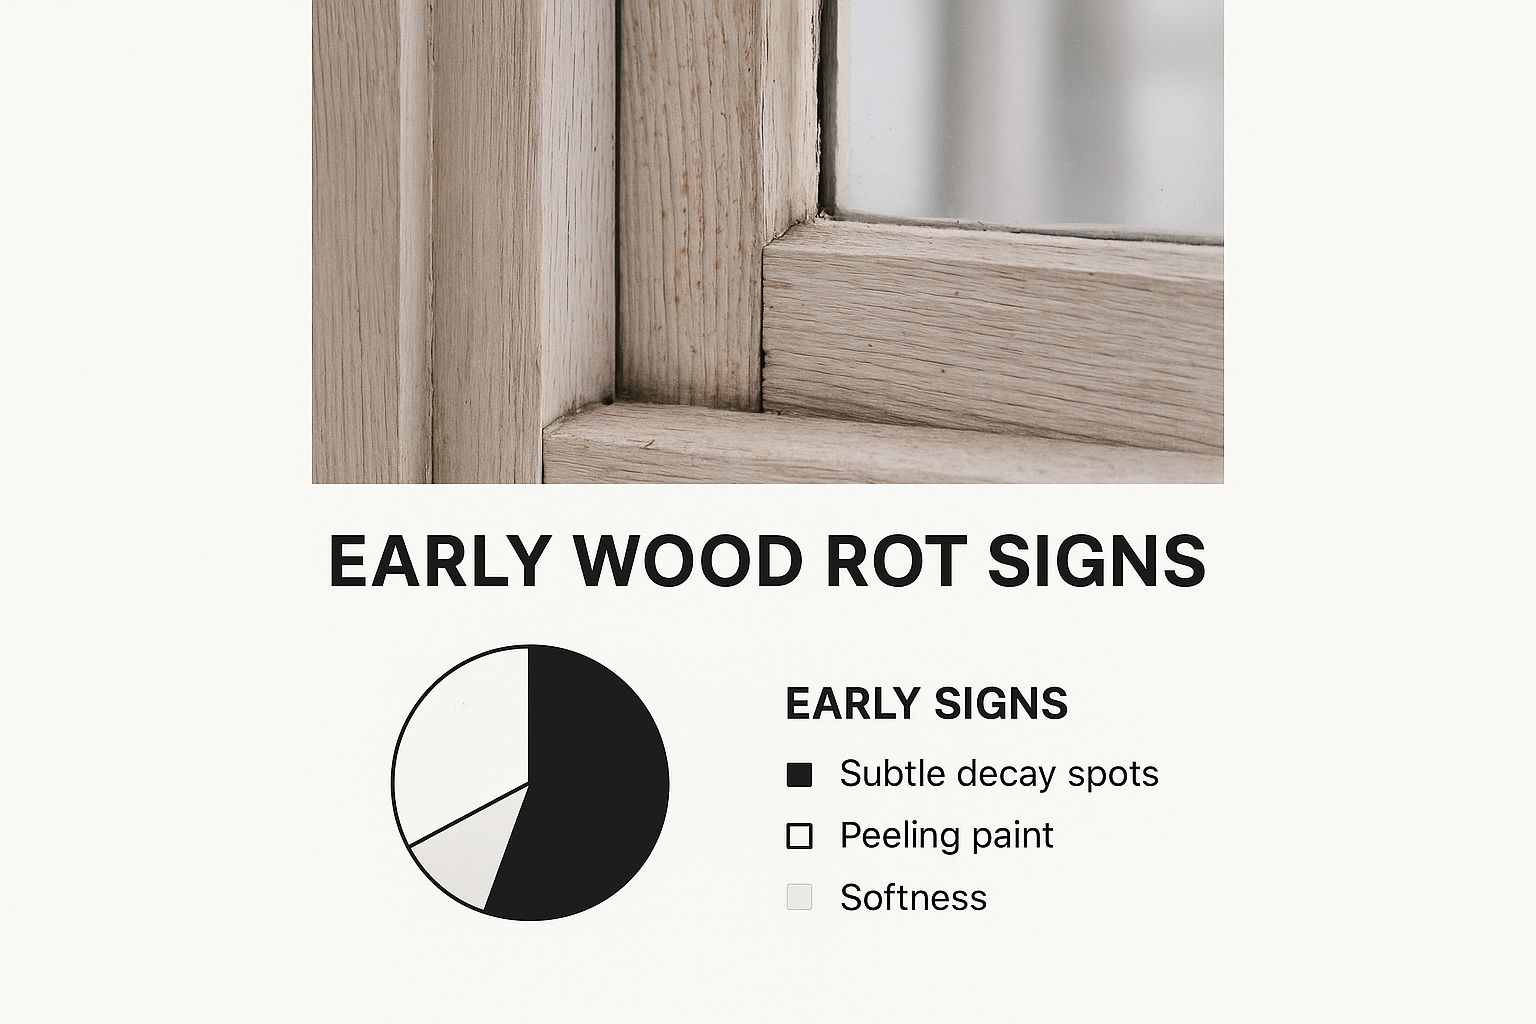
When it comes to dry rot, your eyes are your best first line of defense. Catching it early can be the difference between a simple repair and a full-blown structural crisis. The first clues are often subtle, but once you know what you’re looking for on your siding and trim, they become much easier to spot.
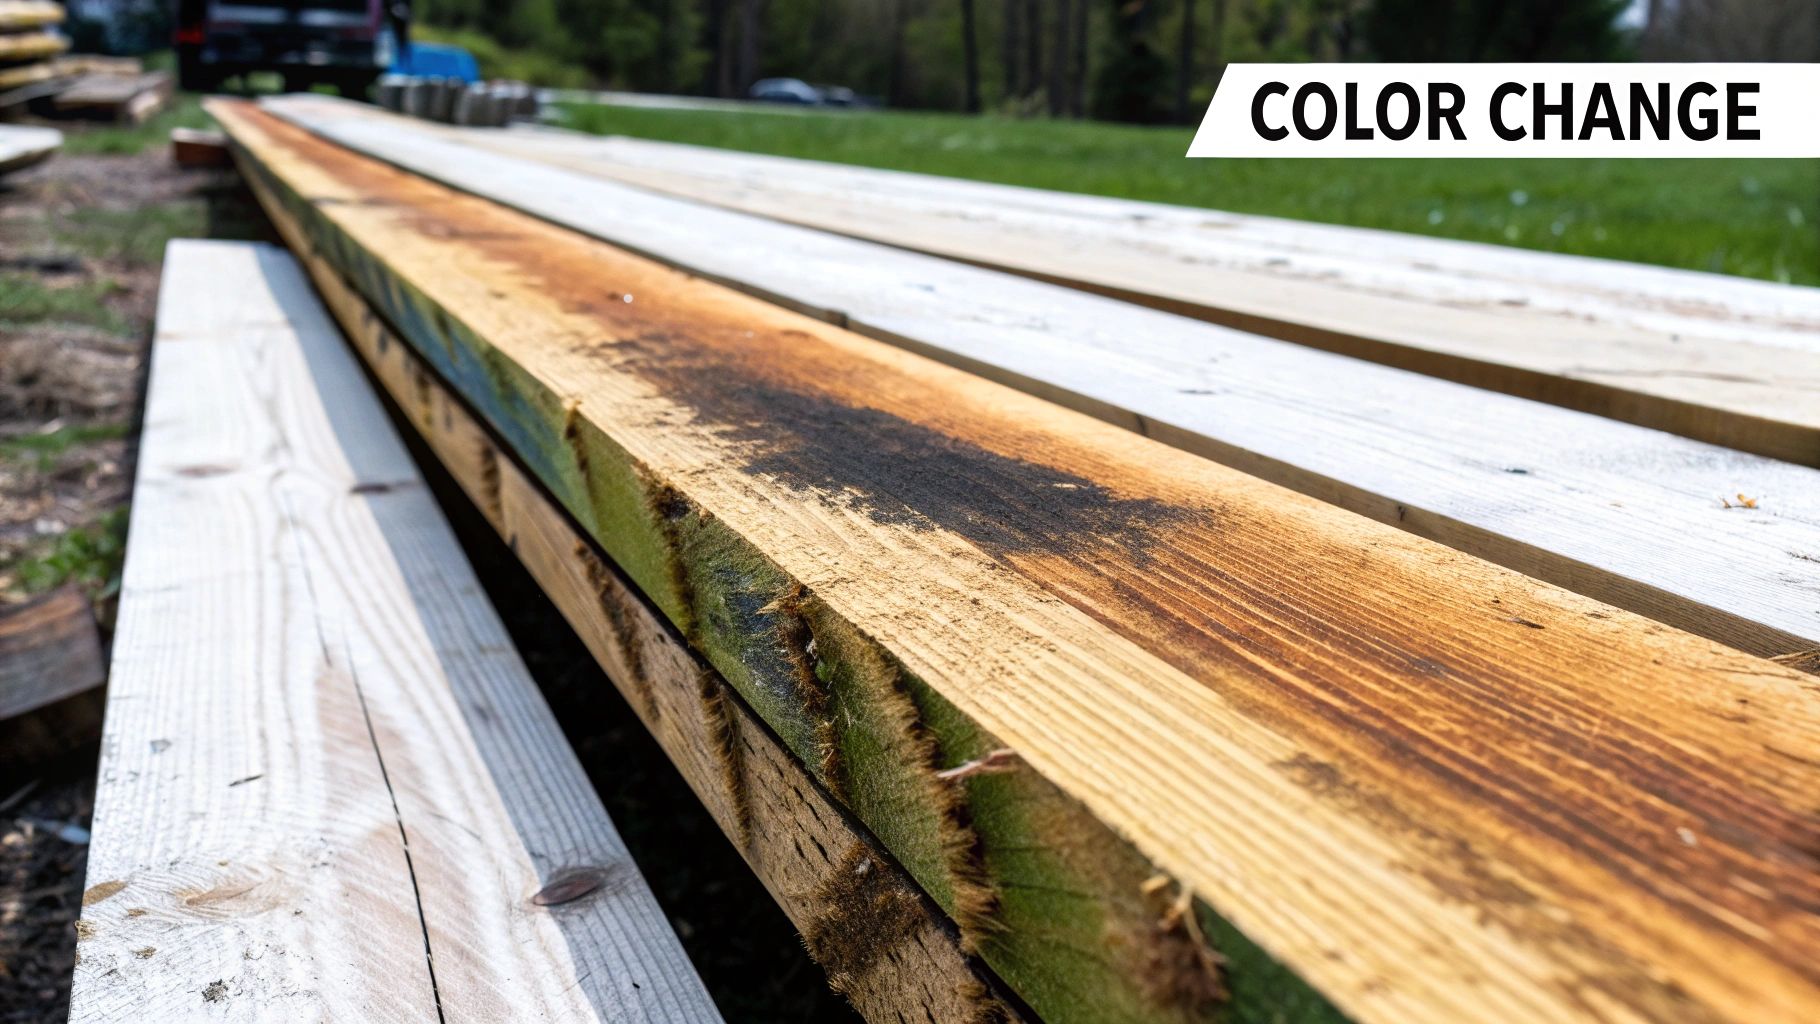
One of the most classic signs of dry rot is a unique cracking pattern in the wood. As the fungus feasts on the cellulose that gives wood its structure, the timber dries out, shrinks, and splits into small, cube-like pieces. In the trade, we call this cuboidal fracture, and it's a dead giveaway. You might also see areas of your siding that look discolored or darker than the surrounding wood, which is often a sign of trapped moisture where the fungus is thriving.
This image is a great example of how sneaky dry rot can be, often starting in vulnerable spots like window frames and corners. For a quick reference on what you should see, here’s a look at a fresh, professional siding installation.
The Different Looks of a Fungal Takeover
Dry rot doesn't look the same from start to finish. Its appearance changes as it matures, which is why catching it in its earliest form is so important.
Mycelium Growth: The first stage often looks like a delicate, cottony growth spreading across the wood. This white, web-like substance is called mycelium. You might mistake it for a cobweb or a patch of white mold, especially in damp, dark places like crawl spaces or basements.
Fruiting Body: If the rot has been around for a while, it might produce a fruiting body (or sporophore). This is the fungus's attempt to reproduce. It often looks like a fleshy, pancake-like mushroom, sometimes with a rust-red center and a lighter rim. Seeing one of these is a serious red flag—it means the fungus is mature and trying to spread its spores to new wood.
To help you tell the difference at a glance, here’s a quick comparison.
Dry Rot Visual Signs vs Healthy Wood
Sometimes it's easier to spot a problem when you have a clear picture of what's normal. This table breaks down the key visual differences between wood that’s in good shape and wood that’s starting to show signs of dry rot.
| Characteristic | Healthy Wood Appearance | Early Signs of Dry Rot |
|---|---|---|
| Texture | Smooth and firm to the touch | Soft, spongy, or brittle when prodded |
| Color | Consistent, natural wood tone | Discolored, darkened patches, or a bleached appearance |
| Surface | Solid, without cracks or splits | Fine cracks that form small, cube-like patterns |
| Growth | Clean surface, free of any growth | White, cotton-like strands (mycelium) on the surface |
| Shape | Retains its original shape and size | May appear shrunken, warped, or sunken |
Keep this guide in mind next time you walk around your property. Regularly checking these hotspots is a simple habit that can go a long way in protecting your home from serious damage.
Don't Just Look—Use Your Other Senses
Sometimes, your eyes can deceive you. Dry rot often starts its destructive work deep inside a piece of timber, leaving the painted surface looking perfectly fine. This is where your other senses, particularly smell and touch, become your best allies in early detection.
One of the most telling signs of an active dry rot problem is the smell. If you've ever been in a damp, old basement, you know the scent: a distinctively musty, earthy, and sometimes mushroom-like odor. This isn't just the smell of dampness; it's the smell of the fungus actively digesting the wood in your home. If you catch a whiff of this near siding, window sills, or in a crawl space, take it seriously. It’s a major red flag.
The Probing Test: What a Screwdriver Can Tell You
Once you've identified a suspicious area—either by sight or smell—it's time to confirm your suspicions with a simple hands-on test. Professionals rely on this all the time. We call it the screwdriver test, and it's an incredibly effective way to gauge the wood's real condition beneath the surface.
All you need is a screwdriver or even a sturdy pocketknife. Gently press the tip into the wood you're concerned about. The feedback you get is immediate and clear:
- Healthy Wood: It will feel solid. The tool's tip will meet firm resistance and won't sink in.
- Rotted Wood: This is where you'll know for sure. The wood will feel soft, almost like cork or a sponge. The screwdriver will push in with very little effort, and the wood might crumble or flake away.
This simple probe is invaluable because dry rot hollows timber out from the inside. A fresh coat of paint can easily hide wood that has completely lost its structural integrity.
A Quick Word on Safety
When you're poking and prodding at potentially rotted wood, you could release fungal spores into the air. It’s always a smart move to wear gloves and a dust mask to avoid breathing anything in.
By trusting your nose and performing a few quick physical checks, you can catch dry rot long before the visual damage becomes catastrophic. This gives you the upper hand in tackling the problem before it gets out of control.
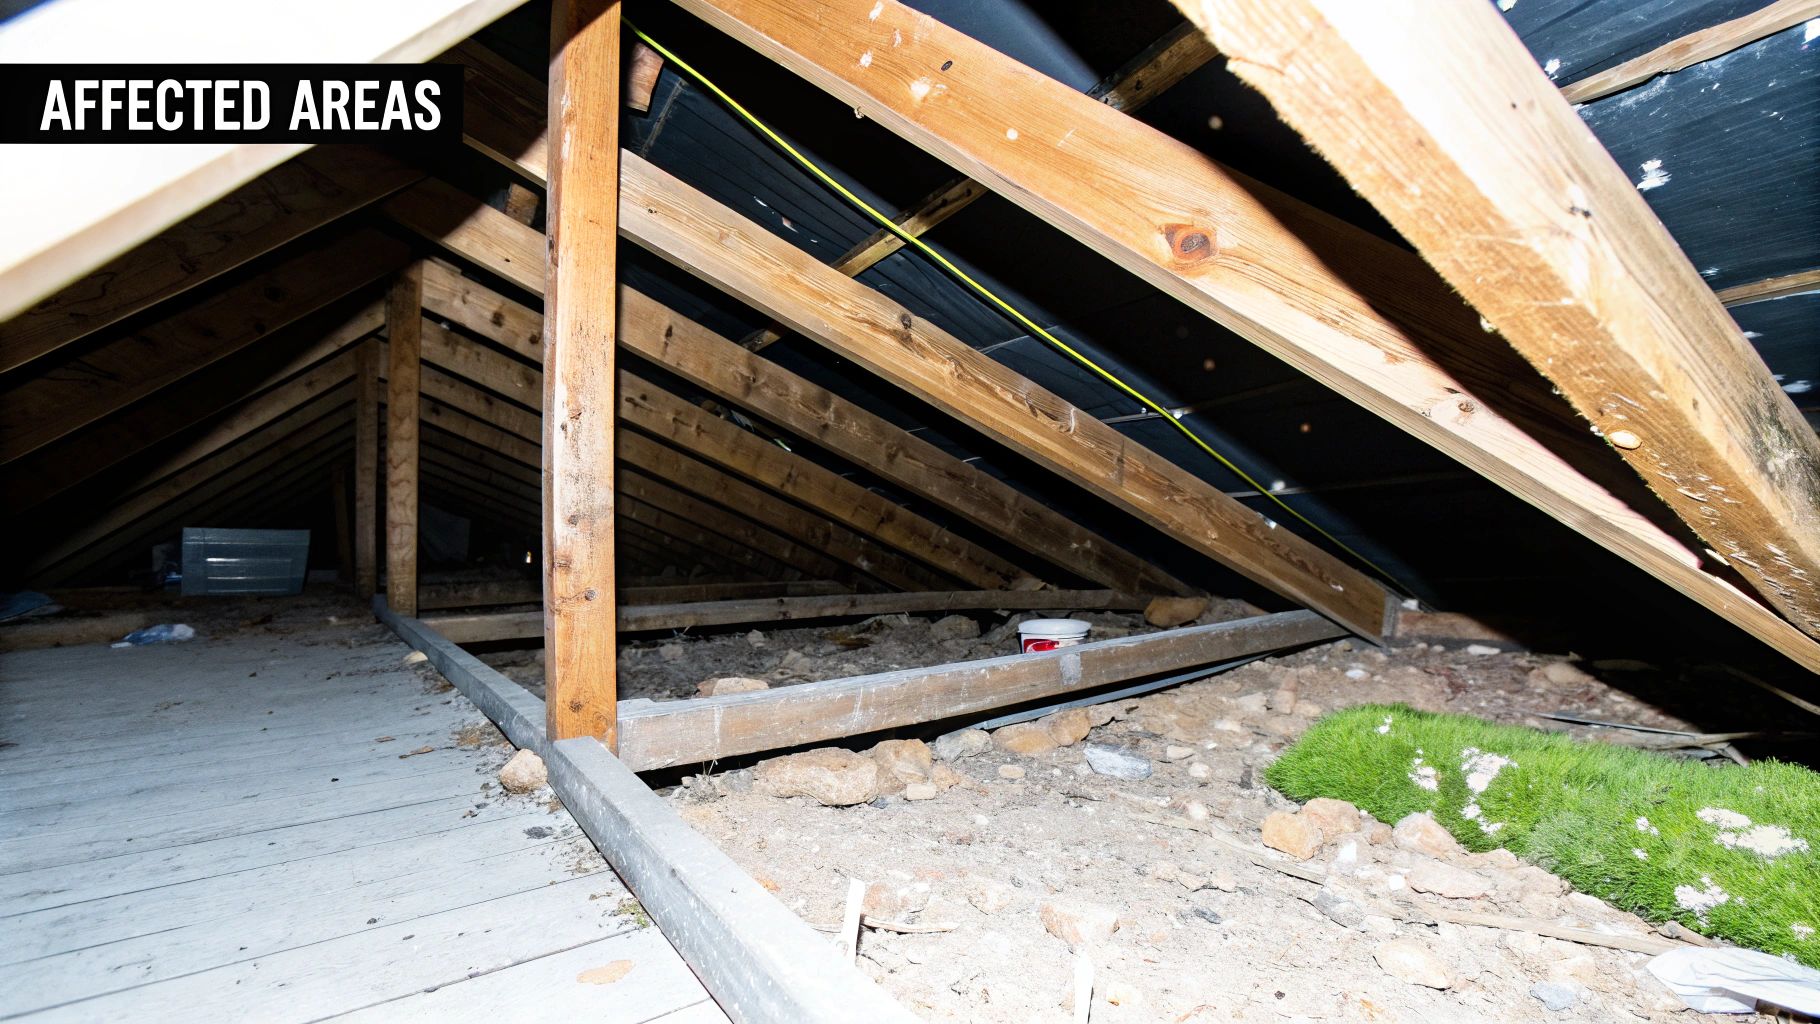
Inspecting Your Home's Dry Rot Hotspots
Dry rot is a creature of habit. It doesn't just show up anywhere; it thrives where moisture, darkness, and still air create the perfect storm. To catch the early signs of dry rot, you have to know where to look. A targeted inspection of these high-risk zones is much more effective than a random search, especially in damp climates like we have here in the Seattle area.
Think of your home's exterior as a complete system. When one part fails—a cracked caulk bead, a loose piece of flashing—it creates an opening for moisture to sneak in and kickstart the rot process. By focusing on these known trouble spots, you can spot problems before they turn into major structural headaches.
Where Moisture Collects and Rot Begins
Your inspection should start where water is most likely to pool or linger. The longer wood stays damp, the more inviting it becomes for fungus.
- Around Windows and Doors: These are ground zero for rot. Failed caulking or flashing lets rainwater seep in behind the siding, trapping moisture right up against the wood sheathing.
- Beneath Leaky Gutters: When gutters get clogged or damaged, water spills over and runs straight down your siding. This constant soaking creates the perfect breeding ground for dry rot to take hold.
- Near the Ground: Siding that sits too close to the soil or gets buried under mulch and plants wicks up moisture constantly. It's one of the most common entry points for rot.
From my experience, over 90% of serious rot issues start at just a handful of these predictable spots. A simple fix, like re-caulking a window or clearing out a gutter, is a small ounce of prevention that can save you from a pound of cure—and a huge siding replacement bill.
Don't Forget the Hidden Zones
Some of the most vulnerable areas are the ones you never see. These spots often suffer from poor ventilation, which is a key ingredient dry rot needs to flourish.
Make a point to grab a flashlight and check your crawl space and the subflooring around bathrooms and laundry rooms. The still, humid air in these spaces is an open invitation for fungus to grow unchecked, often causing serious damage before you ever notice it. Taking just a few minutes to inspect these hidden hotspots can truly make all the difference.
Why You Can't Afford to DIY Dry Rot Remediation
Spotting the early signs of dry rot is one thing, but getting rid of it for good is a whole different ballgame. Many homeowners are tempted to tackle it themselves, but this approach almost always backfires. It's like pulling the top off a dandelion but leaving the deep taproot in the ground. You haven't solved the problem; you've just hidden it for a little while.
That’s why professional remediation isn’t just a good idea—it’s essential. Specialists who deal with dry rot day in and day out understand the fungus's lifecycle. They don't just treat the symptoms; they go after the source with a methodical process designed to ensure it never comes back. This is about protecting the very structure of your home, not just patching up a few bad boards.
The Professional Playbook for Dry Rot Elimination
A certified expert doesn't just put a bandage on the problem; they perform surgery. Their approach is meticulous and involves several critical steps that are simply beyond the scope of a weekend DIY project.
- Complete Removal: First, they carefully cut out all the visibly rotted wood. But they don't stop there. They also remove a significant portion of the surrounding timber that might look perfectly healthy to the naked eye. This creates a vital buffer zone, ensuring no microscopic fungal threads are left behind to restart the infestation.
- Targeted Fungicide Treatment: With the infected material gone, the pros treat the remaining structures with powerful, specialized fungicides. This isn't the stuff you buy at a hardware store. These treatments create a chemical barrier that sterilizes the area, killing off any stray spores and stopping the fungus from getting a new foothold.
- Moisture Source Eradication: This is arguably the most crucial step. A true professional plays detective, hunting down the water source that fueled the rot in the first place. Whether it's a pinhole leak in a pipe, compromised roof flashing, or just poor ventilation, they find it and fix it. Without this, any other repair is just a temporary fix waiting to fail.
The fungus Serpula lacrymans has perfectly adapted to thrive inside our homes, where it has few natural competitors. This specialization makes it an incredibly destructive force in the controlled environment of a house. You can learn more about the unique behavior of this house-eating fungus.
Upgrading Your Home's Defenses with Siding Replacement
For many homeowners in the Seattle area, addressing dry rot effectively means it's time for a professional siding replacement. This isn't just about repairing damage; it’s a proactive upgrade to your home's entire defense system. Modern materials like fiber cement offer superior moisture resistance compared to older wood siding. A professional installation ensures that a proper weather-resistant barrier and correct flashing are used, creating a formidable shield against the Pacific Northwest rain. This not only solves the current rot issue but also fortifies your home, boosting its curb appeal, increasing its value, and giving you peace of mind for decades.
Answering Your Key Questions About Dry Rot
Finding what looks like dry rot can be unsettling, and a million questions probably start racing through your mind. Getting clear on what you're dealing with is the first step to tackling the problem without panicking. Let's walk through some of the most common questions we get from homeowners in the Seattle region.
Is Dry Rot a Type of Mold?
This is a big point of confusion, and it’s a great question. While both are fungi that love damp places, dry rot is not mold. Mold is a surface-level problem; it grows on things but doesn't usually eat away at the core structure of your home's wood.
Dry rot is a different beast entirely. It's a wood-decaying fungus that literally consumes the cellulose and hemicellulose—the very components that give wood its strength and rigidity. Here’s a good way to think about it: mold is an unwanted houseguest leaving a mess, but dry rot is actively dismantling the house from the inside out.
Can Dry Rot Spread to Other Parts of My House?
Yes, absolutely. This is what makes it so insidious. The fungus (Serpula lacrymans) is surprisingly resourceful. It can travel through non-wood materials like plaster, concrete, and brickwork in search of its next meal.
This means it doesn't need a direct, unbroken line of wood to spread. An isolated issue that starts in a damp basement corner can creep through the walls and eventually compromise the structural timbers on another floor.
Interestingly, the fungus that causes so much trouble indoors has a surprisingly recent history as a major pest. Research shows its spread in European buildings began around 250 generations ago, coinciding with our increased use of timber in construction. You can dive deeper into the history of this unique fungus here.
Will Painting Over It Stop the Problem?
That's a definite no. Slapping a coat of paint over dry rot is like putting a bandage on a broken arm. It might cover up the ugly truth for a little while, but it does absolutely nothing to fix the underlying damage.
Worse yet, painting over it can actually accelerate the decay. Paint traps moisture against the wood, creating an even more humid, ideal environment for the fungus to thrive. The only real fix is to cut out and remove every last bit of the infected wood and, just as importantly, solve the moisture problem that started it all.
If you've spotted the early signs of dry rot, waiting is the worst thing you can do. The experts at Breeze Siding specialize in identifying and repairing this kind of damage, protecting your home with professional siding replacement. If you're in the Seattle area, protect your investment by scheduling a free, no-obligation estimate today at https://breezesiding.com.