
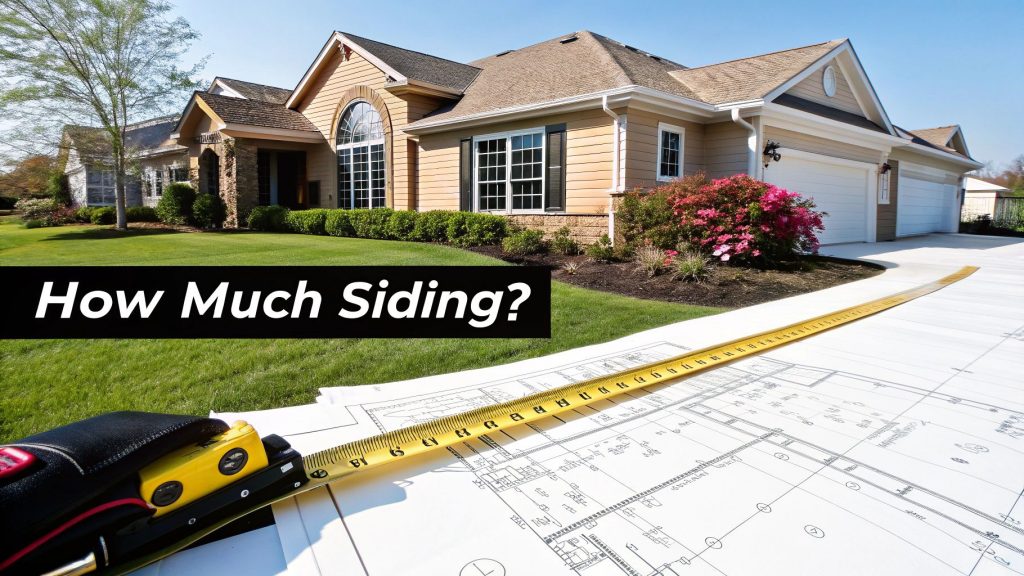
Figuring out how much siding you will need isn't as daunting as it seems. It really just comes down to a bit of simple math: find the total area of your walls, subtract the parts you won't be covering (like doors and windows), and then tack on a little extra for waste. Getting this right from the start means you buy enough material to finish the job without a bunch of costly leftovers. A new siding installation is also your home's first line of defense against the Pacific Northwest's damp climate, improving curb appeal, energy efficiency, and overall property value.
Your Quick Siding Calculation Answer

Before you break out the tape measure and start climbing ladders, it's helpful to get a solid ballpark figure. This initial estimate is perfect for budgeting and planning, even if the final number gets more precise later on.
For homeowners here in the Seattle area, where we see everything from classic craftsman homes in Bellevue to modern new builds in Tacoma, a quick estimate is invaluable. A typical single-family home with about 2,000 square feet of living space usually has an exterior wall surface somewhere between 1,500 and 2,500 square feet.
Since standard vinyl siding often comes in "squares" that cover 100 square feet, this means an average home needs around 20 to 25 bundles. You can always dig deeper into siding market trends and materials on platforms like market.us.
The Basic Estimation Formula
To get that first estimate, I always tell people to think in three distinct phases. This is the same mental checklist pros run through to size up a job before they ever write up a detailed quote.
- Gross Area Calculation: First, you’ll get the total surface area of your home’s exterior walls. Just the big, raw number.
- Net Area Calculation: Next, you'll subtract all the areas that won't get siding—think doors, windows, and large vents.
- Waste Factor Addition: Finally, and this is crucial, you'll add a buffer to account for cuts, mistakes, and maybe a few extra pieces for future repairs.
One of the most common mistakes I see homeowners make is ordering the exact square footage they calculate. You have to account for waste. Pros always add a 10-15% "waste factor" to ensure they don't run out of material mid-project. A second trip to the supplier can cause costly delays and, worse, color-matching headaches with different manufacturing lots.
The table below breaks this process down into a simple, easy-to-follow framework.
Quick Siding Estimation Formula
Follow these core steps to get a reliable estimate for your siding project.
| Phase | Action Required | Pro Tip |
|---|---|---|
| 1. Gross Area | Measure the height and width of each exterior wall and multiply them to get the area. Add all wall areas together. | For gables and other triangular areas, use the formula: (base x height) / 2. |
| 2. Net Area | Calculate the area of all windows and doors. Subtract this total from your gross wall area. | Don't worry about subtracting small openings like vents or outlets; the waste factor usually covers these. |
| 3. Final Tally | Multiply your net area by 1.10 (for 10% waste) or 1.15 (for 15% waste) to get your final required square footage. | If your home has a complex layout with lots of angles and cuts, lean toward a 15% waste factor. |
Use this as your quick reference guide. It lays the groundwork and gives you the confidence to move on to the more detailed measurements we'll cover next.
How to Get an Accurate Siding Measurement for Your Home
Getting beyond a ballpark guess is the first real step in any professional siding job. You can't just use the simple length-times-width trick you'd use for an interior room. Siding requires a much more precise approach to figure out exactly how much material you’ll need. The secret? Break down every single exterior surface into basic geometric shapes: rectangles, squares, and triangles.
This is how the pros do it. Even a complex two-story home with an offset garage suddenly becomes manageable. By tackling each shape one by one, you can calculate its area and then just add them all up. This number—your total square footage—is the most critical part of the entire process. Get it right, and you avoid costly material shortages or wasteful overages.
Break Down Your Walls Into Simple Shapes
Before you even pull out a tape measure, grab a notepad and sketch a rough diagram of each side of your house. It doesn't have to be a masterpiece—just a quick drawing you can label with measurements. This simple system keeps your numbers organized and stops you from accidentally measuring the same wall twice.
Look at each wall and identify the main shapes. Most walls are just big rectangles. You'll also see triangular sections at the top of your roofline—those are called gables, and we'll deal with them in a bit. For now, just focus on the big, simple rectangular and square sections.
This visual guide shows the basic idea of measuring and calculating a wall's total area.
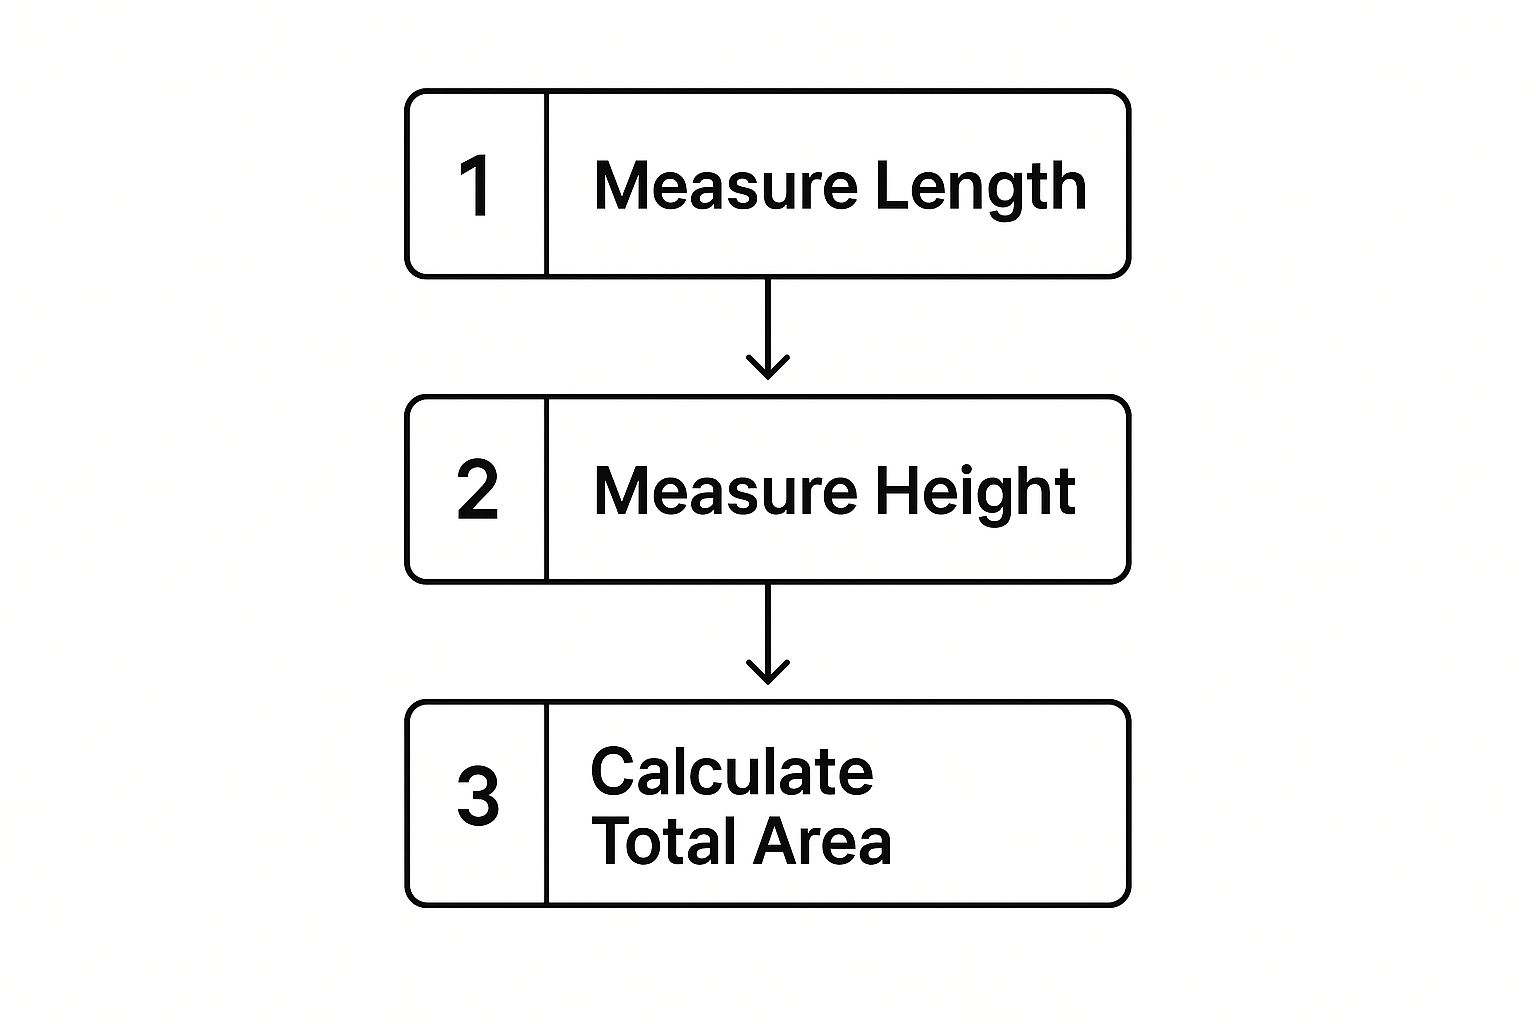
The key is to simplify. Break every wall down into measurable chunks before you start adding anything up. That's how you ensure no surface area gets missed.
Grab the Right Tools for a Precise Job
A good old-fashioned tape measure will work, but if you want to make your life easier, a laser measure is a game-changer. It gives you fast, accurate readings, which is especially handy for tall, two-story walls where climbing a ladder can be a hassle—or even a little risky. You just place the laser on the ground, point it at the top of the wall, and you've got your height.
A Pro Tip: Measure everything twice. I can't stress this enough. A small error of just a few inches on a long wall can throw off your total square footage in a big way. Double-checking your numbers takes seconds and can save you from a major headache later.
Make sure you write everything down as you go. A simple notebook or a spreadsheet is perfect for this. Give each wall a name (like "North Wall" or "Garage Front") and log its dimensions and calculated square footage.
Here’s a quick example of how I’d log a single section:
- Wall: West Wall (Main Section)
- Shape: Rectangle
- Length: 40 feet
- Height: 18 feet
- Total: 40 ft x 18 ft = 720 square feet
Keeping your notes this organized makes sure your base numbers are solid before you start subtracting for things like windows and doors.
Accounting for Doors, Windows, and Other Openings
Now that you have the total square footage of your walls, you can start refining that number. Think about it: you aren’t going to put siding over your windows or doors. Skipping this part of the calculation is a rookie mistake that can leave you with hundreds of square feet of extra material at the end of the job.
The process itself is simple. Grab your tape measure again and get the height and width of every single opening—doors, windows, garage doors, and even large vents. Each one needs to be measured and its area calculated, just like you did for the main walls.
The Pro Method for Faster Measurements
Here’s a little trade secret we use in the field to speed things up, especially on homes with lots of windows that are the same size. We call it batching. Instead of meticulously measuring every single window, find one representative window, get its exact dimensions, and then just count how many more you have just like it.
Let's say a typical Bellevue craftsman home has eight windows, and they're all 3 feet by 5 feet.
- Single Window Area: 3 ft x 5 ft = 15 square feet
- Total Batched Area: 15 sq ft x 8 windows = 120 square feet
Just like that, you've accounted for eight openings with the work of measuring just one. This isn't just about saving time; it actually helps cut down on the small measurement errors that can creep in when you’re measuring the same thing over and over. You can do the same thing with any identical doors or vents.
What about small stuff? A common question is whether you should subtract tiny openings. The rule of thumb I've always followed is this: if the opening is smaller than a single piece of siding, don't bother. Think of small dryer vents or exterior outlets. The material you waste cutting around them often cancels out the tiny area you would have subtracted.
Tallying Up for Your Net Siding Area
As you measure, keep a running list. Whether it's a simple notepad or a spreadsheet on your phone, staying organized is key to getting an accurate final number.
Here's how I might track it on a sample project:
| Opening | Width | Height | Quantity | Total Sq. Ft. |
|---|---|---|---|---|
| Front Door | 3 ft | 6.7 ft | 1 | 20.1 |
| Windows | 3 ft | 5 ft | 8 | 120.0 |
| Garage Door | 16 ft | 7 ft | 1 | 112.0 |
| Back Door | 2.5 ft | 6.7 ft | 1 | 16.75 |
| Total Subtraction | 268.85 sq. ft. |
With the total area of your openings calculated, subtract it from the gross wall area you figured out earlier. This gives you the net siding area—the actual surface you need to cover. This is your baseline number before we start thinking about cuts and waste.
Dealing with Gables, Dormers, and Other Awkward Shapes
Okay, so measuring flat, rectangular walls is easy enough. But what about the tricky spots? I’m talking about the gables at the peak of your roof and any dormers that pop out. These areas can look intimidating, but once you break them down, the math is actually pretty simple.
Getting these measurements right is a big deal. These are some of the most visible parts of your home, and coming up short on siding here is a surefire way to derail your project schedule. The good news? You just need one formula you probably already know.
Remember (base x height) / 2 from high school math? That’s your key to measuring any triangular gable. Just measure the width of the gable at its base (the bottom edge) and the height from the center of that base straight up to the peak. Multiply those two numbers together, cut the result in half, and you’ve got your square footage.
Putting the Gable Formula to Work
Let's walk through a real-world example. Say you're working on a house with a main gable that's 24 feet wide and 10 feet tall.
- First, you'd multiply the base and the height: 24 ft x 10 ft = 240.
- Then, just divide that by two: 240 / 2 = 120 square feet.
That's it. You now know that this one gable needs at least 120 square feet of siding, not counting any windows or vents you'll have to cut out later. Do this for every gable on the house and jot down the numbers.
Pro Tip: Don't just eyeball the height of a gable. It's one of the most common mistakes I see, and it almost always leads to ordering the wrong amount of material. Get a helper to hold a tape measure at the peak, or better yet, use a laser measure to get a precise reading from the ground.
How to Tackle Dormers
Dormers require a little more patience because they're basically tiny houses built onto your roof. You have to treat them that way by breaking them down into individual, smaller shapes. Most dormers have three small rectangular walls and sometimes a tiny gable of their own.
Measure each surface one by one:
- The "Cheeks": These are the two side walls of the dormer. Measure the height and width of one side, find its area, and then just double it to account for both.
- The Face: This is the front wall. Measure its height and width to get the area, and be sure to subtract the space for the window.
- The Gable: If the dormer has its own little peak, you’ll use the same (base x height) / 2 formula to find its area.
Once you have the numbers for each little piece, just add them all up to get the total square footage for that dormer. And if you have several identical dormers, you can save a ton of time by measuring one carefully and multiplying the total by how many you have.
This kind of detailed prep work is what separates a professional job from a sloppy one. It's no surprise that quality siding replacement is a booming industry. The global siding market was valued at USD 103.06 billion in 2024 and is expected to hit USD 132.37 billion by 2029, as more homeowners invest in durable, beautiful materials. You can find more data on these market trends at researchandmarkets.com.
Getting the Siding Waste Factor Right
Here's a classic rookie mistake that can bring your entire project to a screeching halt: ordering the exact net square footage you just calculated. Every single siding job produces waste. It’s unavoidable. You'll have scraps from angle cuts, pieces for overlaps, and the occasional miscut or broken board.
That’s precisely why every professional adds a waste factor to their material order.
This buffer is your project's insurance policy. It ensures you have enough siding to finish the job without making a frantic, mid-project run to the supplier. Forgetting it is the difference between a smooth installation and a frustrating, costly delay. This is a best practice that separates DIY results from a professional finish that lasts for decades.
How Pros Figure Out the Right Percentage
The right waste factor isn't just a random guess; it's a calculated decision based on your home's unique architecture. A simple, rectangular ranch-style home in Tacoma might only need a 10% buffer. Its long, straight walls mean fewer complicated cuts and less leftover material.
On the other hand, a complex Victorian-style home in Seattle with multiple gables, bay windows, and lots of intricate angles could easily require up to 20% extra. Each corner, dormer, and unique feature means more cuts, and as a result, more waste.
The goal is always to balance the cost of a little extra material against the massive headache of running out. Trust me, it's always cheaper to have a few extra pieces left over than to stop work, reorder material, and risk getting a different color lot that doesn't quite match. A 15% waste factor is a safe and common average for most homes.
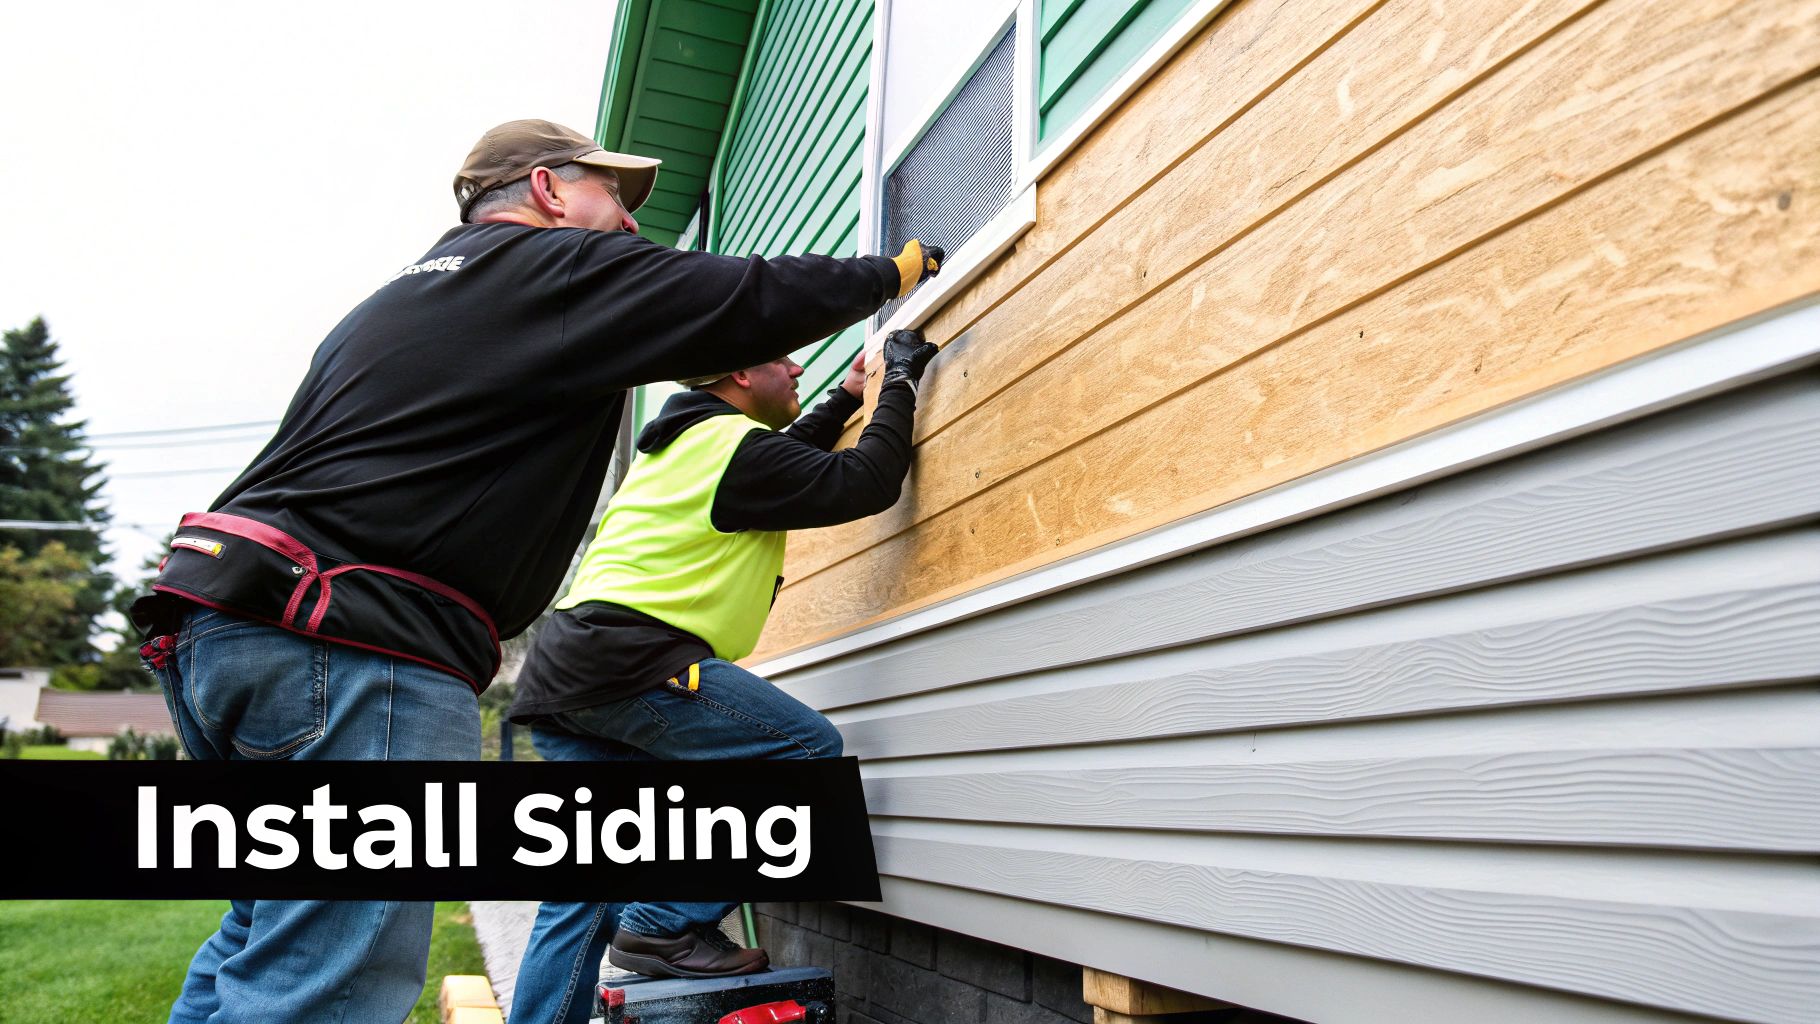
Your Siding Material Matters, Too
The type of siding you pick also plays a role in how much waste you can expect. Vinyl and fiber cement are both popular, but they handle very differently and create waste in different ways.
Vinyl siding is fairly forgiving and easy to cut. But a big consideration here in the Pacific Northwest is that it can get brittle in the cold, leading to more accidental breaks during installation. This is something to keep in mind, especially given that vinyl siding holds a global market share of over 40%. In fact, the market is expected to grow to USD 165.2 billion by 2034, so it's not going anywhere. You can dig into more siding market trends on databridgemarketresearch.com.
Fiber cement, a fantastic choice for our damp climate, is much heavier. It requires special blades for clean cuts, which can sometimes lead to more chipped or unusable pieces if you’re not careful. The benefit is superior durability and resistance to moisture, which is a major advantage for homes in the greater Seattle area.
Waste Factor Guide by House Style
To make it easier, I've put together a simple guide to help you pick the right waste percentage based on your home's general design. Start here, and adjust based on your project's specific quirks.
| House Style | Key Features | Recommended Waste Factor |
|---|---|---|
| Ranch/Simple Box | Few angles, large rectangular walls | 8% – 10% |
| Standard Two-Story | Standard gables, moderate number of windows | 12% – 15% |
| Complex/Victorian | Multiple gables, dormers, bay windows | 15% – 20% |
Use this table as a solid starting point. If you have a two-story home with a few extra dormers, you might lean closer to that 15% mark. If your ranch has a small, simple addition, maybe bump it up to 12%. It's all about looking at your home with a critical eye.
Turning Your Measurements Into a Material Order
Alright, you've done the hard part and have your final square footage. Now it's time to translate that number into an actual material order. This is where you learn to talk the talk, and the most important word in a siding supplier's vocabulary is the "square."
A square is the universal unit of measurement for siding, and it simply means 100 square feet of coverage. It's the industry standard.
When you're discussing how much siding you will need with a contractor or a supplier, they won't be thinking in raw square footage. They think in squares. So, if your total calculation, waste factor included, comes out to 2,250 square feet, you'll tell them you need 22.5 squares of material. Simple as that.
From Squares to Boxes
Now, you don't just walk in and buy loose "squares." Siding is packaged in boxes or bundles, and how much is in a box can differ quite a bit depending on the brand and the type of siding. Vinyl siding, for instance, often comes in boxes that cover either one or two squares (100 or 200 square feet).
Let's walk through a real-world example. Say your final number is that same 2,250 square feet, and the beautiful vinyl siding you've picked out is sold in two-square boxes.
Here’s the breakdown:
- Total Squares Needed: 22.5
- Squares per Box: 2
- The Math: 22.5 / 2 = 11.25 boxes
Obviously, you can't buy a quarter of a box. You’ll need to round up and order 12 boxes. This isn't a suggestion; it's a must-do. Always, always round up.
Any seasoned contractor will tell you to double-check these conversions. It’s a tiny step that saves you from huge headaches and costly ordering mistakes. If you want to see what different materials look like installed, take a look at the homes in our project gallery.
Getting a grip on this conversion—from your raw measurements to squares, and finally to the number of boxes—is what gives you confidence. You can walk into a supplier or chat with your installer knowing exactly what's needed, ensuring your order is spot-on from day one.
Common Siding Measurement Questions
Even with a solid plan, a few tricky questions always seem to come up when you're measuring for new siding. Let's tackle some of the most common ones I hear from homeowners, so you can measure with the same confidence as a pro.
One of the first things people ask about is soffit and fascia. These are actually considered trim, not siding. You'll want to measure them separately by linear feet, not square feet. So, for your main wall calculations, just leave them out of it entirely. A quality installation always includes a thorough inspection of these areas, as replacing them at the same time as your siding ensures a seamless, weather-tight finish.
Handling Complex Shapes
What about those tricky architectural features, like a rounded wall on a turret? This is where a little professional technique comes in handy. Grab a flexible tape measure and get the curved length of the wall, then multiply that by its height.
You can then treat that curved section like a simple rectangle. The key here is to bump up your waste factor to around 15-20% for that specific area to cover all the extra, detailed cuts you'll have to make.
Here’s a critical trade secret that saves homeowners a lot of money: you do not need to add extra material to account for the siding overlap. When a box says it covers 100 square feet (often called one "square" in the industry), that’s the installed coverage area, after the overlap is factored in.
Trust the manufacturer's number on the box. It’s designed to give you the real-world coverage, making your life a whole lot easier when it's time to place your order. All you need is your total square footage plus your waste allowance.
Ready to get a precise, no-hassle quote for your project? The team at Breeze Siding offers free on-site estimates across the Seattle, Tacoma, and Bellevue areas. Contact us today to work with a James Hardie Preferred Installer.